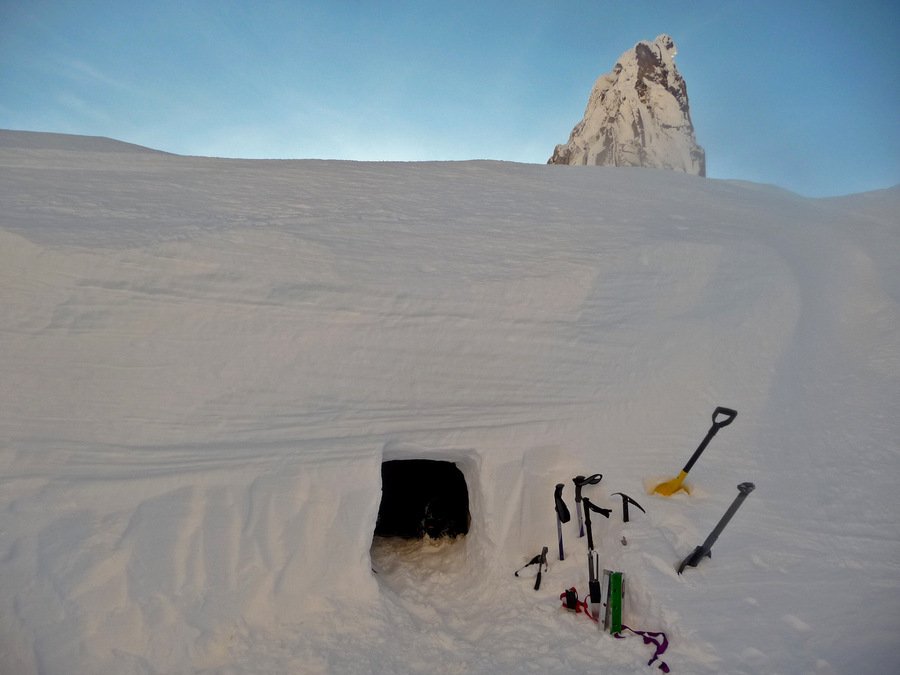
Survival: How to weather the perfect storm in a snow cave motel

Sitting out a blizzard can be a frightening experience, but there are ways to make it less traumatic and to ensure that you come through the ordeal in one piece. Snow is a good insulator, and a shelter made of snow can, in fact, be quite comfortable and afford good protection, and as bodies radiate heat, the space will become quite warm.
Building such a construction will take some time and effort, of course, but the job will have to be faced – unless you consider the alternative of no shelter a better option.
Tools

To build a sturdy, safe, snow cave, a robust good quality snow shovel will be required. It is wise to carry such a tool with you when hiking in snowy conditions. If you are planning a snow adventure, skiing, hiking or any other winter outdoor activity you should have a shovel even if you are not expecting avalanches. You can buy a decent collapsible shovel that will easily fit in your bag. An aluminum shovel will be lightweight and portable.
In the unfortunate event of you not having brought a shovel you will have to improvise. The next thing to do is to find an appropriate location for your cave.
Location
To find a good spot to wait out a blizzard and burrow a good cave, look for a slope with an angle of about thirty degrees which is covered in quite deep and compressed snow as this will give the best results. The space that you burrow will need to be at least the length of your body if you want to be able to lie down inside it.
Building
Dig directly into the slope leaving at least two feet of consolidated snow above the burrow to form the roof. Leave a gap as an entrance closer to the floor of the cave, keep burrowing out the inside until the hole is big enough to be comfortable. Blocks of snow at the entrance can also help as a windbreak.

Keep smoothing the sides, floor, and ceiling of the space as anything protruding, particularly from the ceiling, will become a condensation spot and drips will form. This can really cause a lot of discomfort and you do not want a pool of water forming in the middle of the burrow. Shape the ceiling in to a dome so that condensation flows to the edges. Dig a small furrow to guide this water away.
A dome ceiling is also the most efficient as far as the integrity of the structure goes. It is also vital that there is ventilation. Use your trekking pole to create holes in the roof but take care to avoid causing it to cave in.
When you are done, and you are inside the cave close up the entrance hole with a block of snow or your backpack but leave a small gap for air.
Extra tips
Do not cook or light a stove or fire while you are inside in order to avoid the buildup of noxious gasses. Ensure that there is good ventilation all the time. Check the holes regularly.

Make the space as comfortable as you can, but hopefully, you will not have to stay there for too long. Sleep or sit on a sleeping mat or on an emergency blanket to provide insulation and to help prevent loss of body heat while you sit inside the cave.
When you emerge, and the storm has passed, collapse the cave to prevent it becoming a hazard, and caving in when others pass that way.
If you have any comments then please drop us a message on our Outdoor Revival Facebook page
If you have a good story to tell or blog let us know about it on our FB page, we’re also happy for article or review submissions, we’d love to hear from you.
We live in a beautiful world, get out there and enjoy it. Outdoor Revival – Reconnecting us all with the Outdoors.
