A great guide on how to make your own char-cloth
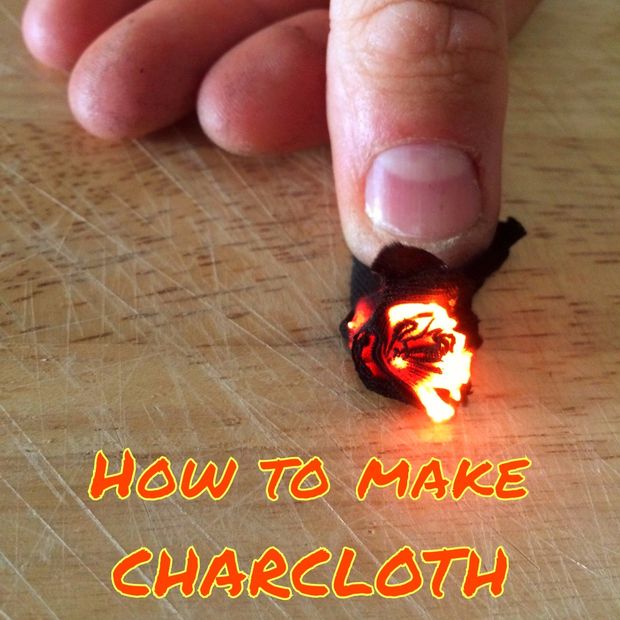
Char-Cloth making is very useful skill to have in regards to making fire, with a spark you can create fire. With a small piece of char-cloth and a spark it will start to glow red and get very hot.
I do hope you enjoy these and please make sure you check out my other articles here. Also with that if you are into Bushcraft or would like to see a little more on what I teach then please check my Instagram page Capsos_Bushcraft.
A big thank goes to Capsos for sharing his work with us.
Step 1: CHAR-CLOTH
Tinder Bundle – “A large amount of flammable material (Dried fern leaves, Silver birch bark, or many other things) in the shape of a bird’s nest with a indentation in the center that takes the char-cloth, once the char-cloth is in the center of the tinder bundle, cup the tinder bundle in your hands and slowly blow into the bundle.
WARNING THIS WILL BECOME VERY HOT AND SHOULD BURST INTO A FLAME.
Step 2: SAFETY

ALL ACTIONS AND INJURIES CAUSED WHEN DOING THIS PROJECT IS DOWN TO YOURSELF AND I HOLD NO RESPONSIBILITY FOR ANY INJURIES YOU INCUR.
Step 3: WHAT YOU NEED
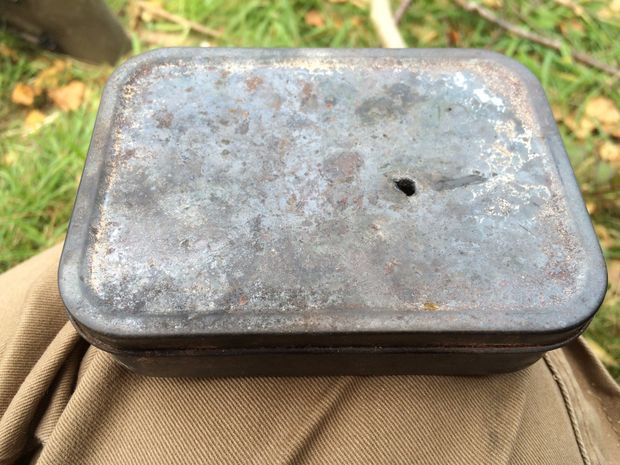
With this one you will need the following,
A tin “I tend to use a old tobacco tin”.
Some old fabric either 100% cotton or denim.
A heat source (either a campfire or wood burner).
A small stick.
A knife
A small screwdriver.
Fire-Proof gloves
Step 4: PREPPING
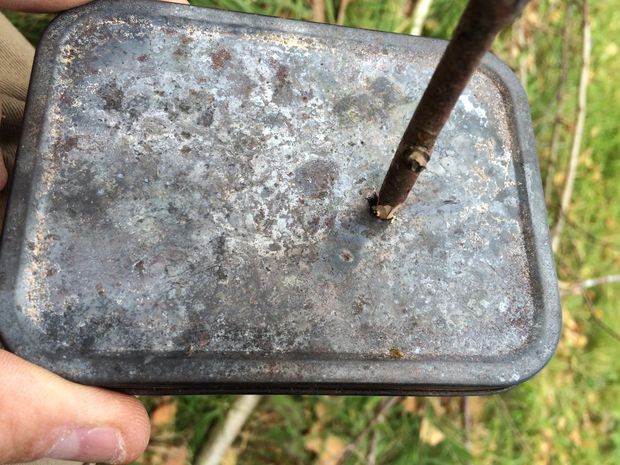
With the knife or screwdriver put a small hole into the lid of the tin you plan to use.
Now find a living green stick and sharpen the tip to a point to wedge into the hole and make sure it won’t easily fall when the tin is being moved.
Step 5: THE FABRIC
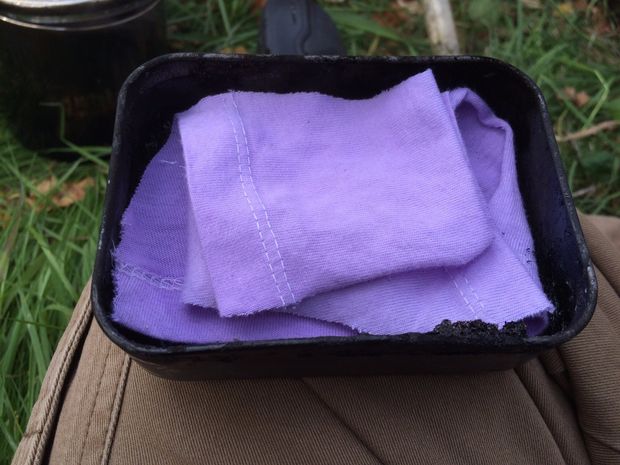
With this you need to remember not to pack the tin with too much fabric otherwise it may not fully work due to density.
Cut you selected fabric up to fit inside your tin, Making sure you don’t include any buttons, zips or any other things that may cause problems.
Now fill your tin to about 3/4 the way up without squashing it flat.
Now replace the lid.
Step 6: YOUR FIRE
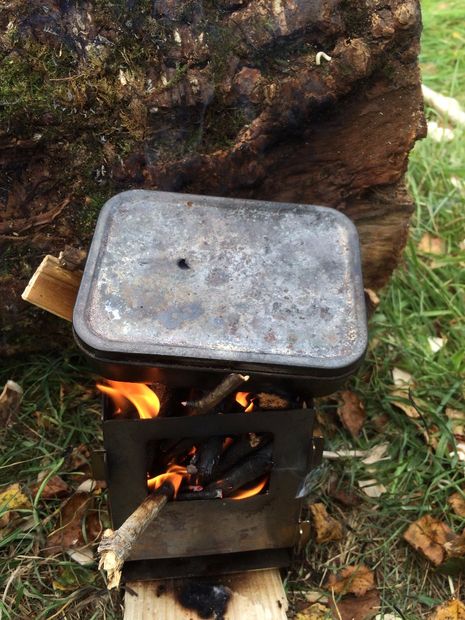
Now get your fire nice and hot,
Put your Fire-Proof Gloves on and place your tin into the flames / embers “Without stick in lid but keep to hand”
Step 7: SMOKE JET
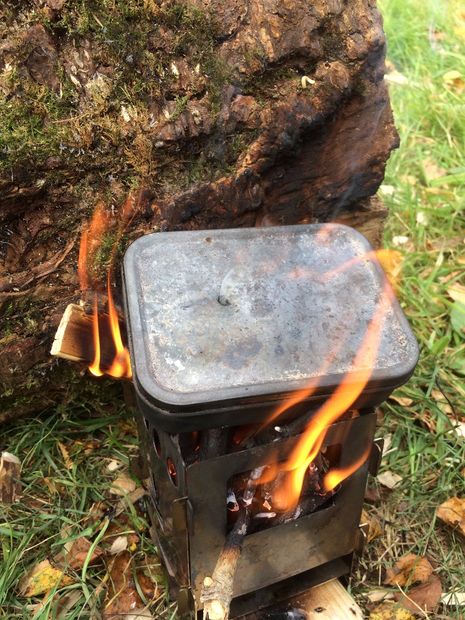
After a while on the fire depending on the amount of fabric in the tin you will start to see a jet of smoke coming out of the hole in the top of the tin.
Step 8: GAS IGNITION
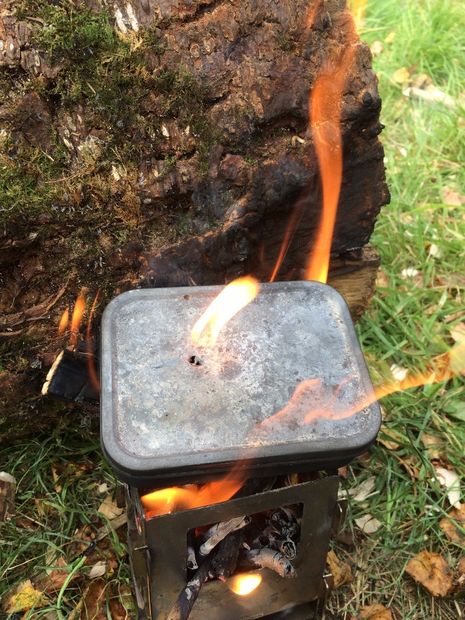
Keep an eye on it once it starts to smoke and on the occasion the smoke might catch fire and become a jet flame. Leave this as it is the gasses burning off.
Step 9: FINISHED
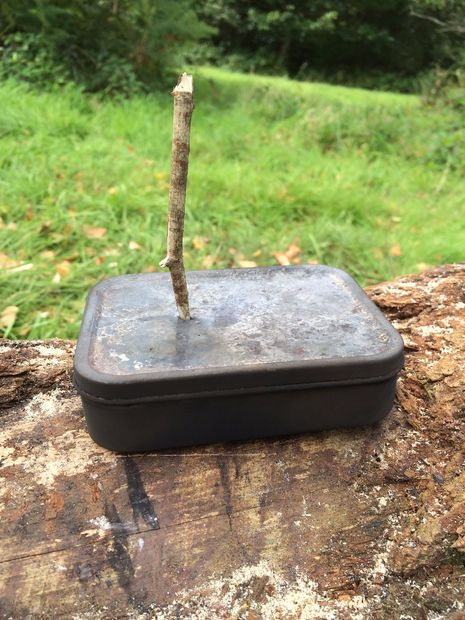
Once the flame dies down and disappears leave it for another min or two.
Add the stick to the hole in the lid (This has to be done on or near the fire asap as if the air gets to it the whole lot might just auto ignite)
Now again with your gloves move the tin off the flames and to a place to cool down (Remembering to keep that stick in till the tin is cold)
Step 10: COOLING DOWN
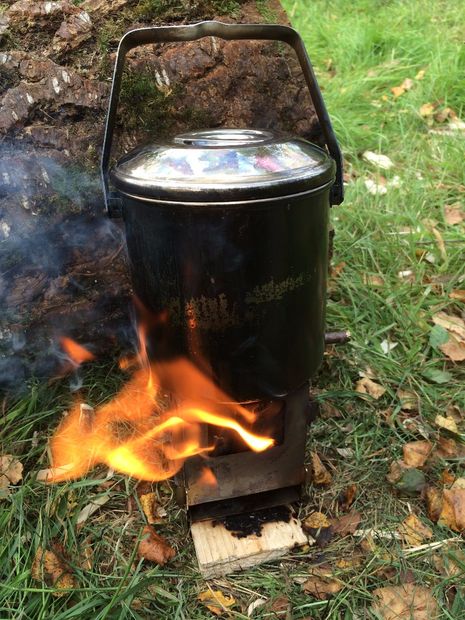
Now whilst you wait for this tin to cool down why not use the heat to make a cup of tea or some home hot lunch.
Step 11: FINISHED ITEM
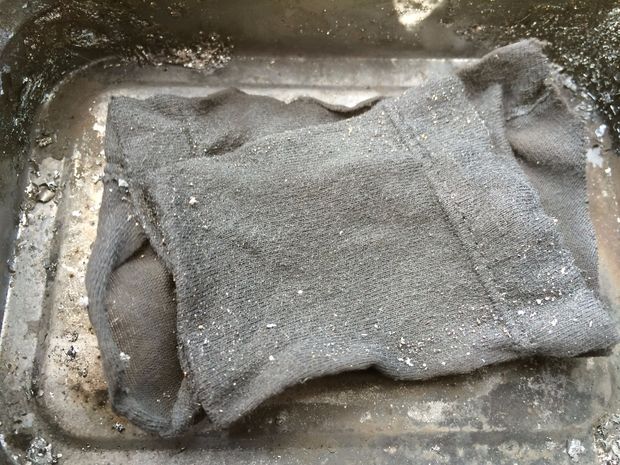
If yours looks close to this when the lid is removed and is very easy to tear, I would then say it seems like you have made your first batch of Char-Cloth….. Congratulations
Step 13: Ignition
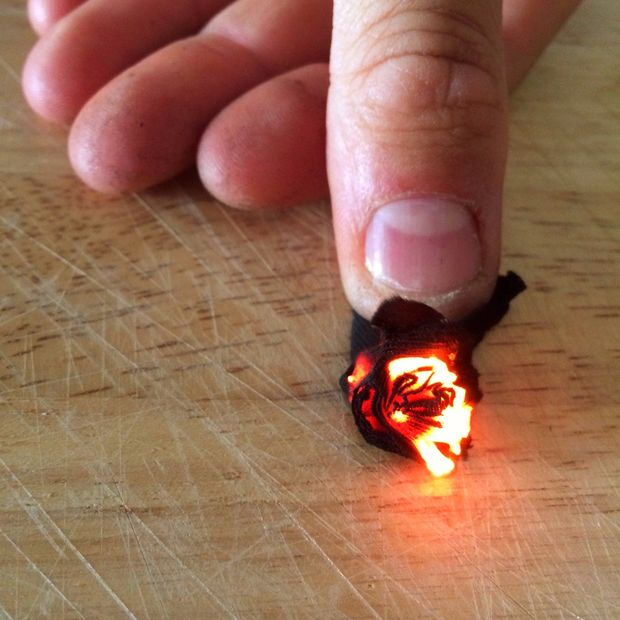
This is how it should look once ignited with a spark and blown on gently.
