Hafting a Stone Blade the Old Fashoned Way – All natural
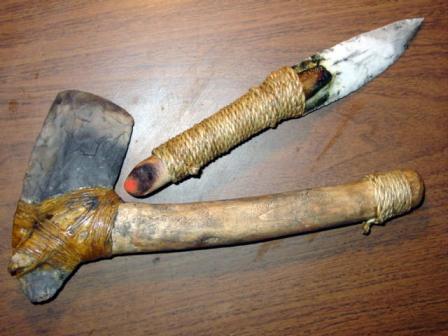
There are many ways to attach a handle onto tools. Wanting to expend the least amount of energy possible in stone age endeavors, I use vast amounts of energy experimenting with various techniques. Some work, others would work (if someone else performed them…). Here’s one method that I prefer because, well, I have little command of carpenter-ic common sense, a weak grasp on thinking and planning ahead, and little patience for crafting fine notches that snugly, custom-fit a randomly-contoured stone blade.
It all begins with The Stick. I chose a hank of Big Leaf Maple because it is soft and therefore easier to split with stone age tools.
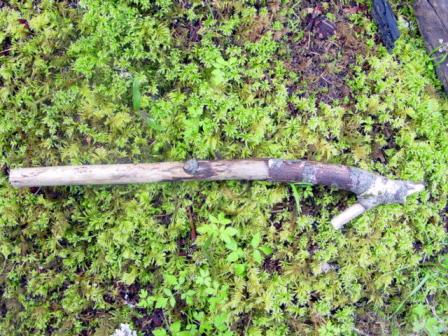
I’m a big fan of letting nature do the work for me. Rather than chop away with stone tools to reduce the ends of this tool handle, it’s easier to burn them. You might be wondering why I’ve built my fire on top of a chunk o’ wood. Well, this experiment ran concurrently with my first attempts to coal-burn a larger container for Stone Boiling. Notice the flames? Don’t Do That. The greater heat only serves to check and split the future bowl. Effective coal-burning involves coals, not flames…
Gettin’ there!
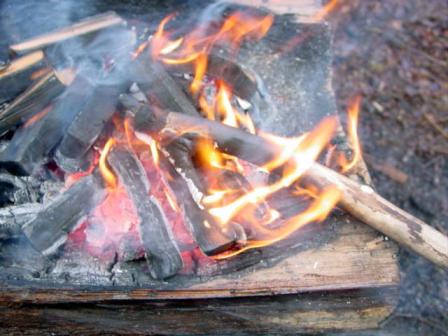
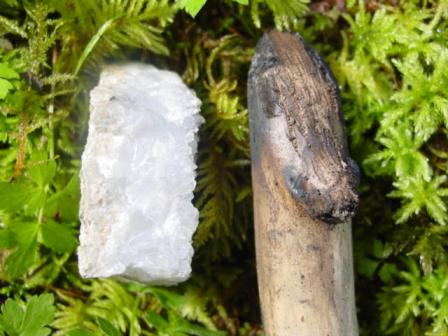
To smooth the end (I am going to put my hand there, you know) I am using a chunk of quartz, which has a bed of tiny crystals along one side (in the photo you can see an edge-on view of the crystals on the right side of the rock). This tool works great at scraping the ashy residue off the wooden handle.
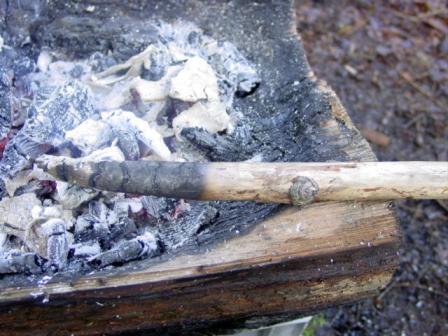
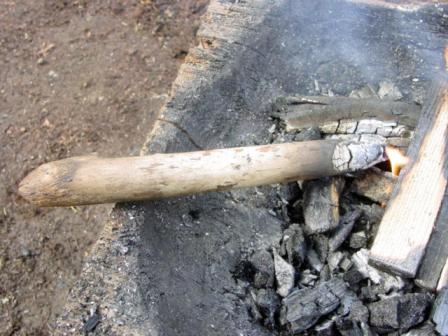
Time to reduce the other end. Maybe you notice the cracks forming on the lip of the coal-burned bowl. Let that be a lesson to me (but the bowl did hold a gallon of water and I ended up stone-boiling in it a couple dozen times!).
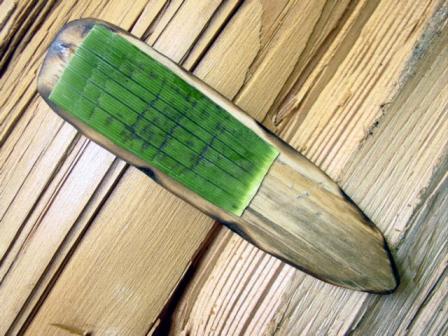
Here’s a nifty sanding invention that utilizes a strip of horsetail (Equisetum hyemale), which I glued to a piece of Yellow Cedar with deer hide glue. This works well at finish sanding.
While living on the Olympic Peninsula of Washington State, I was lucky enough to come across numerous dead deer. Strip the hide off, de-hair it by soaking for four days in a solution of four gallons water and one gallon wood ash, then boil the hides in fresh water for 8-12 hours.
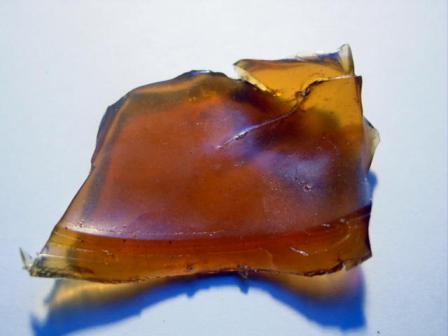
The collagen and other proteins dissociate from the skin and rise to the top of the water. Scrape this glue off the top and let dry. Deer hide glue is notorious for molding quickly. I ended up putting the lot into a food processor (not mine, thankfully) and grinding it so that the resulting tiny bits would be able to dry through-and-through.
Finished with the burning and sanding.
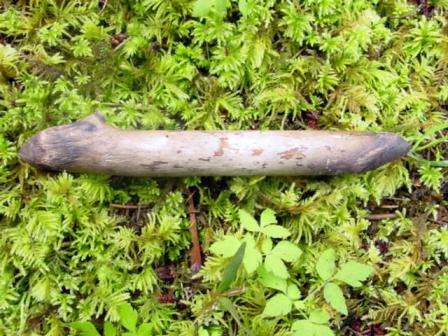
Not a great photo, you can barely see the Elk Antler Wedge (on the right) that I used to score and eventually split the side of the handle where the blade will be inserted.
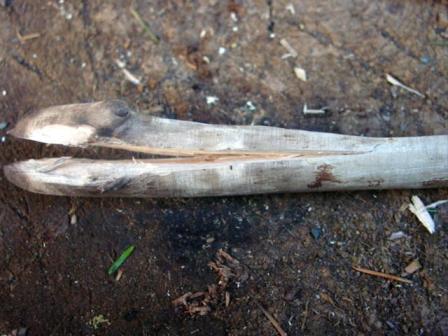
After splitting the handle once, I split it again in order to remove a wedge of wood, which makes room for the stone blade.
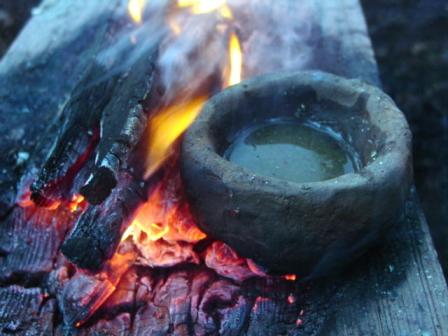
Using a piece of clay-and-sand pottery and fire, I melt some deer hide glue. Unfortunately, I chose to learn my lesson quite a few times that week regarding the erroneous use of flames to coal-burn containers. Here I am wasting yet another fine block of Western Red Cedar.
After applying hide glue to the blade and inserting the stone cutting tool into the handle, I wrapped a length of Australian Sea Grass Cordage around the handle. The cordage makes me feel as though the tool will last longer before falling apart eventually. And I like the feel of it. The red dot at the bottom of the handle is ground-up hematite (mineral paint). The hatchet was made in a similar fashion, but was wrapped in split deer intestine.
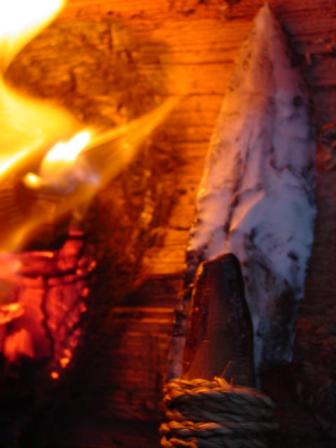
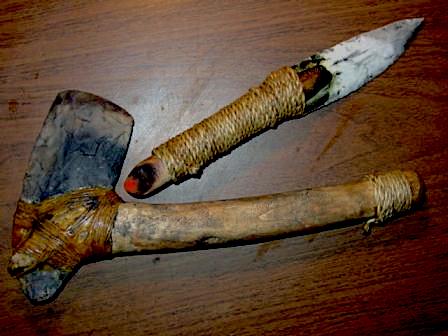
Voila…finis.
by Storm (RIP) Via BushcraftUK
If you have any comments then please drop us a message on our Outdoor Revival facebook page
If you have any primitive knowledge articles or you would like to write some please let us know about it on our FB page, we’re also happy for article or review submissions , we’d love to hear from you.
