Heat Treating For The Hobbyist Knife Maker
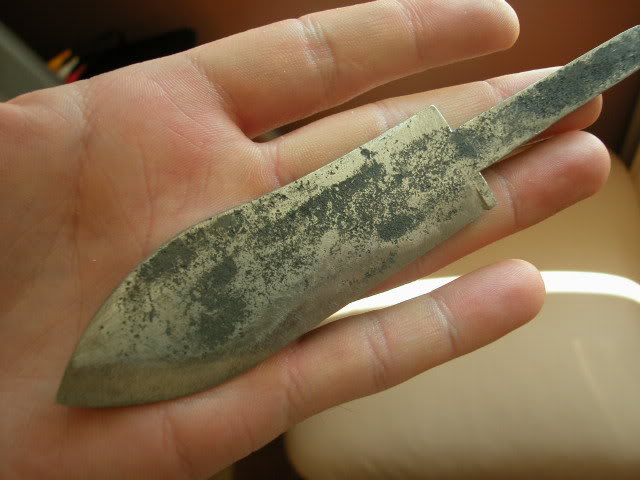
There’s a growing number of people that are getting used to knives as tools again, just like our grandparents did, especially when off the beaten track and in the woods.
We’ve had a few knife making type articles published on Outdoor Revival over the last few months so we thought it would be a great idea to help you along with heat treating any blade you make.
I’ve made a couple of knives and I know that the heat treating can be a scary concept but it’s a simple process as Thomas from British Blades shows us below in this step by step article.
OK. This is a very basic guide to heat treating your blades if you are a hobby or amateur maker.
When you make a blade ready for HT’ing, leave at least half a mil of an edge thickness. Don’t put any kind of edge on it. A sanding to 240 odd grit on the blade will be fine. Degrease the blade with white spirits or similar and set aside while you get your forge ready.
This is the forge I’m using:
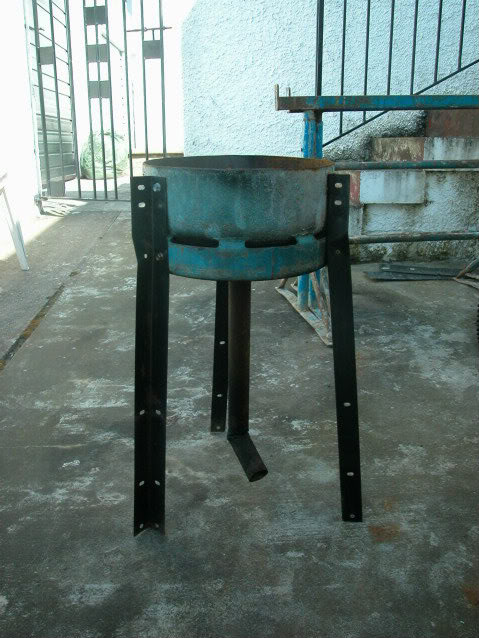
It was made from a gas canister. Cut with an airflow tube attached and an air spreader on the surface of the inside base.
Airflow tube from underneath:
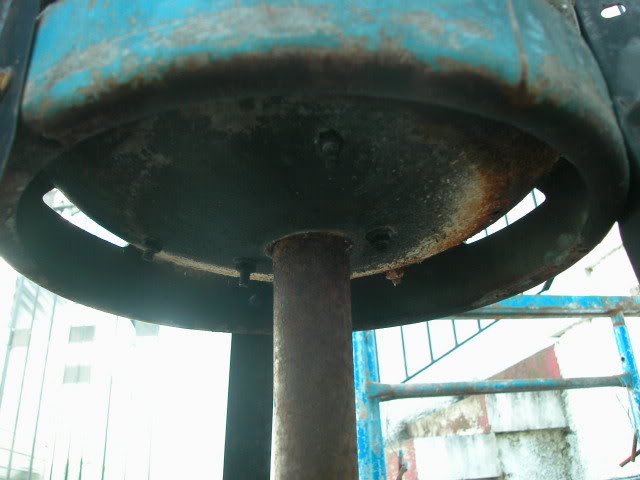
And looking down into the pit, you can see the plate with holes drilled. This spreads the air as it comes out into the coals. (I need to clean it a bit, some holes are full of gunk)
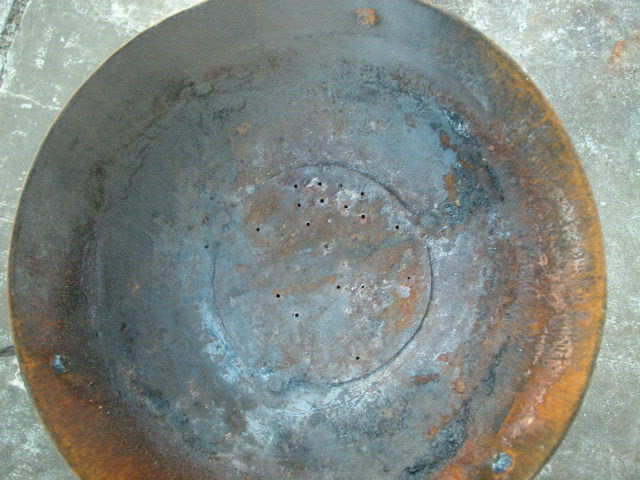
Now, just fill the pit and get some charcoal burning Burn them till they are really hot, then add more. This can take a while, so don’t expect a roaring fire in 5 minutes!
I used to use an old BBQ. Just the same principle. I had cut a hole in the base, stuck in a tube, and used a paint tin lid with holes drilled as my airflow spreader:
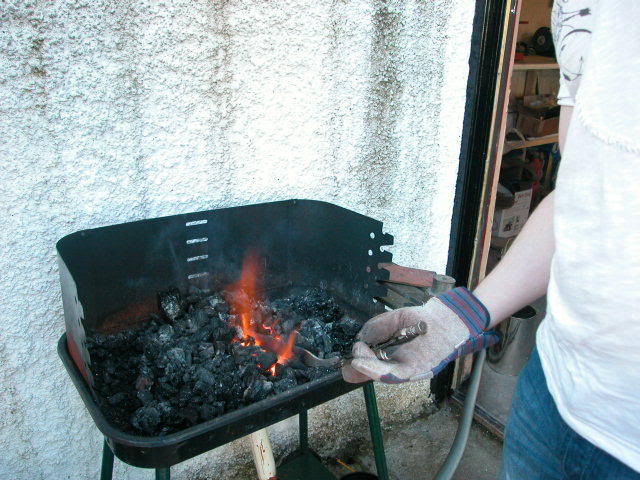
While we wait for the fire to get going, here are a couple of methods for using bellows to get the heat up. You need bellows to blow air into the coals, which make them hotter.
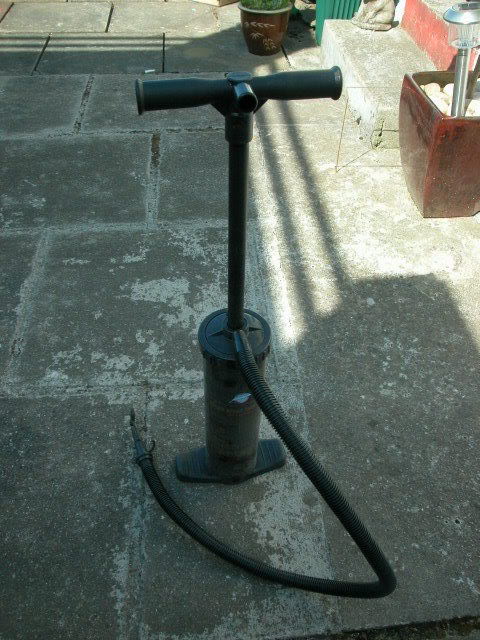
I have used these loads of times. Make sure you don’t hold the nozzle too close that it melts You just point the nozzle at the coals and pump, nice and smooth, don’t go like the clappers or you will end up knackered before your steel is ready, or injure yourself. (note on safety! Always wear gloves, gauntlets, specs, apron, etc….)
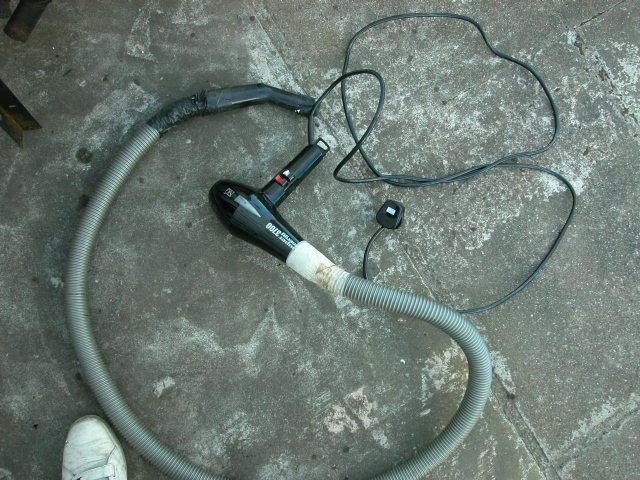
Like so:
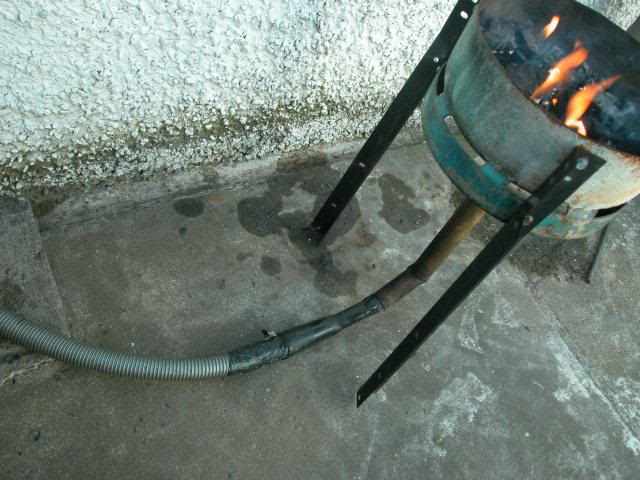
The hair dryer gets turned on to the lowest setting. This is always enough air to fire up your forge.
Now, the coals have been burning a while. They look quiet….
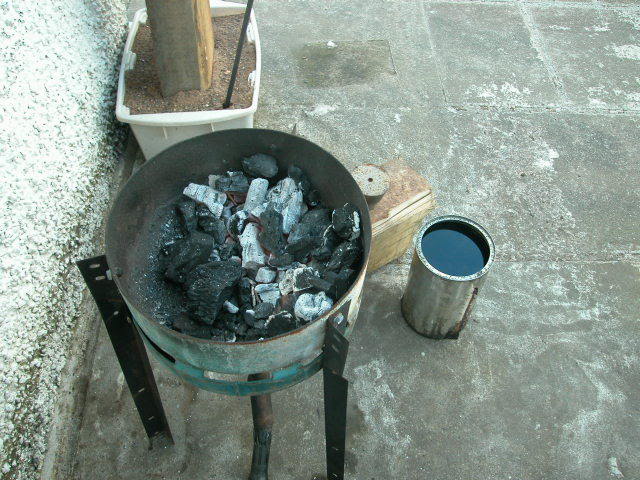
But when you turn on your bellows….
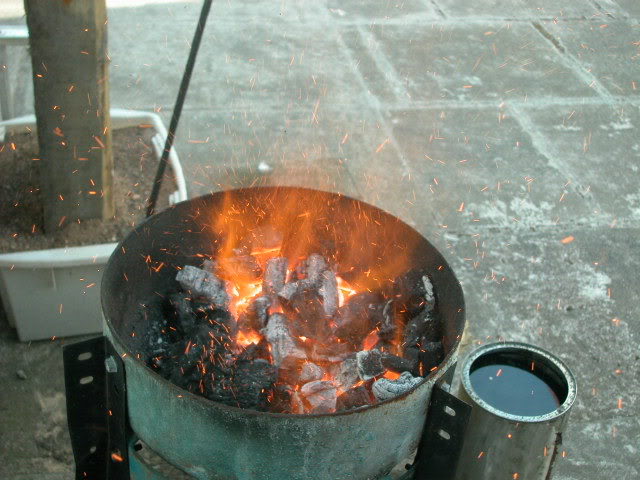
Note the oil sitting near enough the forge that i can quench quickly, and the magnet even closer. (Speaker magnet sitting on the wood, second pic up) You MUST make sure your steel is NON magnetic before you quench it. So have it close to both your forge and you oil for obvious reasons
Ok, now we have fire. We have a blade to HT, so now all we need to do is get the oil ready. And get your kitchen oven pre heated! Between 180 and 200c. I use gas mark 4.5.
I stuck in a piece of mild steel round bar to heat up.
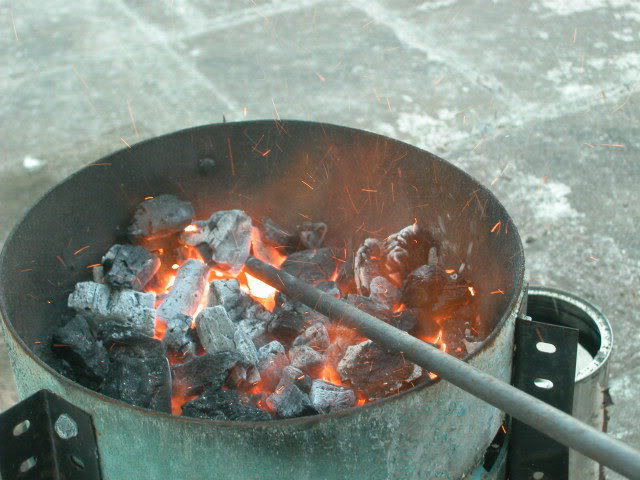
Get it fairly hot. No need to be precise, just get the tip hot enough that it begins to glow.
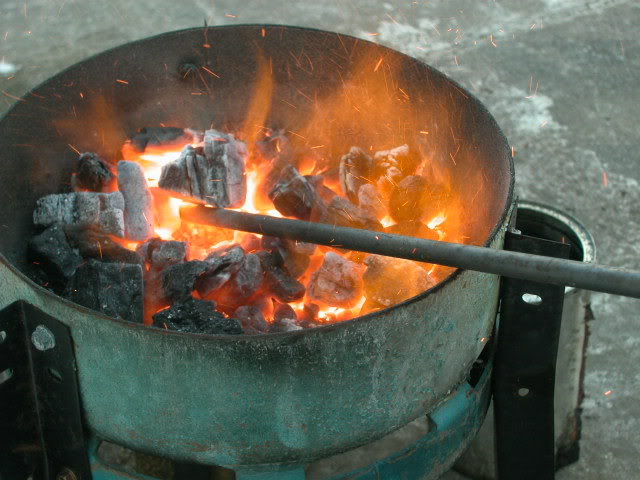
Now dunk it into your oil and stir as you do it. This heats up the oil a bit, so that it’s not just room temp, or cold. I have found that doing this, I have had no blades crack when I quench them.
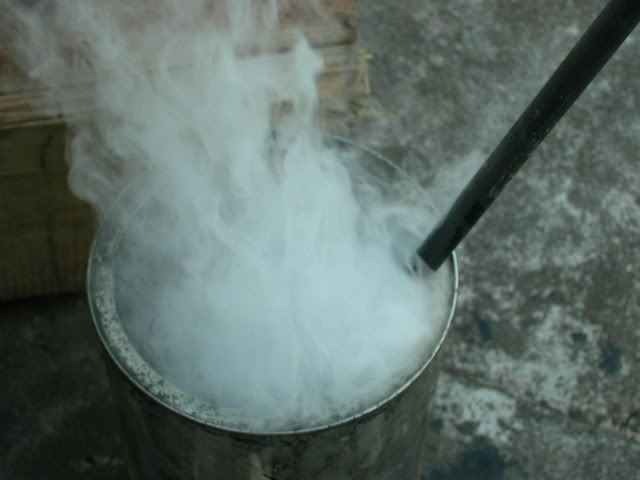
Now we’re ready to go
Get your blade into the coals. With a larger blade you would put it in edge down for a minute then turn it edge up. This is because the edge is finer, so will obviously heat quicker and you don’t want to burn it. So the spine heats the edge a little more gently.
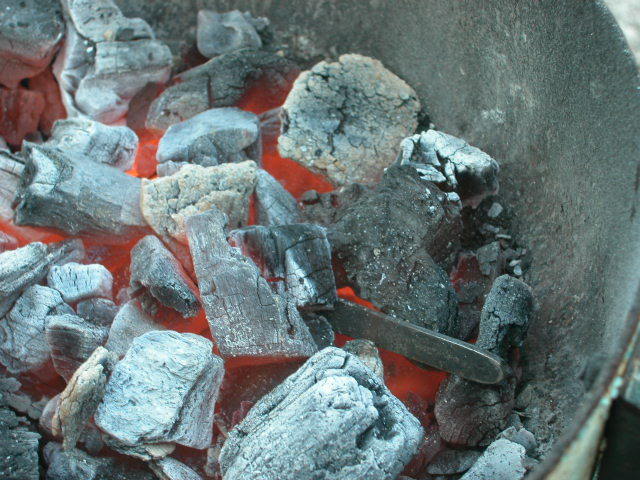
Turn the bellows on and in a minute or two, we have a non magnetic blade.
This blade was non magnetic:
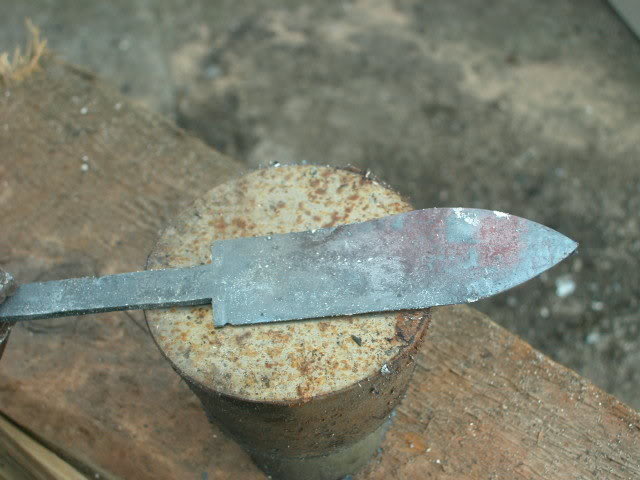
Which may be surprising for those who think they are strictly looking for a cherry red color. This is important to point out.
During a nice day like today, you will not notice the colors as much, so keep checking with the magnet. (It did cool a bit while I took the photo) you will quickly get used to gauging it.
Because I had to get a photo, I put the blade back into the coals to get to temp again.
Now, when it’s non magnetic, quench it in your oil. In for 3 seconds, out for 2 and back in till its settled down. Move the blade forwards and backward, spine to edge in the oil. Never side to side.
IN, 1..2..3..
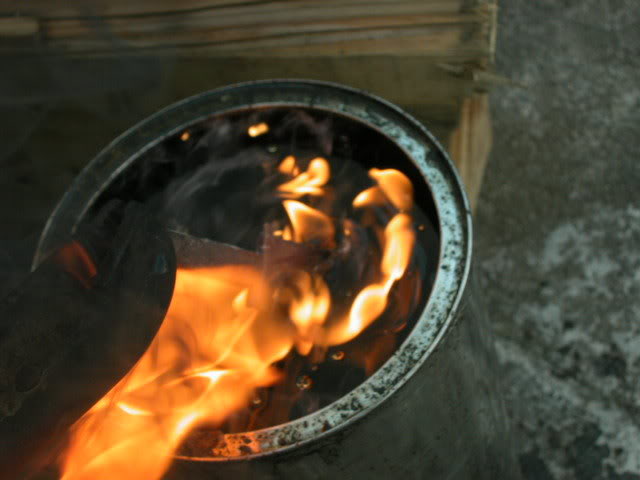
OUT, 1..2..
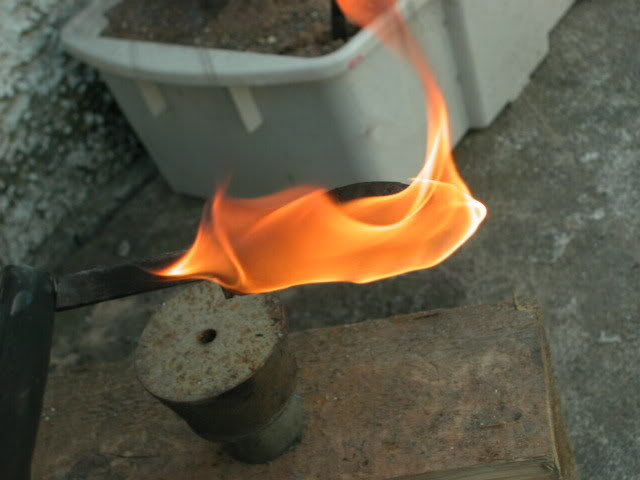
IN,
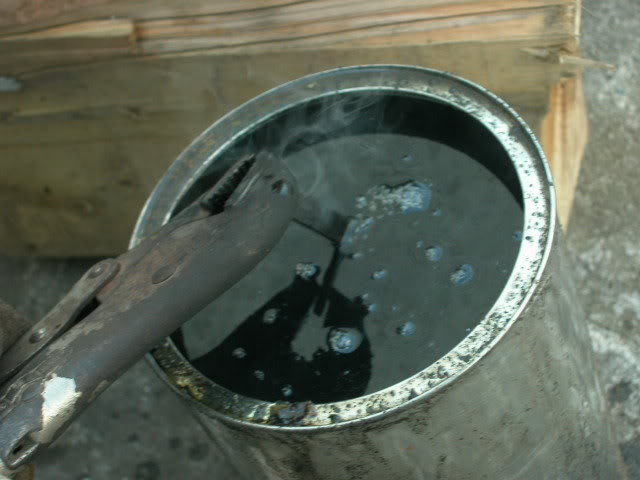
When it has cooled, it will likely be covered in black gunky scale….
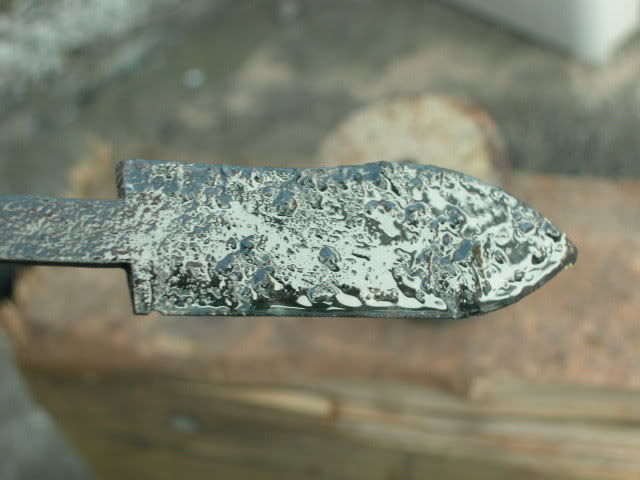
I repeated the heat till non magnetic, and quench, 3 times.
Now, take your blade and stick it in a vice. Using an old, or used file, give it a file. It should slide without biting much, and sound ‘glassy’.

If it doesn’t, then the steel is rubbish, or you have done something wrong. Do the HT again to make sure.
This particular blade did harden, but not as much as the likes of O1, etc…. I want to know what this stuff is It will make a usable blade though.
Now you want to scrape all the scale off and degrease with spirits. (or you can stick it in a tub of dry sand) Give the blade a good clean.
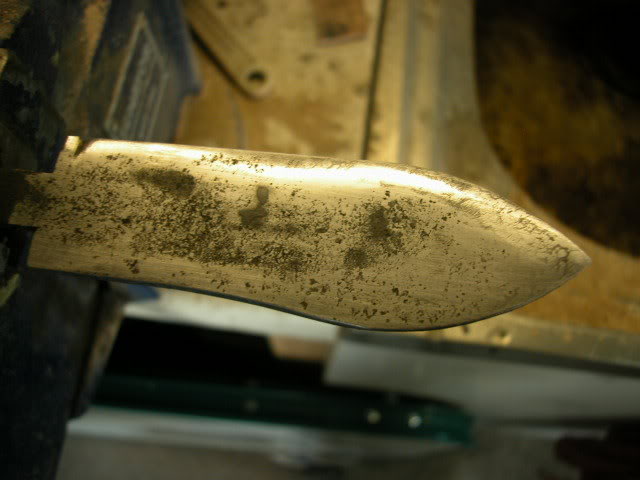
With your kitchen oven now heated at gas mark 4.5, wrap the blade in foil and get it in the oven….
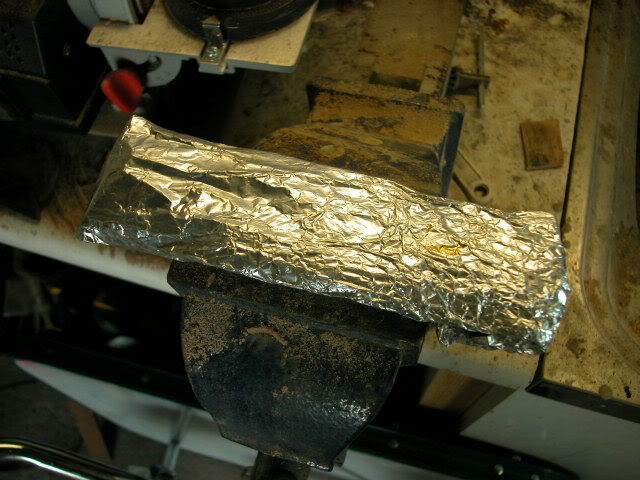
Leave it for an hour, then switch the oven off. When its cool, you have a heat treated blade.
Notes*
This is how I do my blades. If I’m making a blade that I intend on selling, or one that is a bit special, I will get it done by a pro. There are plenty of folk about that can help you out with any kind of steel. This is just to show people how you can set yourself up at home to practice and have a bit of fun.
This IS a fun process guys. And you should treat it as such. But don’t forget to be safe.
Thanks to Noddy and ©BritishBlades for allowing us to use this article
If you have any comments then please drop us a message on our Outdoor Revival facebook page
We love reviews on Outdoor Revival and we’ll be bringing you a lot more over the coming months, if you enjoy reviewing kit and would like to submit reviews to us, let us know on our FB page, we’re happy to receive any article or review submissions, we’d love to hear from you.
