How To Make Your Own Cross Draw Knife Sheath
I’ll start off by showing you everything I’ll need, tools & gizmos wise. From left to right; Impact adhesive, polishing brush, artificial sinew, small paintbrush, shoe polish, scalpel, edge-beveller, stitch marker, ball point pen, small clamps, Edge Kote, dying bobbin, dye, embossing punch, homemade liner/burnisher, sharp punch, hammer, needle, Knives for the sheaths!
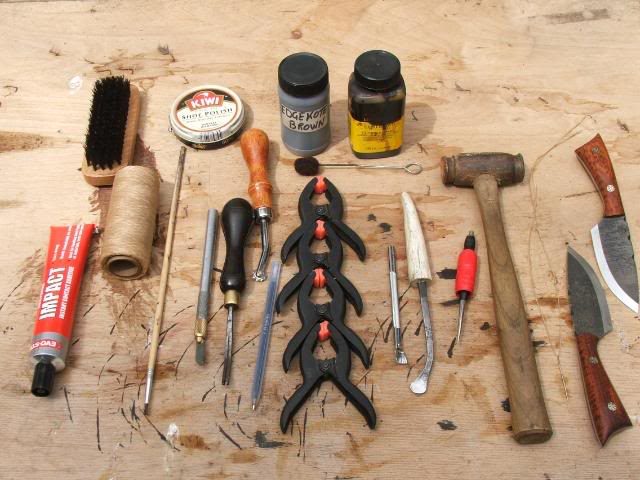
As you can see, that’s a lot of stuff! If you’re just starting out, you can make a lot of this stuff yourself. The 2 tools I would say that everyone doing any leatherwork should buy are the Edge beveller & a stitch marker. Finished edges & neat sewing make all the difference!
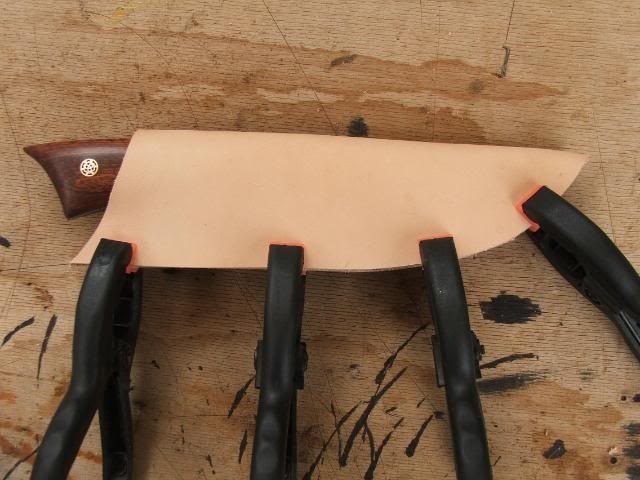
First job then. I lay the knife out on a suitable piece of leather (3/32″ Veg Tan Side) & draw around the blade, leaving 1/2″ or so. *Don’t forget at this point, the widest part of the knife HAS to correspond with the widest part of the sheath.*
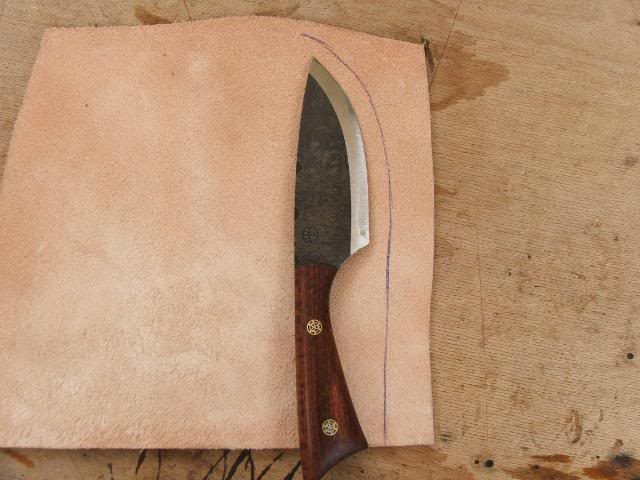
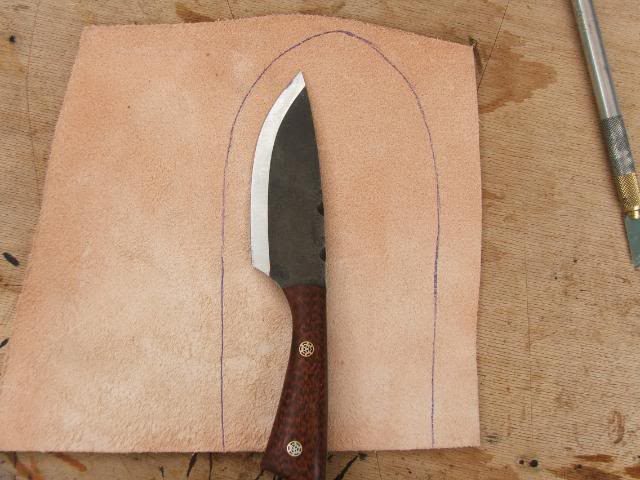
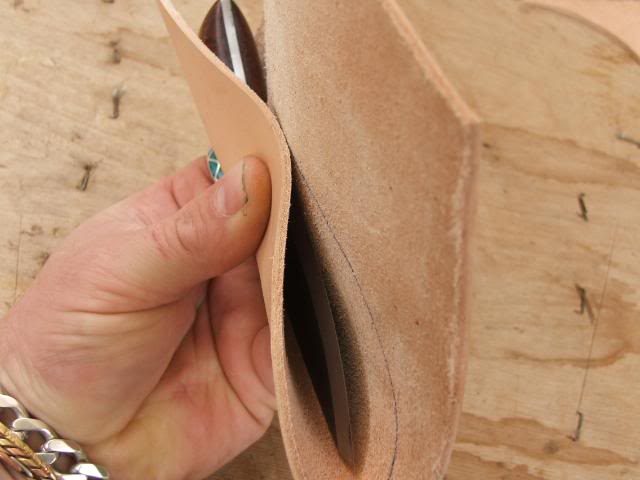
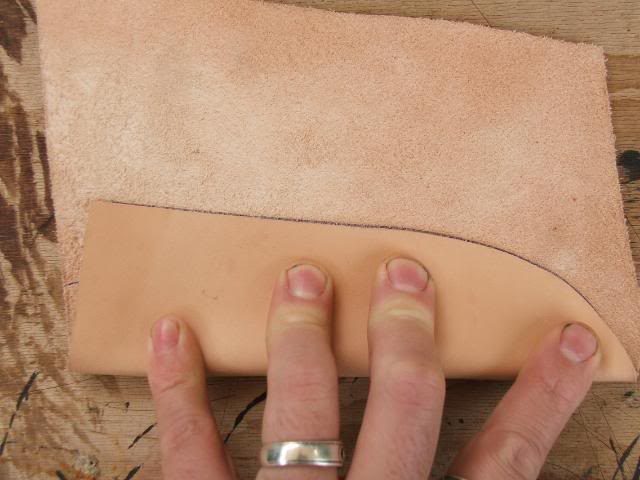
You see why?
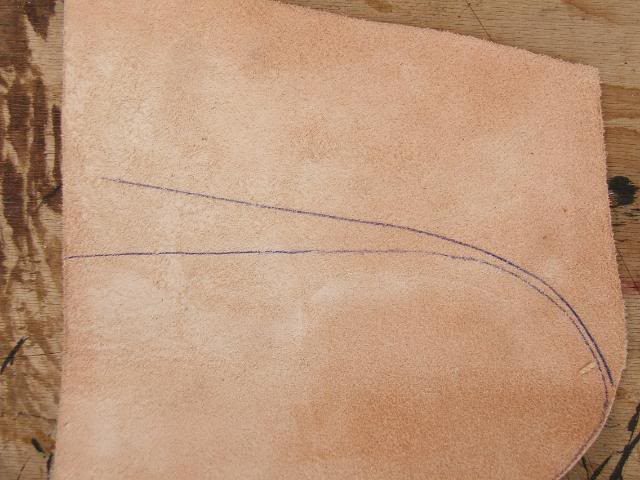
More to follow…..
Once you have the final outline marked, carefully cut out the shape to the lines. You may be left with the top-line of the sheath at a funny angle, just square this off & you’re ready for the next part.
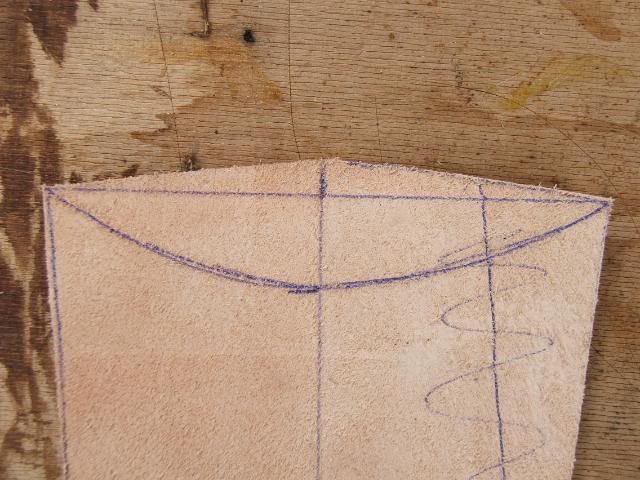
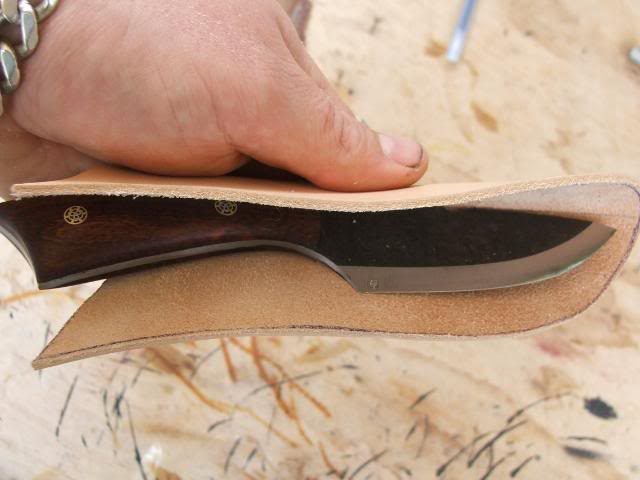
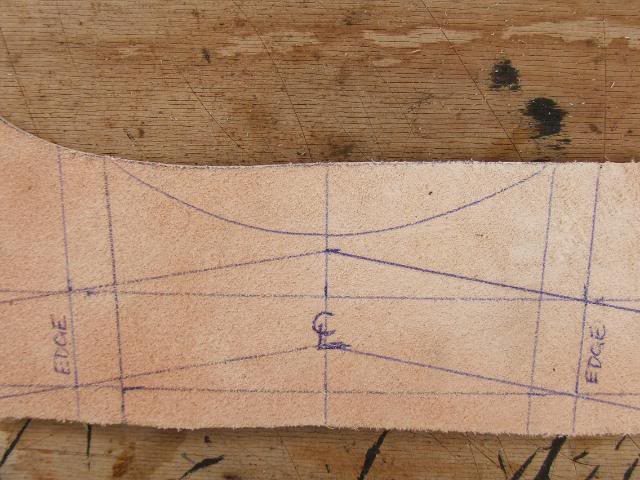
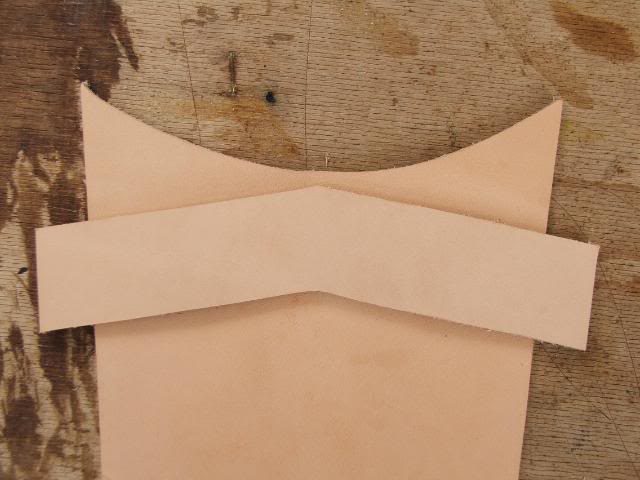
On my crossdraws I like to keep the top of the open end slightly recessed back, to make access to the knife easier. Here’s how I lay it out. I draw a centreline down the sheath (All this marking is done on the inside, by the way) & a horizontal line across what will be the open end. I mark 1″ into the sheath on the centreline from this horizontal line & draw out a nice sweeping curve from edge to edge, through my mark. Like so…
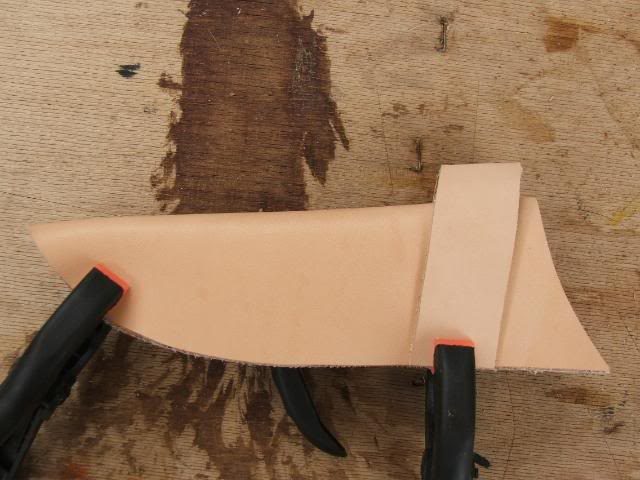
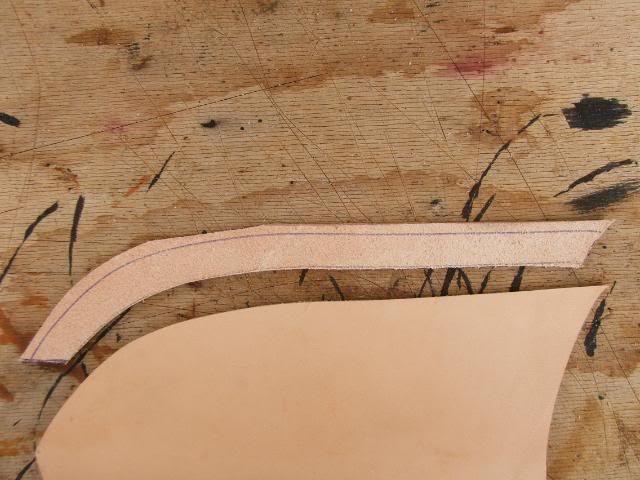
First off is to dye them all. I use Feibings dyes for this. They’re really easy to use, you can mix your own colors & it dries in around an hour.
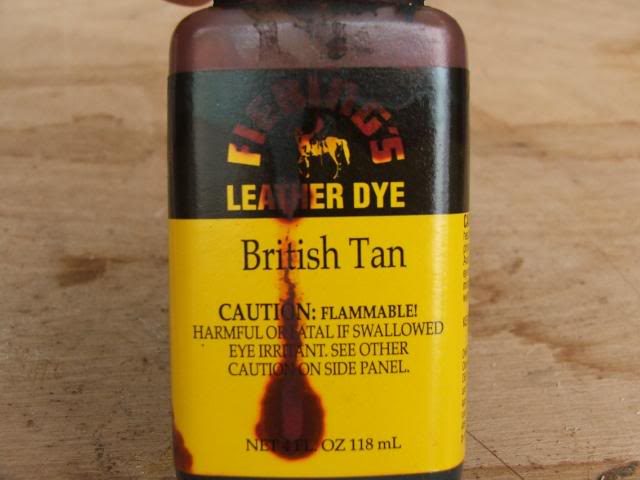
Using the bobbin, I apply the dye in even, slightly overlapping strokes which gives a nice (to my eye!) streaked effect. This looks a bit harsh now, but as you work through the remaining stages it will blend a little bit.
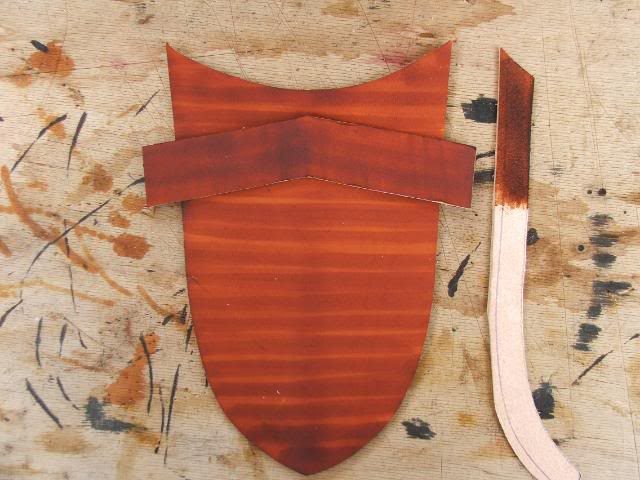
Back in a bit when it’s all dry
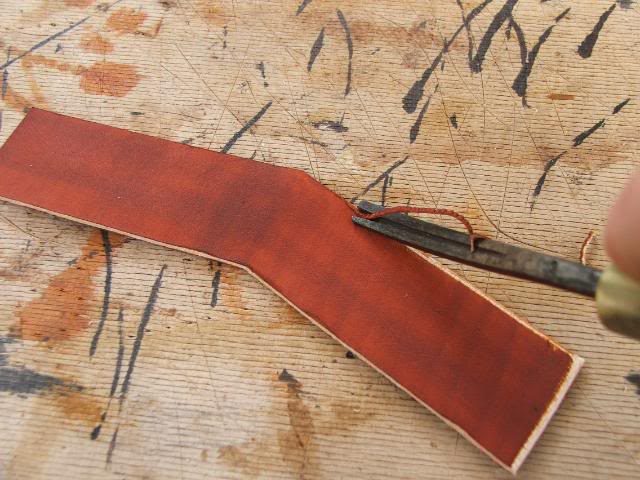
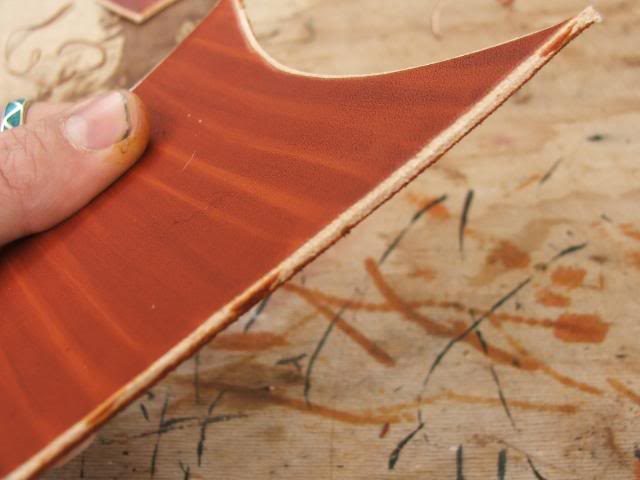
Okay, once the dye is all dried up it’s time to bevel those edges! I always do this after dying, because the dye will stiffen the leather & this makes shaving the edges that much easier. You don’t need too much pressure on the tool, just a nice light pass will do. Don’t try to take too much off, all you’re doing is knocking back the top edge…
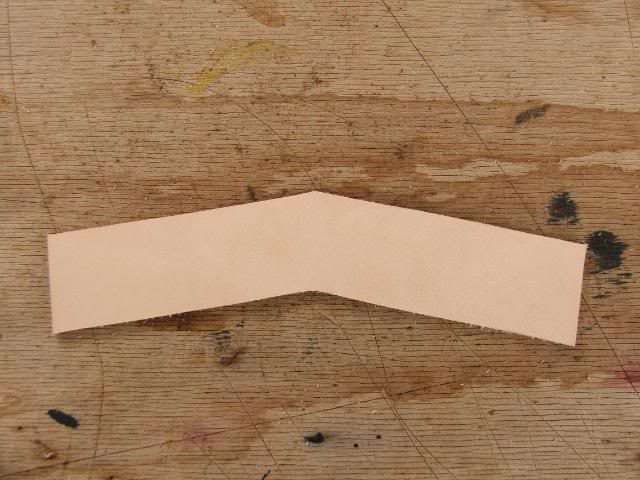
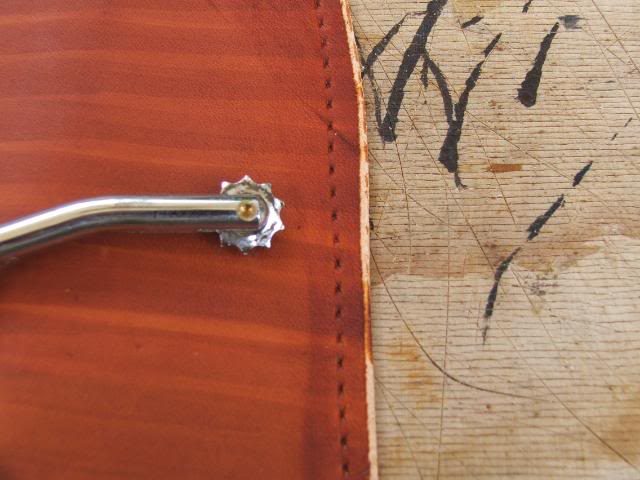
Now we can start marking out for the stitching. I find it helps to dampen the leather slightly for the rest of the build. NO WET, just dampen with a nearly dry cloth is enough. Mark out where you want your stitches to run, not too close to the edge, but close enough that you’ll be stitching through the welt & not inside of it. Follow the profile of the sheath down the front side only (The side that will end up away from your body)…
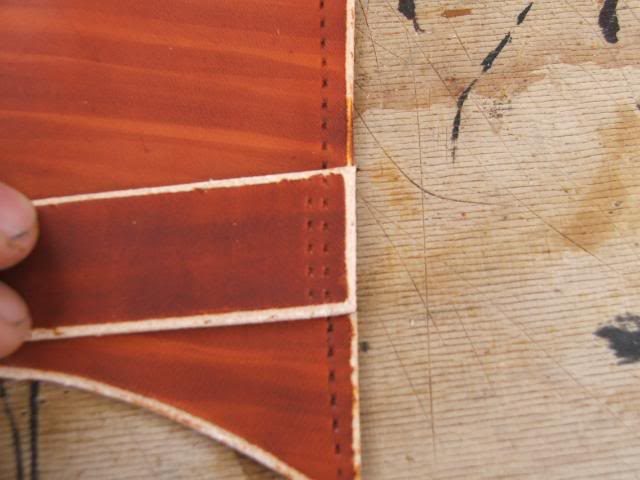
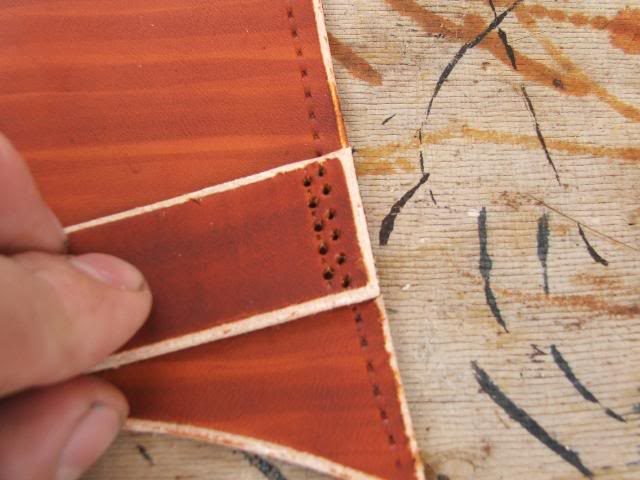
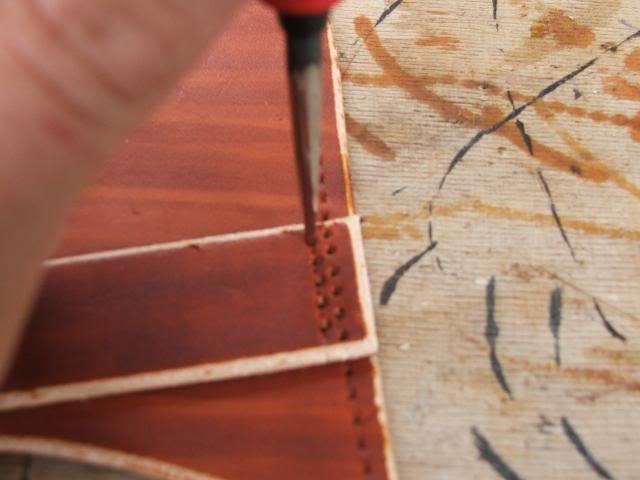
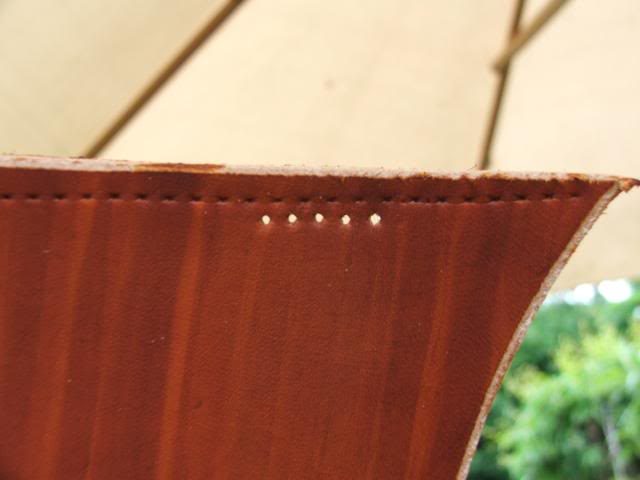
Next, fold your loop exactly in half & punch through the top holes…
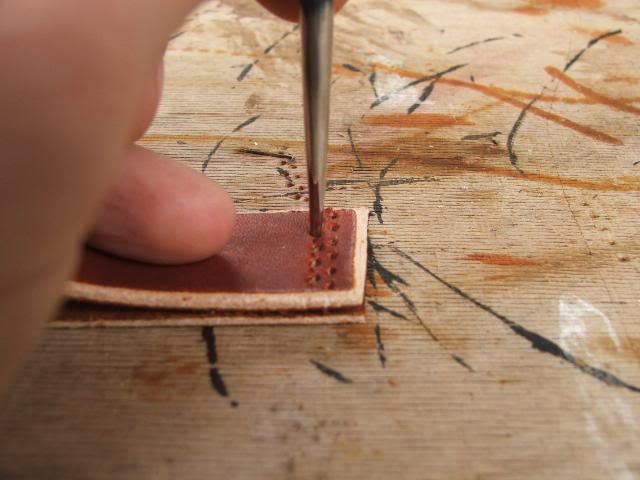
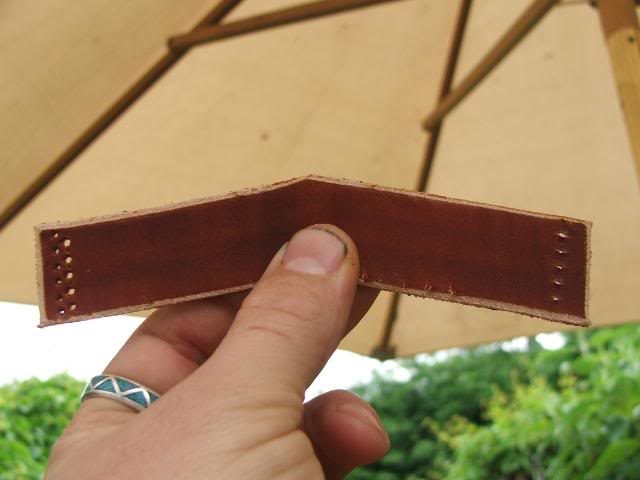
Once that’s done, dampen the edges of the loop & the top edge of the sheath & give a quick coat of Edge Kote with a fine brush. Make sure you come up the sides of the bevel you cut…
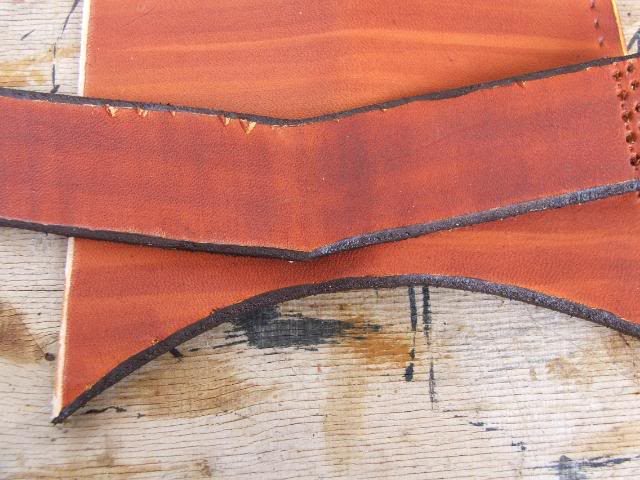
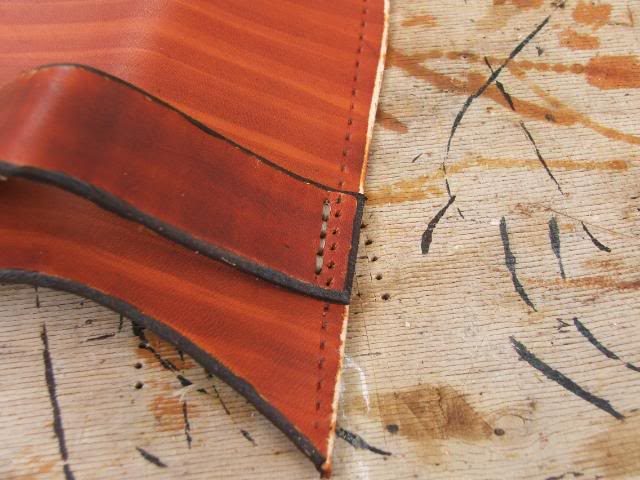
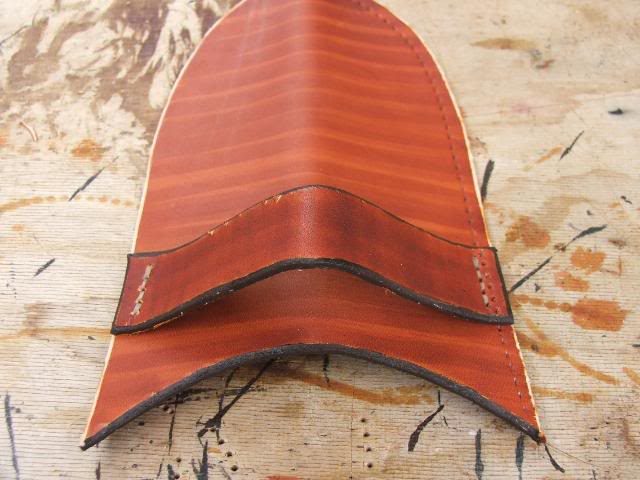
Simply done but it looks fantastic if it’s done right. Just dampen the leather & use your choice of embossing stamp to create your design. I like to keep mine simple, just a scallop inside a line. For straight lines I have a home-made tool, but a teaspoon handle works admirably! …
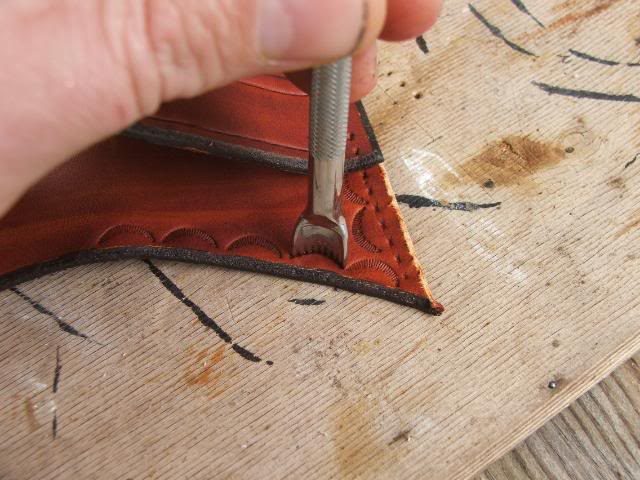
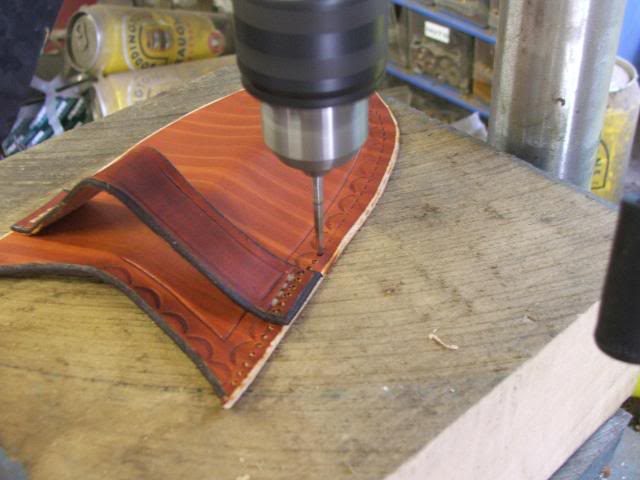
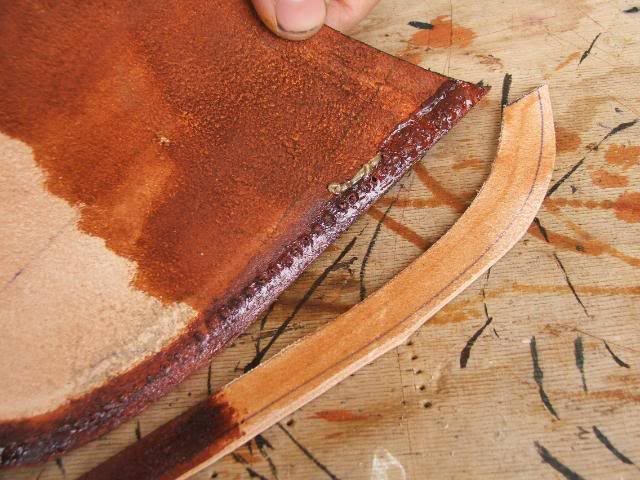
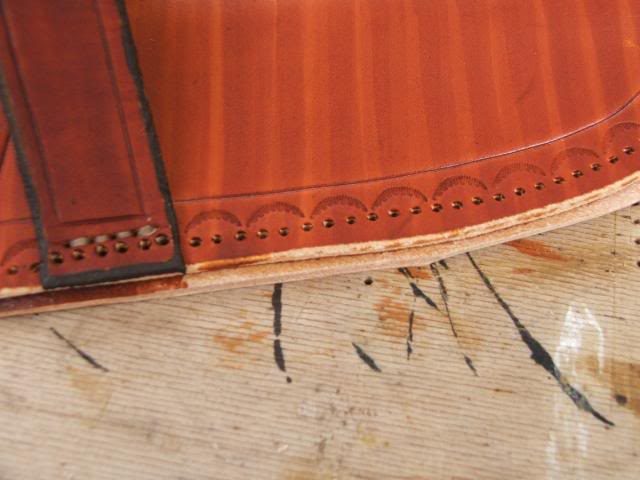
Then it’s back to the drill press & go through your previous holes & through the welt. You can leave all your drilling/punching until you have everything glued up, but I’ve found that the holes tend to migrate & wander a little from one side of the sheath to the other…
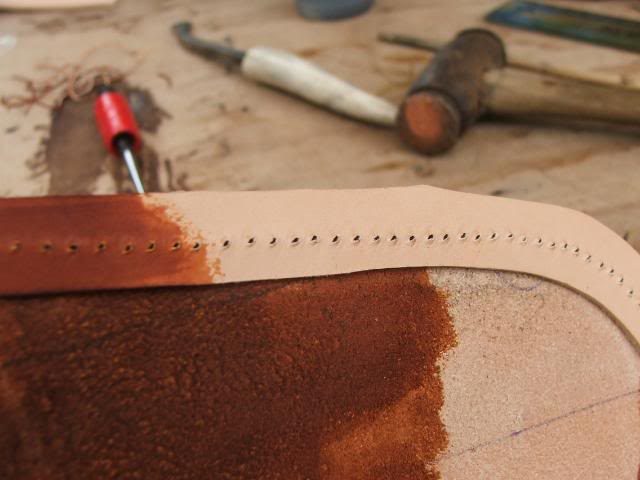
Now I trim the welt to match the outside of the sheath…
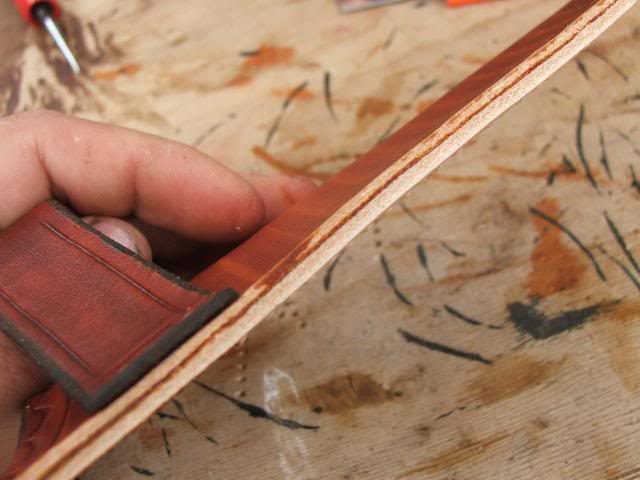
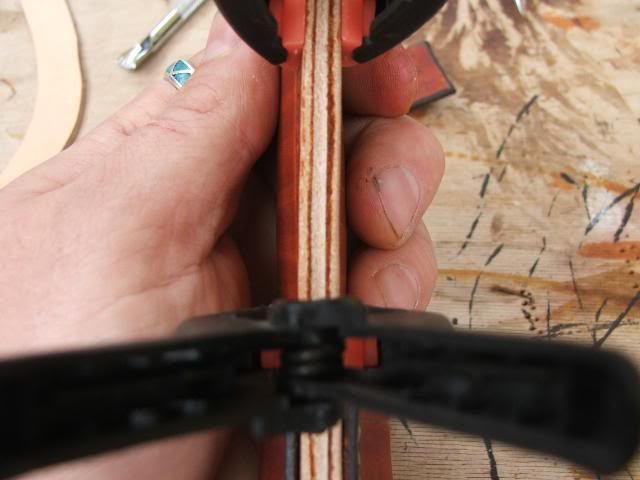
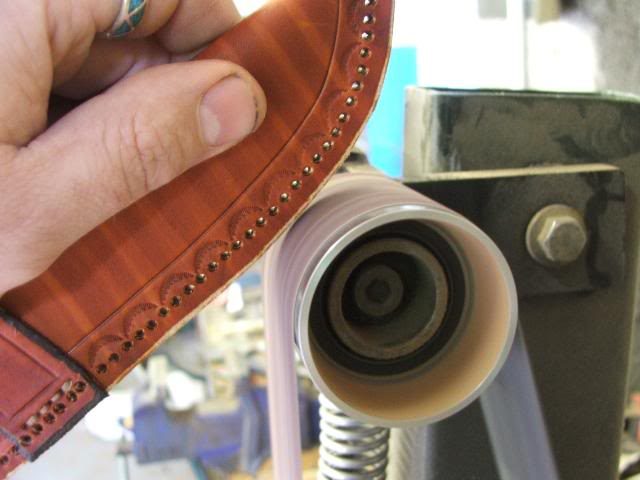
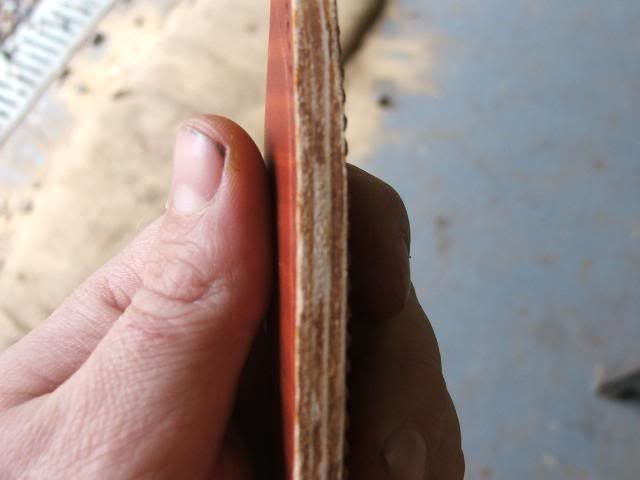
Back to the needlework we go!
I use 70# artificial sinew for all my sewing these days. I just find it easier to work with than cotton, but YMMV. I split the sinew into 1/3 it’s size for sheaths.
So, we now sew the sheath up. Take your time, keep your stitches tidy & hide your knots! I start & finish my stitching between the welt & the back layer of the sheath. It’s fiddly, but I have no visible knots …
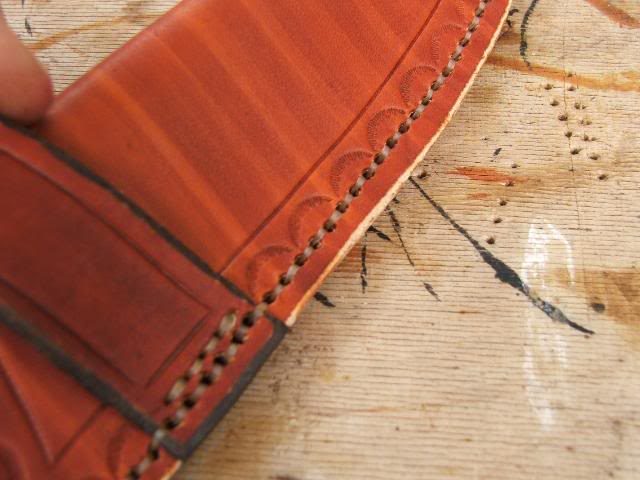
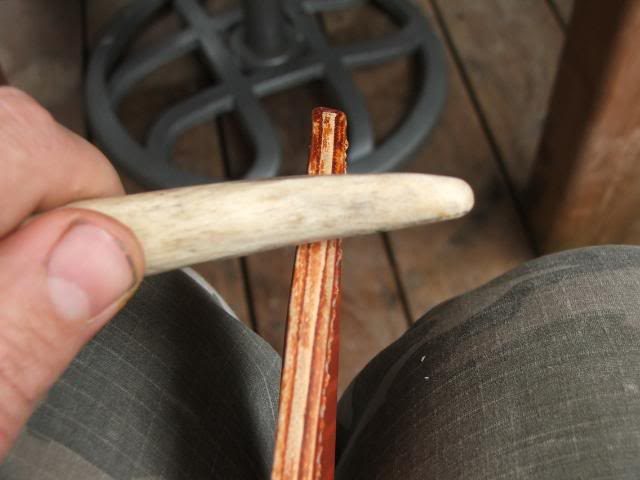
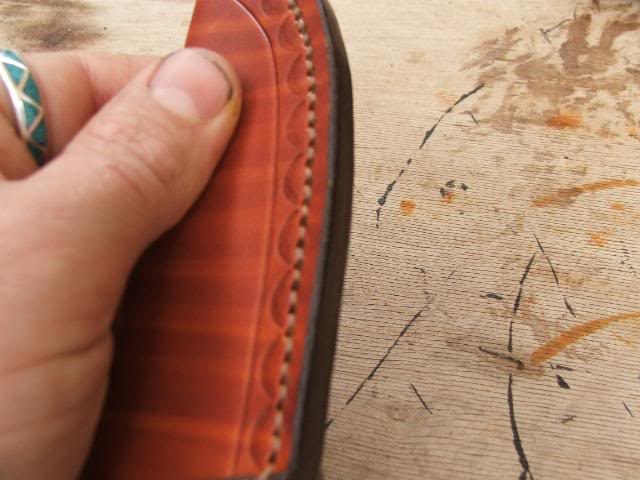
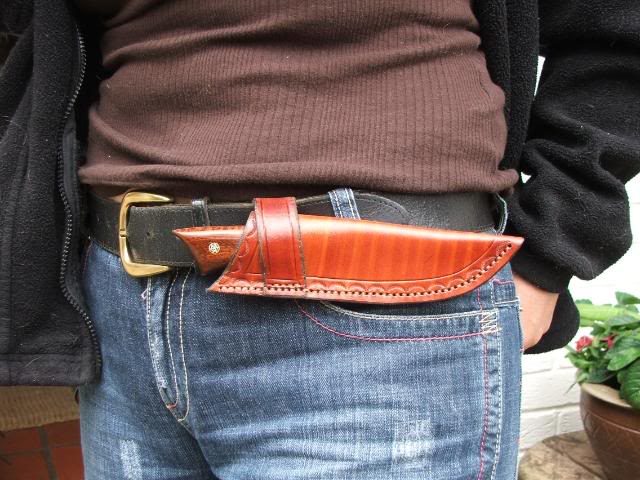
Here it is, being sported by my beautiful assistant, The Wife…
Thanks to Uke and ©BritishBlades for allowing us to use this article
If you have any comments then please drop us a message on our Outdoor Revival facebook page
We love this sort of thing on Outdoor Revival and we’ll be bringing you a lot more of it over the coming months, if you enjoy making or designing kit let us know about it on our FB page, we’re also happy for article or review submissions, we’d love to hear from you.


