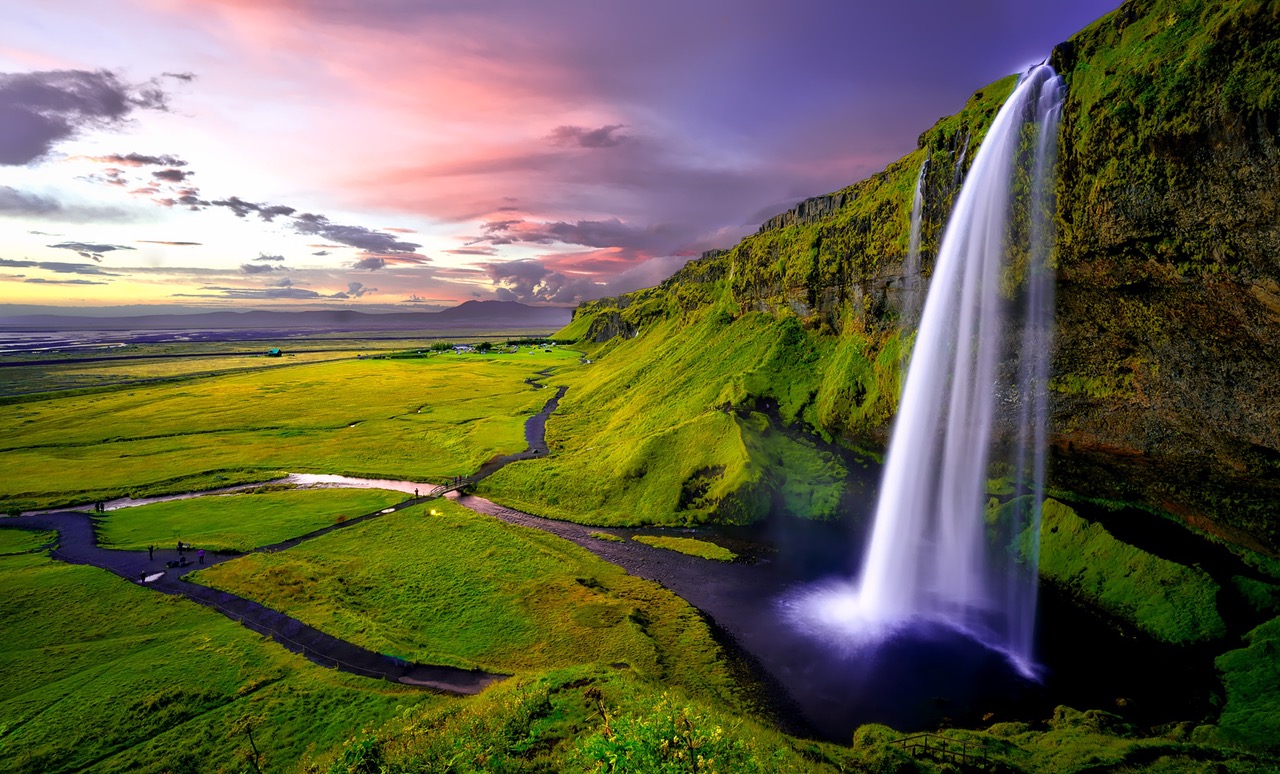
3 Tips for Taking Gorgeous Waterfall Photos

Waterfalls are stunningly beautiful creations of nature, and each one is completely unique. Some are tranquil, with calm flowing water, and others roar with power and crash into a collection of jagged rocks.
It’s no wonder why waterfalls have long been a captivating subject for outdoor photographers. As a photographer, you hold some control, too, over how the viewer will perceive the waterfall you’re capturing, depending on how you take your photo.
Do you shoot with a long exposure to create the effect of smooth, calm water, or allow the shutter to capture the violent water spray as it collides with the earth after a tremendous fall?
Between the uniqueness of each waterfall and the opportunity for the photographer to experiment with their artistic vision, waterfalls are without a doubt one of the best subjects to photograph in the outdoors.
For those looking to improve their waterfall photography, here are a few tips to take your waterfall photos to the next level.

1. Use a long shutter speed to get the “smooth” water look.
Many of the most famous waterfall photos have that milky, soft look to the flowing water of the waterfall. This is accomplished by using the manual settings on a camera and purposely slowing down the shutter speed much more than the camera would usually do on its own.
The best shutter speed will depend on the lighting conditions, but experiment with a few different ones, starting around 1/20 of second and getting slower and slower until you get the effect you’re looking for.
Remember, at such slow shutter speeds, you’ll definitely need a tripod to keep your photos from coming out blurry. If your shots become overexposed due to the long shutter speed, consider stopping down your aperture and ensuring your ISO is as low as it will go.
Some photographers will even use a neutral density filter to allow them to darken the image and take long exposures even in the mid-day sun.

2. Shoot in lower than usual light.
One secret that many outdoor photographers learn over time is that when it comes to waterfalls is that it’s actually best to shoot them in low light. This allows you to avoid the harsh highlights that often develop in the flow of the waterfall, and gives you plenty of room to work with if you’re going to be slowing down your shutter speed to smooth out the water for your shot.
As usual, you can’t go wrong with shooting waterfalls during the golden hour. Early on, when the sun is still fairly bright, you can try some shots at typical shutter speeds which act to “freeze” the motion of the falling water, and as the sun fades, you can slow down your shutter speed to smooth the waterfall without fear of overexposing.

3. Use a polarizer filter
Of all filters, the polarizer filter is one that can give you a lot of creative control over a waterfall scene. Polarizer filters work to block stray rays of light from reaching the lens of your camera, which results in the ability to completely eliminate glare on the surface of the water.
Instead of having the waterfall drop into a pool of shining white water, you can eliminate that glare with a polarizer filter and reveal the true color and texture of the water in your photo.
Unlike many other filters which can be mimicked to some degree in post processing software, the effect of a polarizer filter cannot be created artificially.
If you have any comments then please drop us a message on our Outdoor Revival Facebook page
If you have a good story to tell or blog let us know about it on our FB page, we’re also happy for article or review submissions, we’d love to hear from you.
We live in a beautiful world, get out there and enjoy it.
Outdoor Revival – Reconnecting us all with the Outdoor
