How to put a handle on a knife
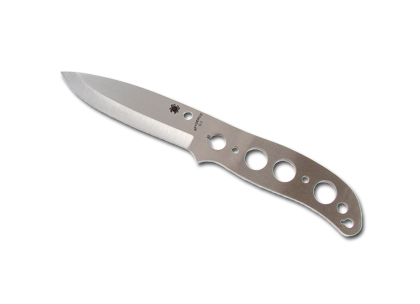
This is an article about putting wooden handles on knives and it can apply to any knife blank and handle, so if you’ve had that knife blade sitting about for a while or you like the idea of putting your own knife together then this is a great article to help you on your way.
By Chris Claycomb of Bushcraft UK
I read that Spyderco were going to release their stock of Bushcraft blade blanks some time soon. If so, I thought some folks might find some photos and descriptions of how I shape this type of handle useful. Obviously, there are many ways of doing most things in knife making and folk get comfortable with particular methods which suit their philosophy, tools and requirements. This is just how I do things.
Tools.
I don’t tend to use a belt sander for handle shaping but this is more to do with my grinder having only a 10” wheel. An 8” wheel would work much better for shaping this type of handle. All the work done on this handle can be done with a small selection of files. These are the ones I use:
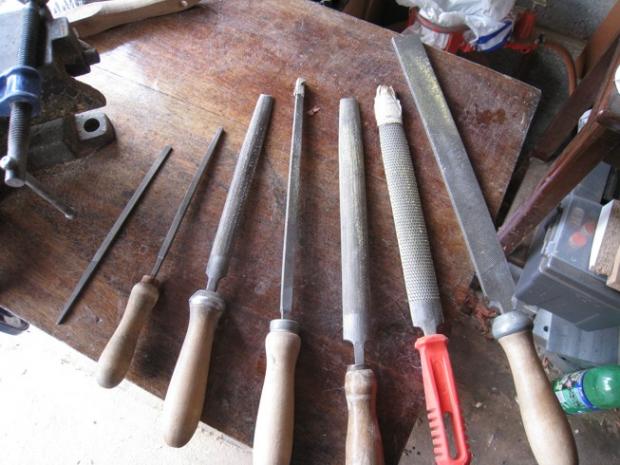
¼ wide flat smooth cut, ¼ x 6”square, 8” half round, 10” square, 10” half round smooth, cabinet maker’s rasp, 12” flat.
The two half-round files could be done without by substituting dowels and good sandpaper. Nearly all the shaping is done with just the cabinet rasp and the 10” square. The smaller files are handy in some tighter corners; the big flat is good for straightening a few lines and getting lumps out.
I find some things invaluable for measuring work as it goes.
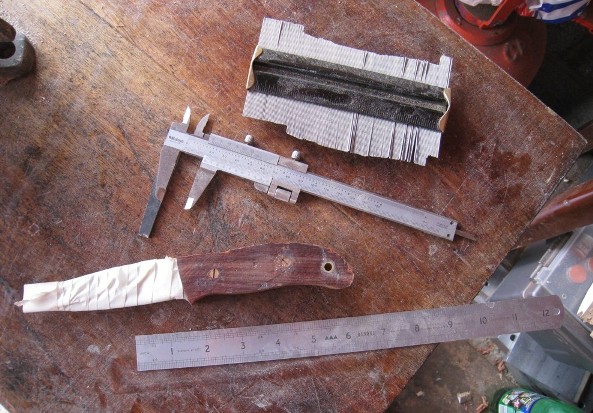
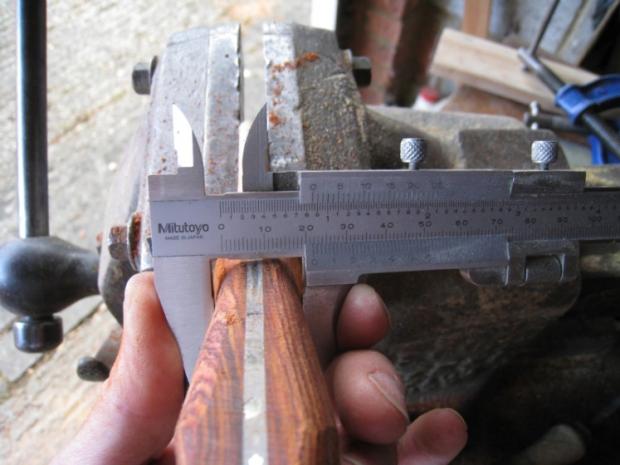
A pin-gauge for keeping both sides of the handle the same shape is very handy. Vernier calipers (here shown with a temporary modification, on which more later) and a steel ruler (actually, a flexible 6” is better)
Lastly, I use a variety of backings for handle sanding. Here’s a picture although they won’t feature in any of the other pictures.
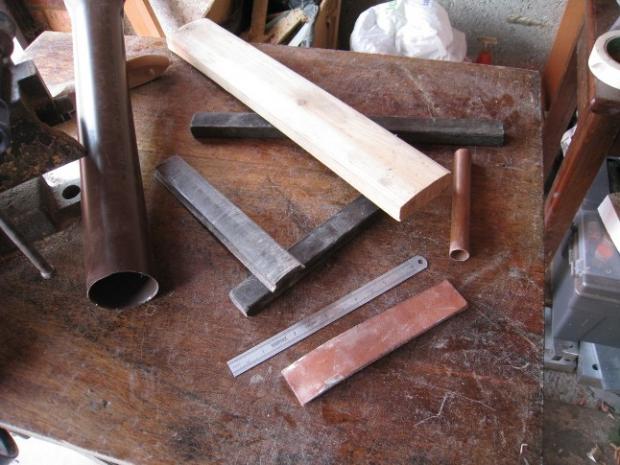
In addition to a couple of rectangular bits of hardwood and a couple of pipes, I planed down a bit of pine to approximate an 8” radius, handy for evening up some curves when used with 80grit paper. Some 8mm thick shoe leather makes a great flexible backing. The strange metal bar is a wedge from a defunct electric generator and is about a 6” radius.
The knife
The idea behind the handle on the Spyderco/BushcraftUK knife was to have a fairly broad but well sculpted and rounded handle which would spread the load from heavy wood cutting over a large area of the user’s hand.
Exact dimensions will vary depending on the user’s hand but for average hands, a grip with a maximum palm swell of 1 inch seems to work well. If 3/8th Micarta is used, a couple of vulcanized fiber spacers can be used to bulk things out.
It is of great benefit to get the handle slabs to an equal and uniform thickness before attaching them to the knife. I used not to be too worried, but it makes keeping everything even so much easier that I now think it worth the extra effort.
The project knife has cocobolo scales and is destined for someone with fairly large hands. The handle comes in at 27mm to start with.
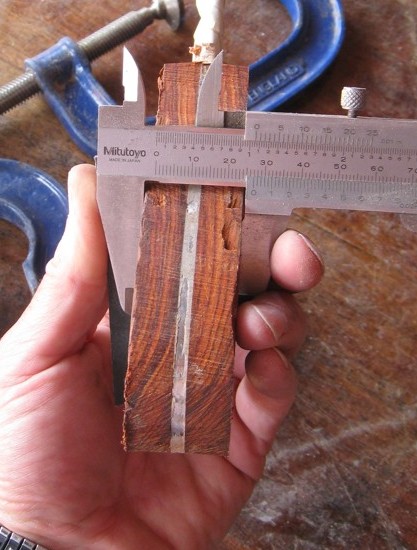
The general vital statistics for desired handle width, from the blade are:
.85 = 21 – 22mm
0.75 = 19-20mm
1 = 25mm
0.7519-20mm
1 = 25mm
There are loads of ways of holding a handle to work on it. I have a solid vice and just use big G-clamps to hold it to an old bit of pine board. If the slabs are even it is simple, and much more solid, to clamp the handle for as much work as possible before swapping to clamping on the blade.
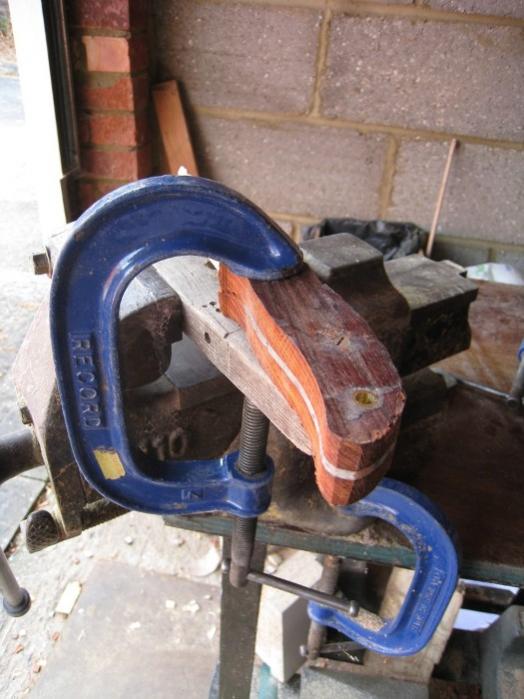
I start off with the cabinet rasp and take a big bite from between the lanyard tube and the rear bolt.
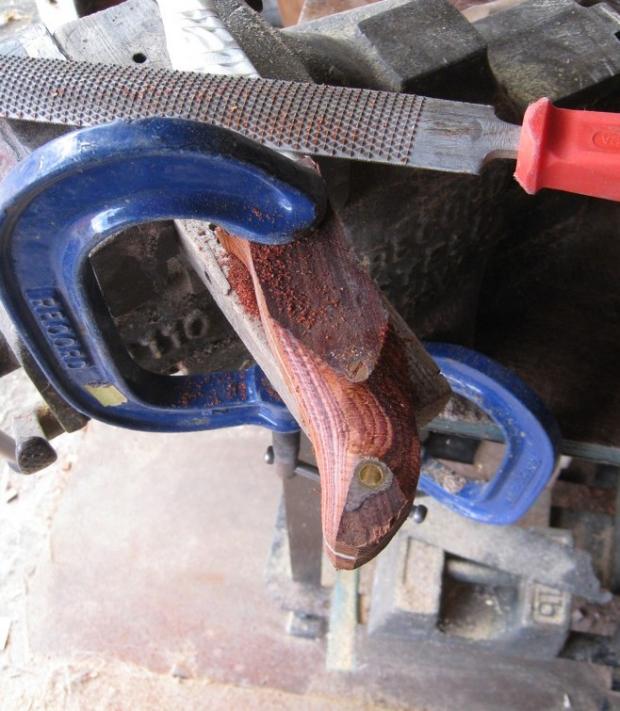
I use the edges of the rasp to allow me a deeper bite so that the thickness at the bottom of the cut is 23.5mm
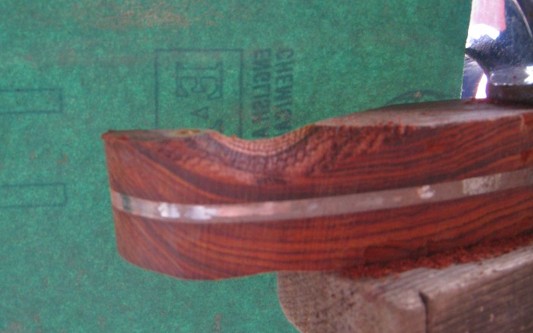
I then switch to the 10” square file. You can do just about all the handle shaping with a file like this. I cut back the lanyard tube and the bolt head. I am aiming for maximum width to fall about 0.25” in front of the rear bolt head.
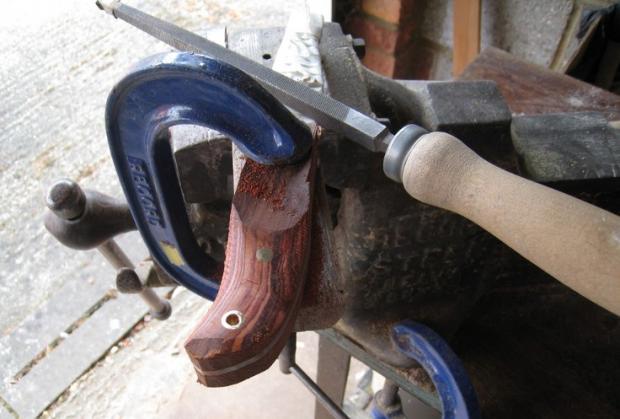
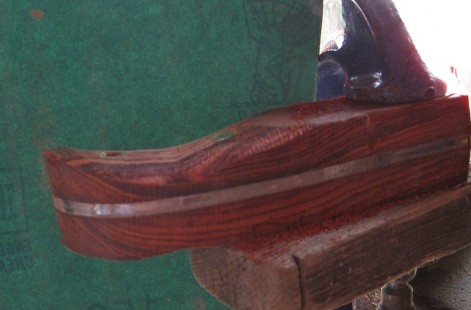
I now flip the handle over and shape the other side until the width is a hair over 20mm at the narrowest point.
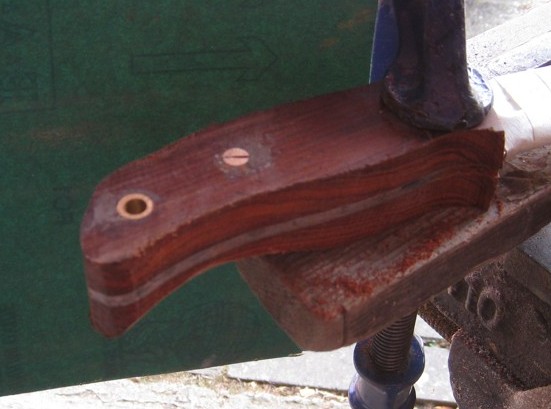
If you have a pin gauge you can use it now to check how even you are keeping things. Otherwise just eye-ball it against a plain background.
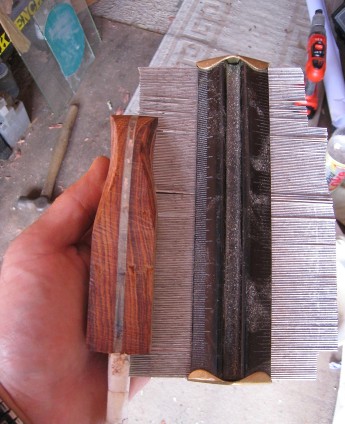
I now start on the front end of the handle. It is still possible to clamp on the handle by using some heavy leather to spread the load and prevent the clamp damaging the wood.
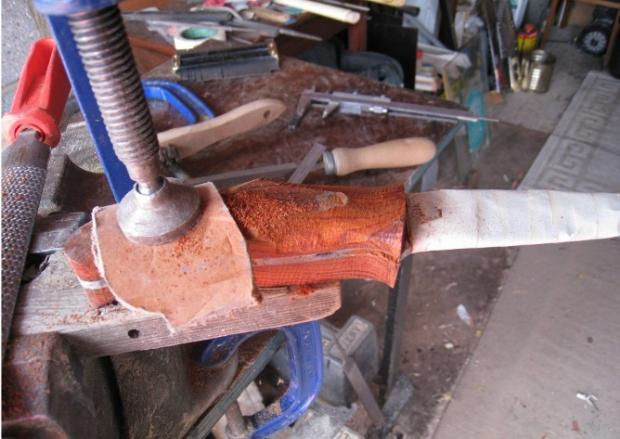
Much the same as at the back, I know my starting width, and that both scales are the same, so can take almost all the wood off one side before starting on the other. I start with the cabinet rasp again and work the area between the front of the bolt and the leading edge of the handle. Thinnest point is mid-way between these points and I take it to 23.5 again. The leading edge of the handle is also taken down until the front of the scale measures 10mm. I will refine this further with finer files and sand paper and it will probably end up around 9-10mm.
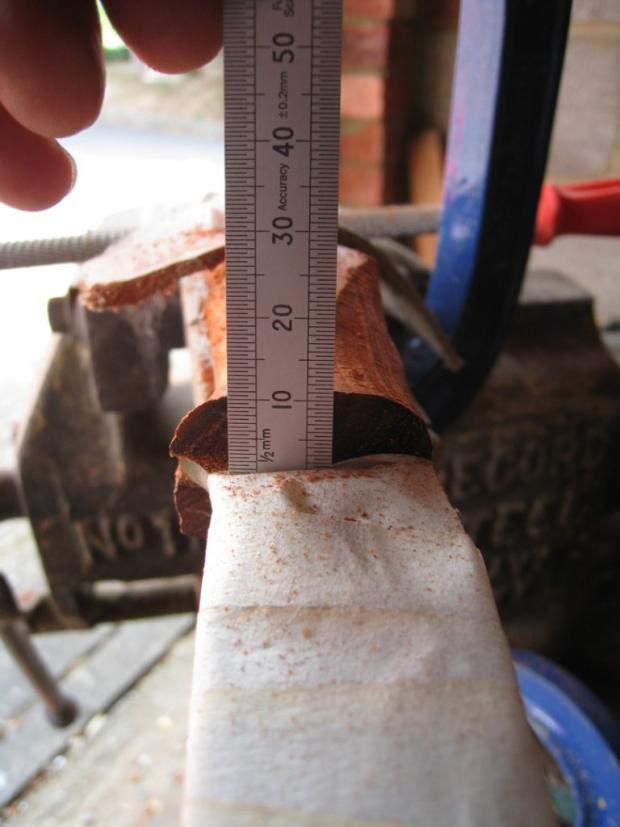
Once again I swap to the 10” square file to work the bold head down and shape the curves further. A big flat file can be handy for keeping the slope straight from the low point just ahead of the bolt to the max width at mid-handle.
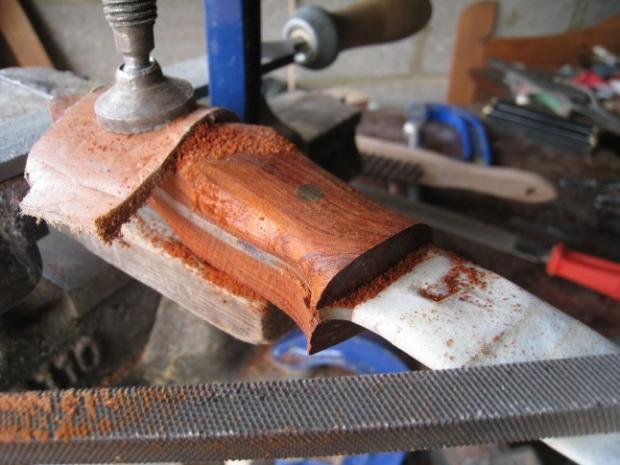
Getting there. Bear in mind that my starting handle thickness was a couple millimeters thicker than I wanted so although the unshaped flat area is clear at this point, the finished palm swell will fall a little further to the rear than it looks like in this picture.
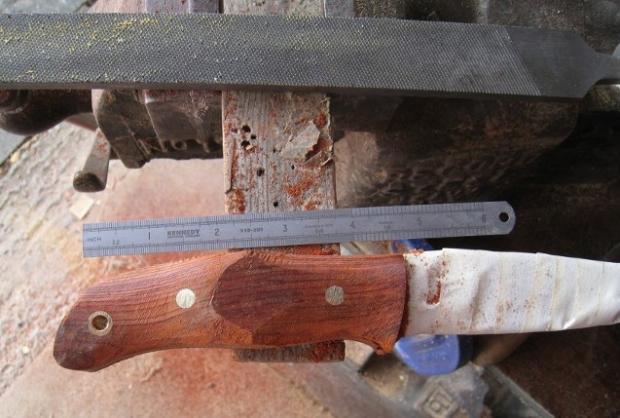
One clamp will work, but two makes things much more secure. Taping the blade is a good idea, but a single clamp tends to shift a bit as the tape slides around under pressure. A second clamp arrests this.
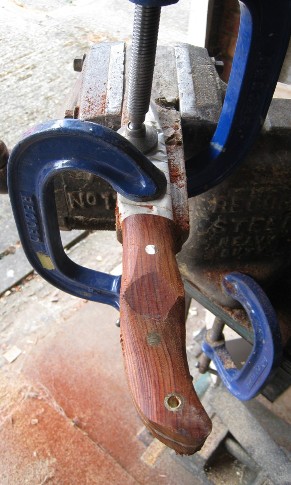
By shifting to clamping on the blade, I can work the middle of the handle a bit more, reducing the flat and moving the max width rearwards.
I change the perspective from which I view the work frequently to ensure that all the curves are smooth, from all angles.
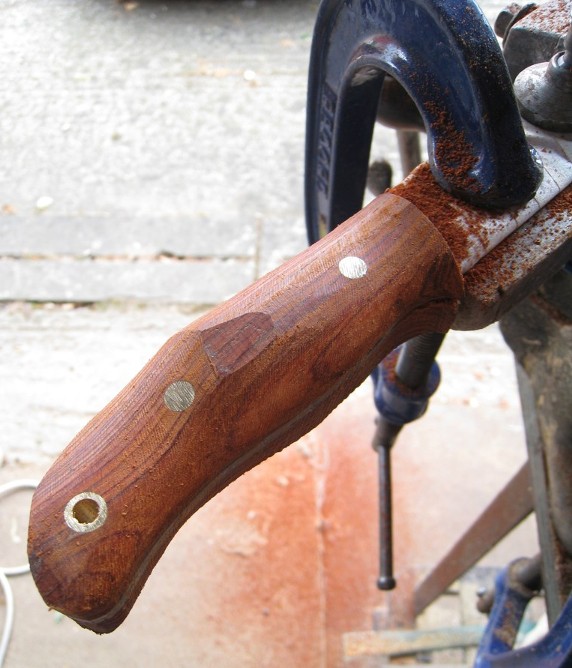
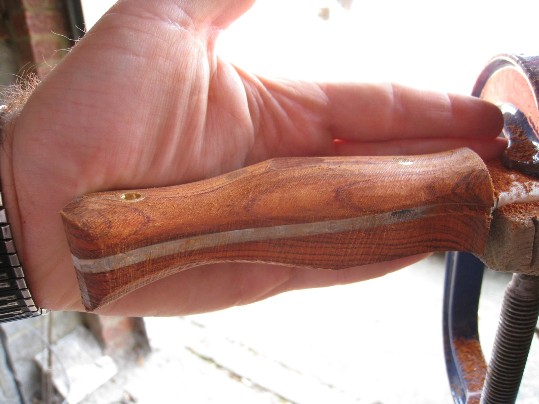
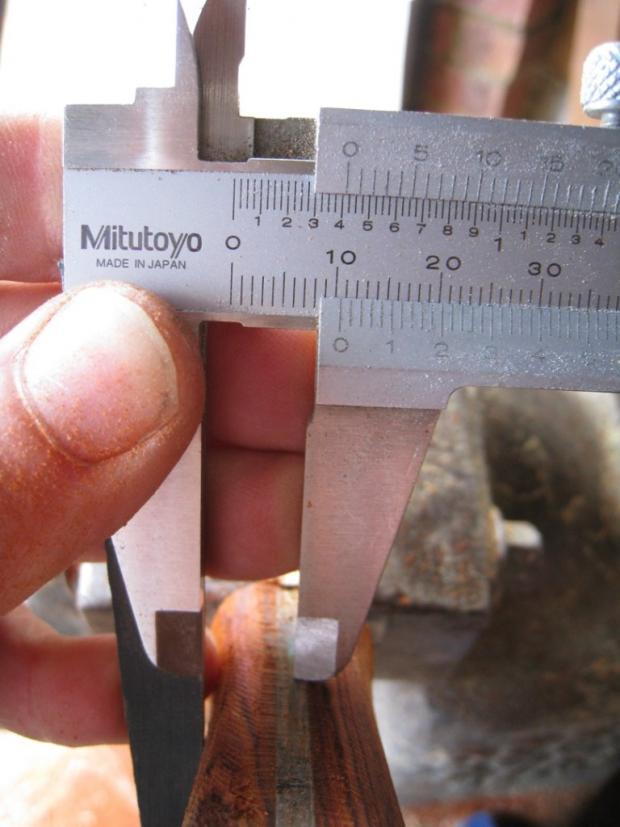
I use my calipers to check thickness. Recently I tried toying around with modifying the verniers to help with keeping the handles even. I taped a bit of thin Micarta to the fixed side of the jaws. This way I can measure the width, then check the width to the center of the spine. It seems to work well enough that I will be on the look out for a real cheap set of calipers that I can grind one of the jaws back to a stub, or permanently bond a jaw extension to.
The view on the tang is still pretty rough. You need to round things off so that there are no distracting flats on spine and belly in order to better see how even the handle is.
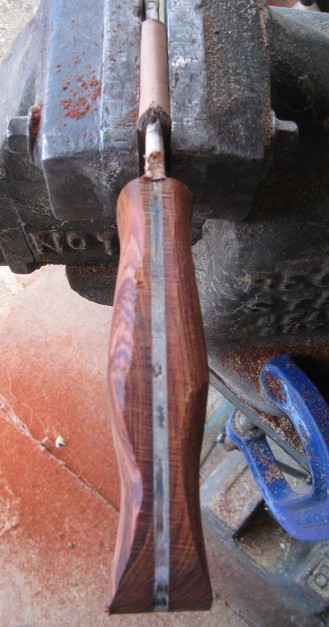
Most of this rounding can be carried out with that 10” file. The 6”x.25 square also comes in handy. About the only place that the half round file comes in handy is in cleaning up the very front of the handle.
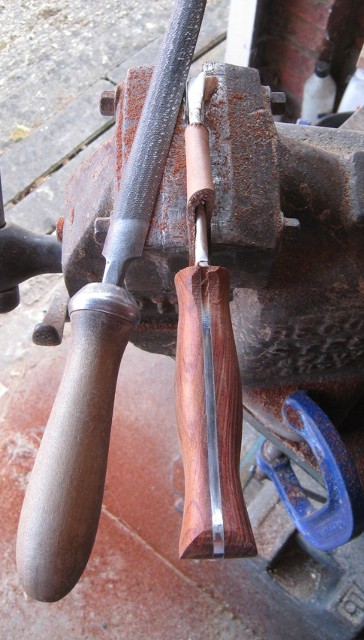
Almost there…
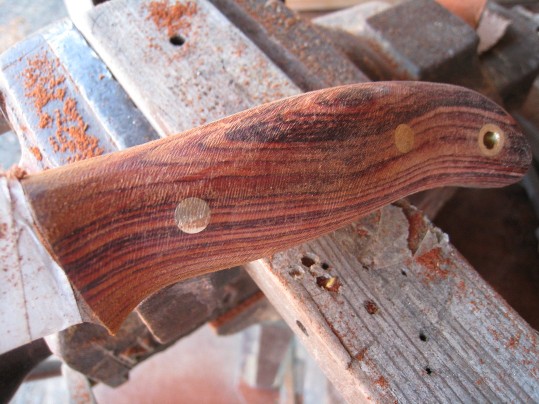
I often pad my vice with leather so that I can clamp on the handle to allow shaping of the but end. This design is meant to have a pear-shaped cross section at the butt. This shape allows for a slightly wider range of grips without there being any edge to dig into the heal of your hand.
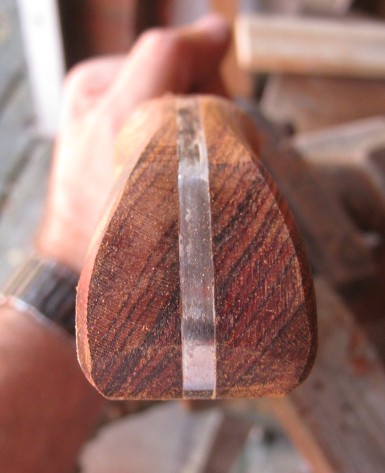
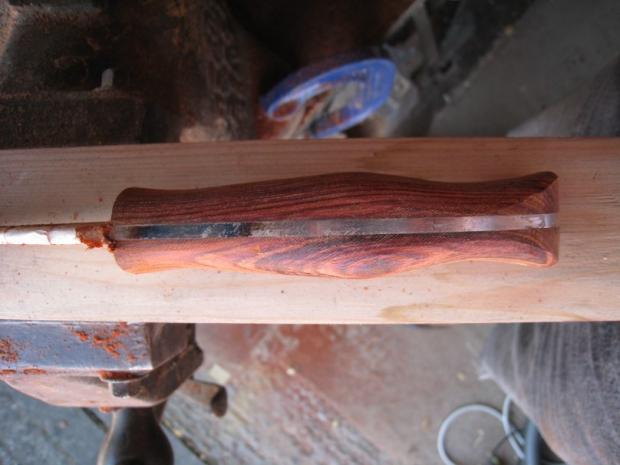
As can be seen in these two pictures, the sharp corners at the butt, (and at the front leading edge, not yet done) are chamfered. This makes them less prone to chipping, more comfortable, and in the case of the front of the handle, it eases the transition into a sheath.
If you liked this article let us know on our Outdoor Revival FaceBook page by leaving a comment.
If you have any articles like this that you would like to submit to us then please get in contact via our FB page, we’d love to hear from you and we’re always looking for good quality articles.
