The pocket grill – Pack Down Your Camping Grill
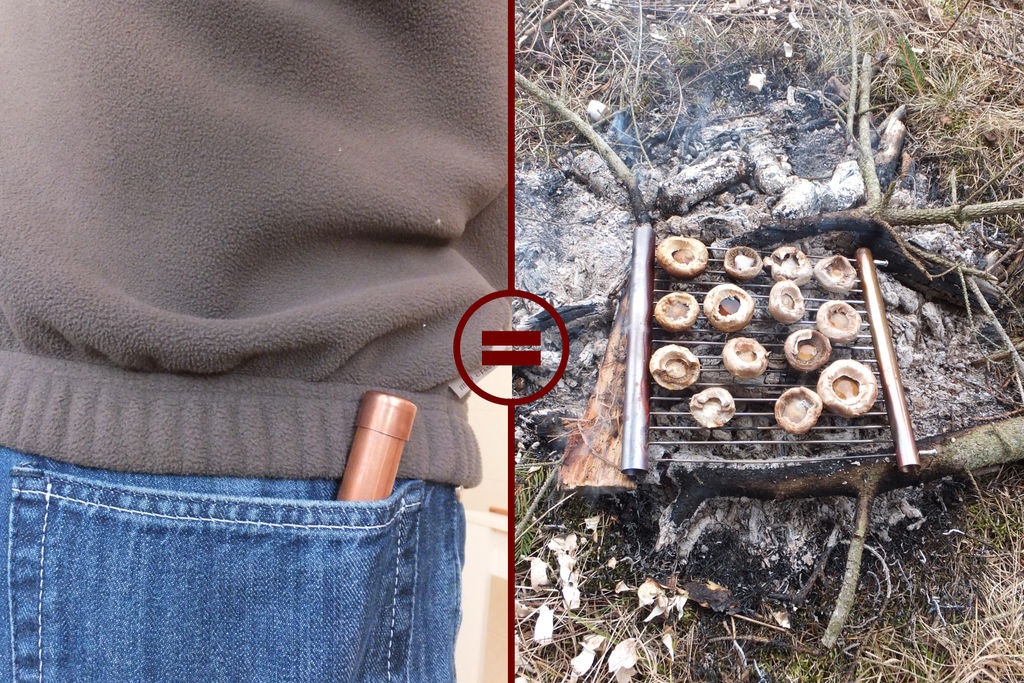
On Outdoor Revival we love innovation and cool camp gadgets that are built for little money and contribute to the fun of being outdoors. A big thanks to Stvnishere for the article.
Imagine Bear Grylls eating the most disgusting maggot, ok, now imagine Bear Grylls eating the most disgusting maggot grill fried, isn’t that better? Well, I guess not, but anyways, behold the pocket grill.
Ideal for one or two people camping, backpacking or hiking.
Step 1: Tools & Materials
Tools you will need:
- Hacksaw (or at least the blade)
- Cutting pliers
- Drill and bit
- Utility knife
- File (or sandpaper)
- Ruler
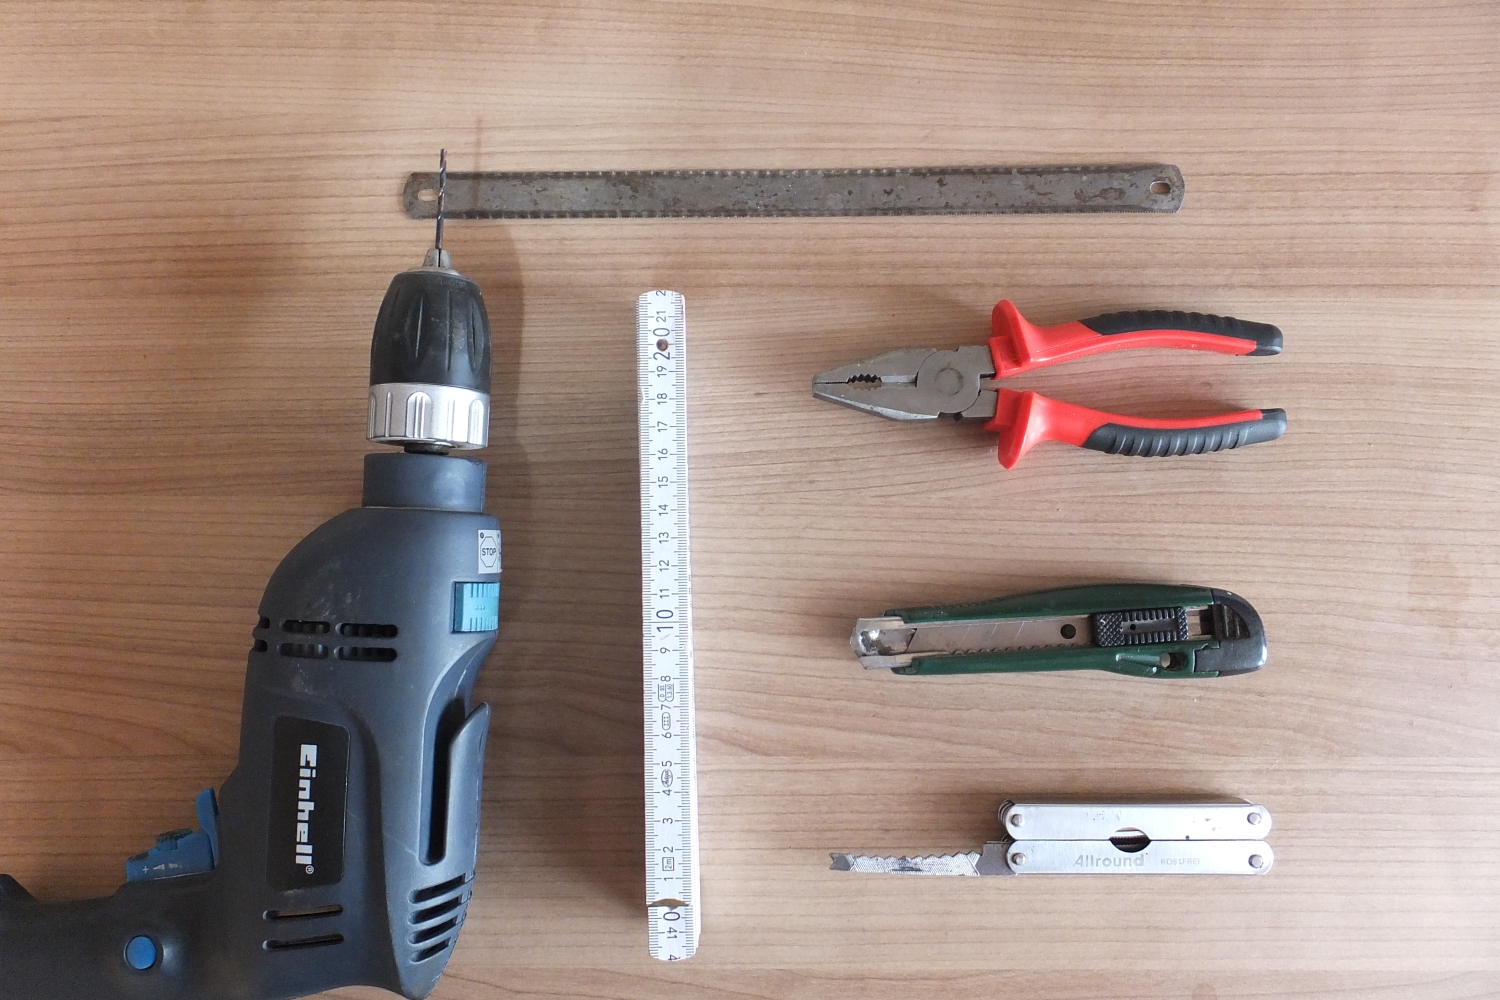
Of course, these are not mandatory, you are welcomed to improvise, but please wear safety gear and respect work security guidelines (or suffer the consequences of your foolish actions, I don’t care).
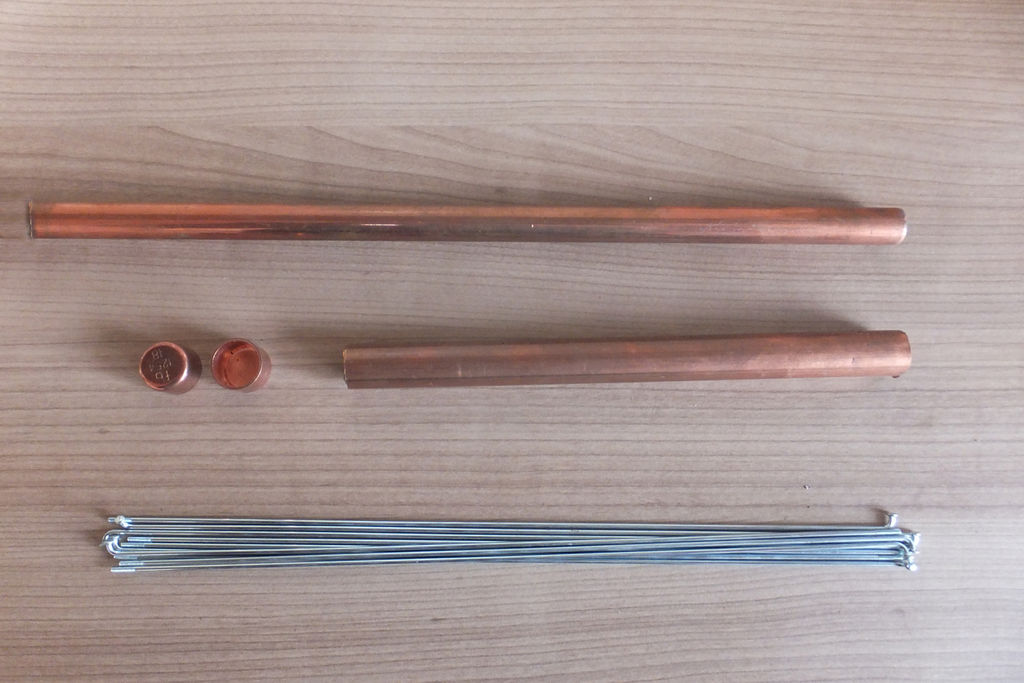
Materials:
Basically you need 2 pieces of pipe, one must fit in the other, I used 18mm (3/4 Inch) and 15mm (5/8 Inch) copper tube; any metal should do, but I used copper because its relatively lightweight, doesn’t bend much when exposed to fire, it has thin walls and most importantly I had them lying around the house (leftovers from the heating system) so they were free.
2 copper tube caps that fit the larger diameter pipe (also lying around and also free).
A handful of approx. 2mm diameter bicycle spokes (1/16 inch), I can’t give you an exact number, you’ll see why in a bit. Make sure that you use stainless steel spokes; you’re going to eat off of them.
Pro Tip: If you have a bicycle repair shop nearby, you should ask them for broken spokes, you may get them for free (I hacked my old bike tire to death for this).
Measurements:
This is pretty simple since you’ll need to cut everything to the same size (you will get a rectangular grill).
Pro Tip: The bigger you make your grill, the more spokes you’ll need, make sure that the number of spokes you intend to use all fit inside the smaller diameter tube.
I made mine 20 cm wide (7.87401575 inches, just make it 8) since I found that about 25 2.2mm spokes fit inside the 15mm diameter tube.
Step 2: Cut tubes to length
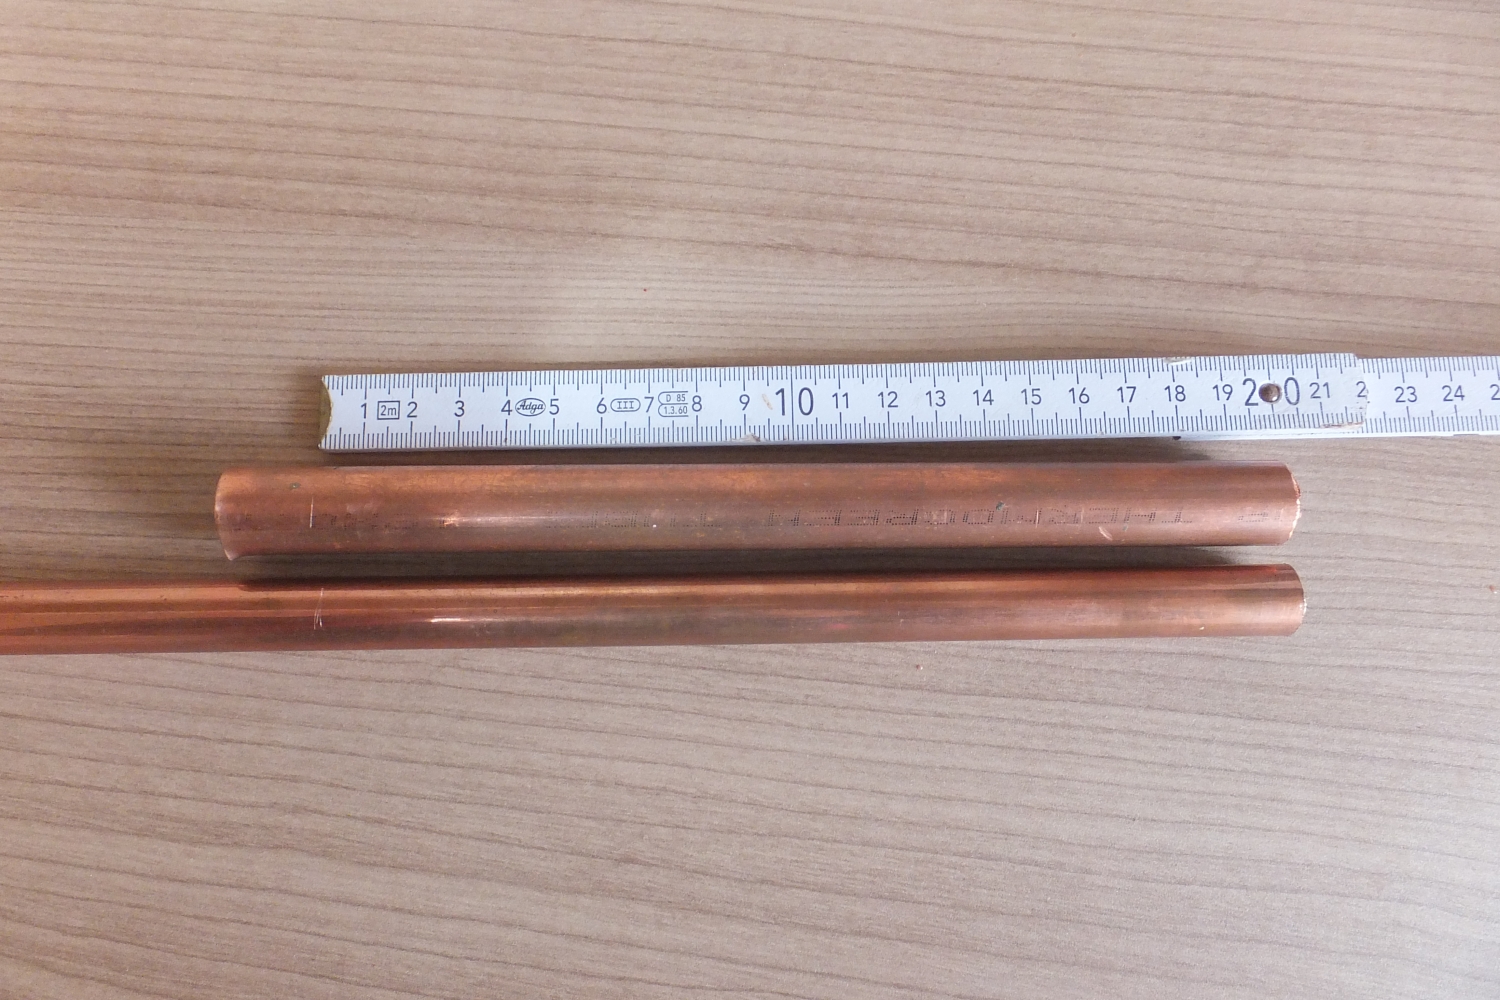
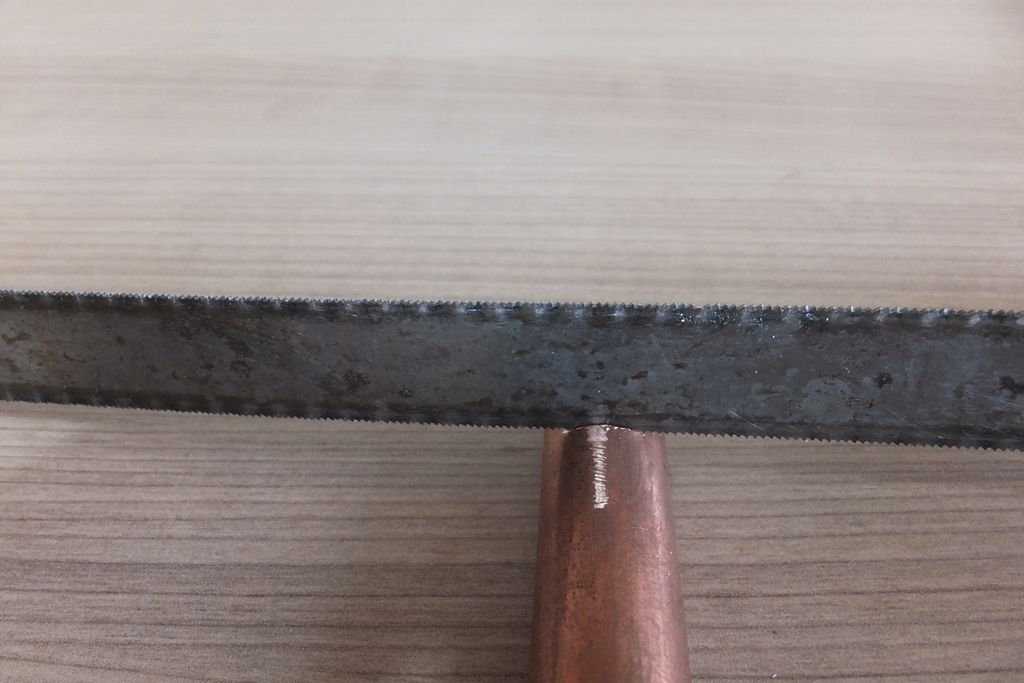
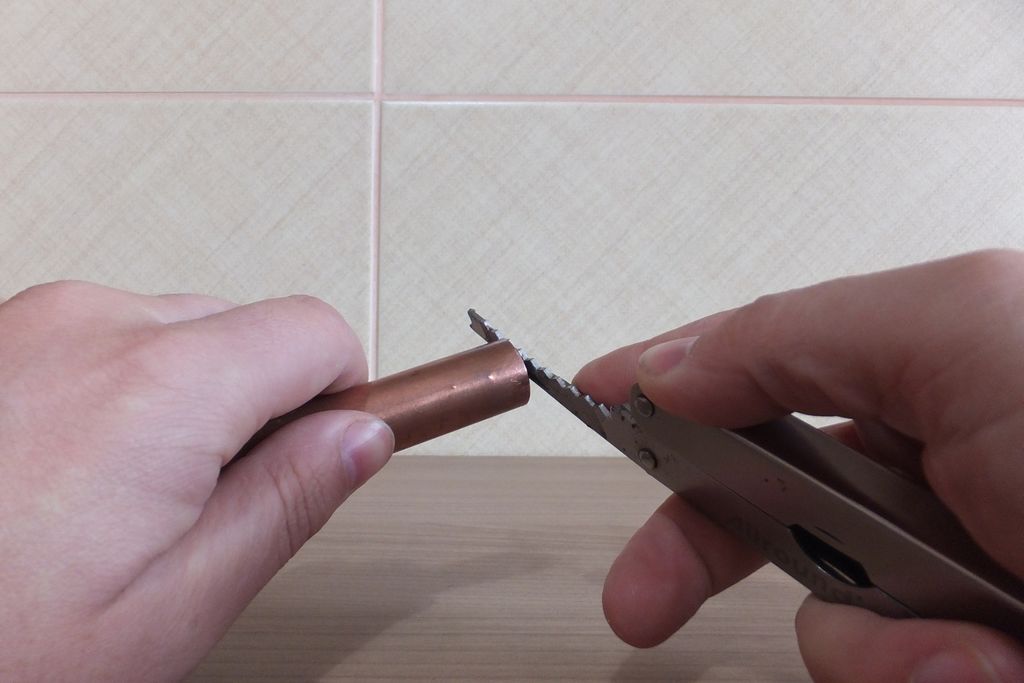
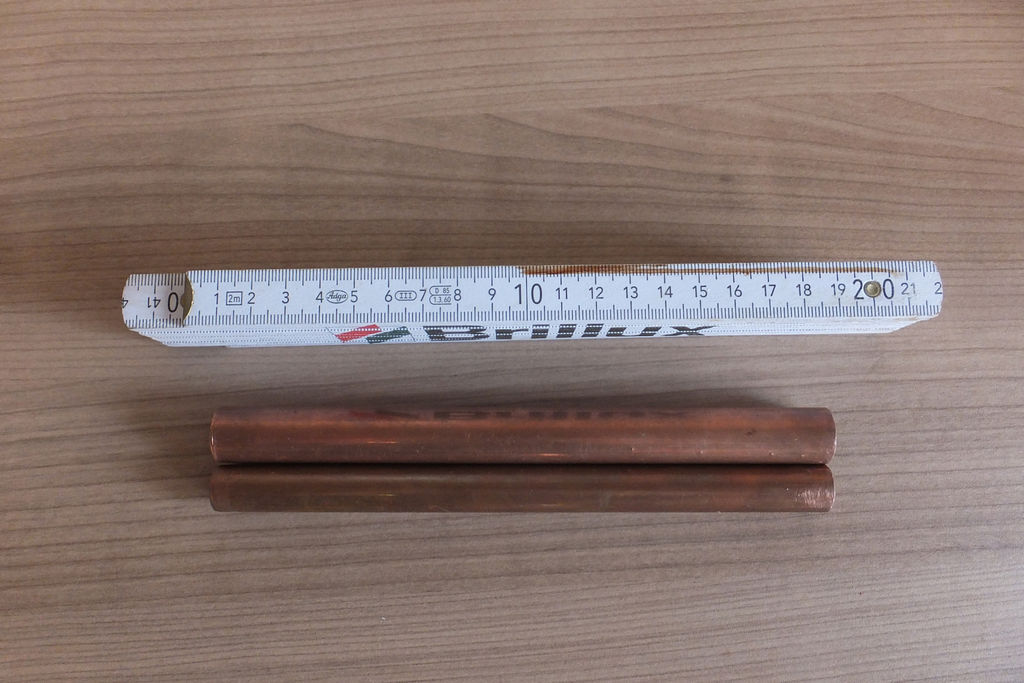
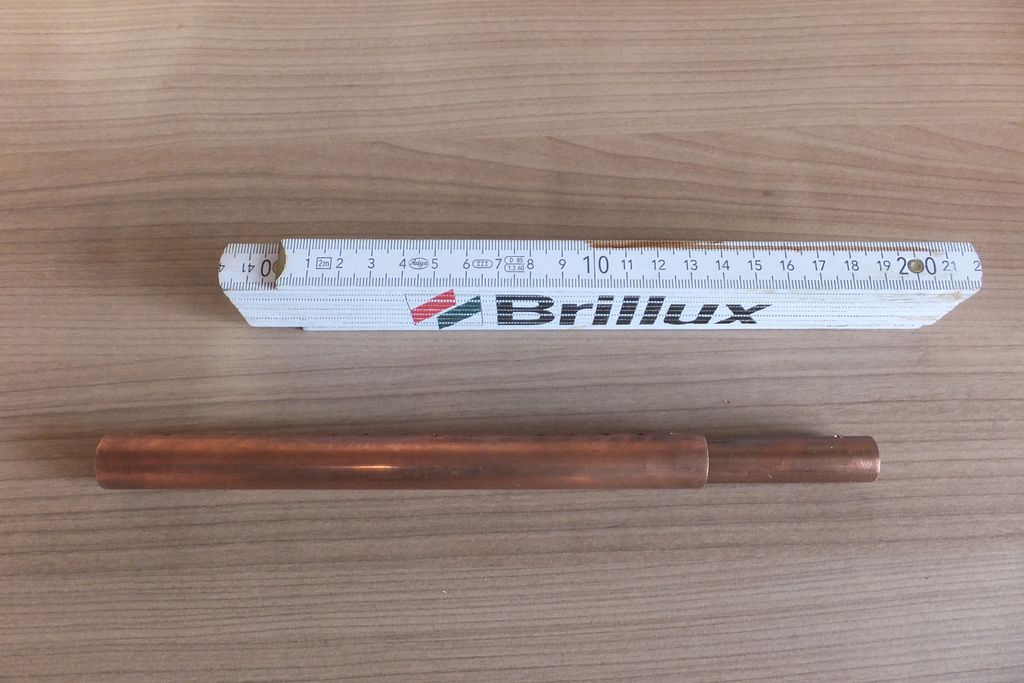
Cut the two tubes to equal length and file the rough edges, as I previously mentioned I made them 20cm (approx. 8 inches).
Step 3: Measure, mark and drill holes
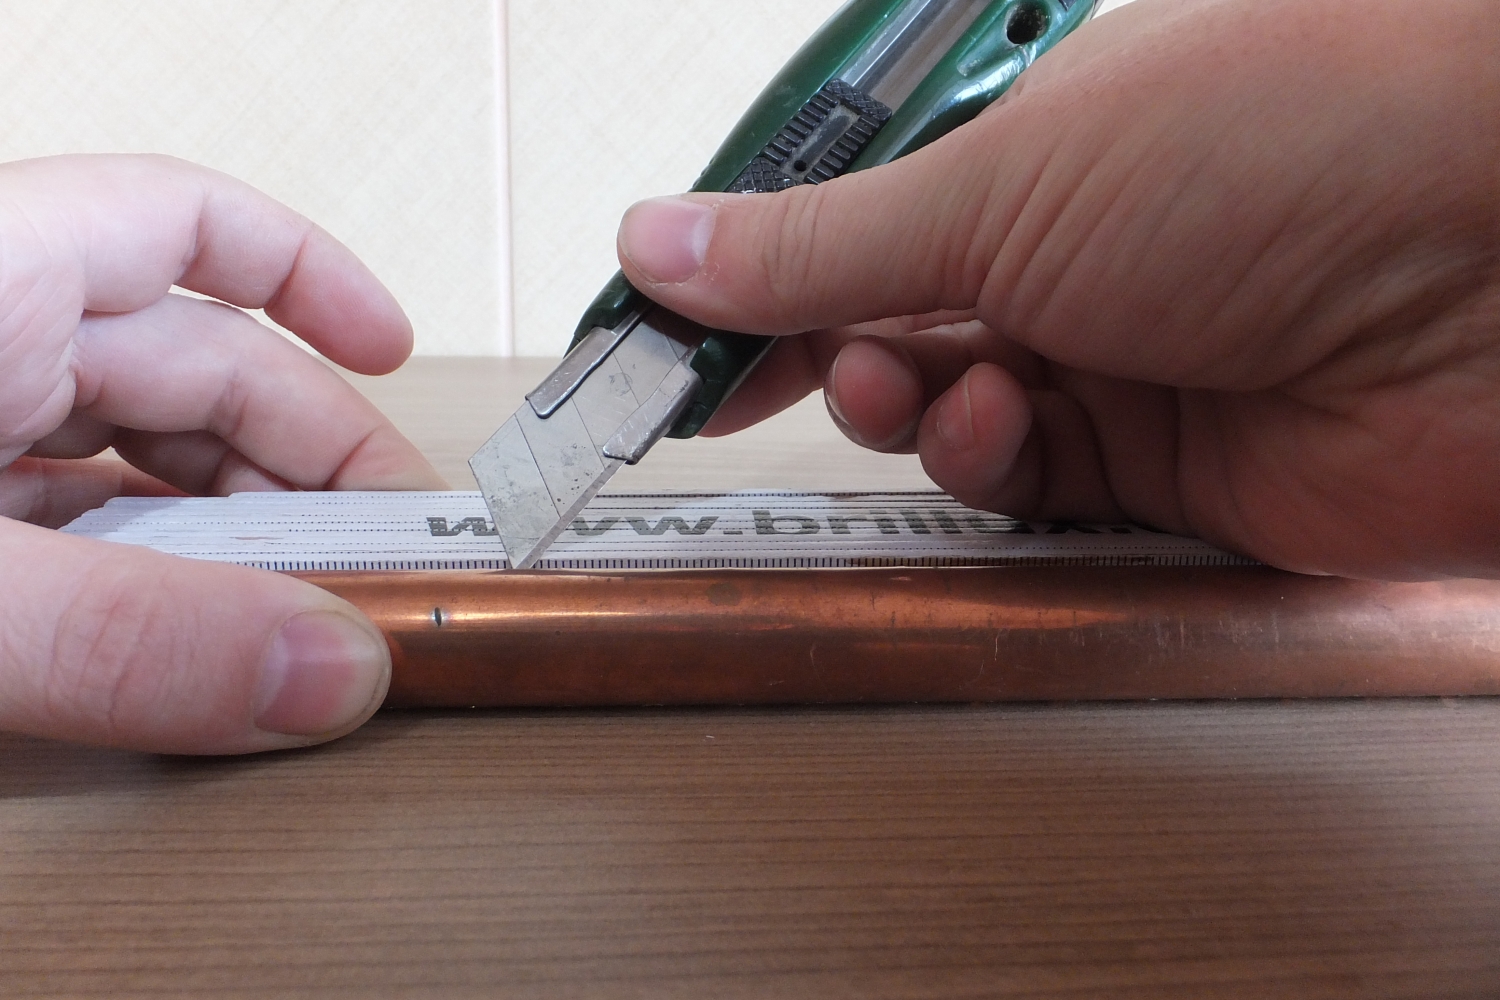
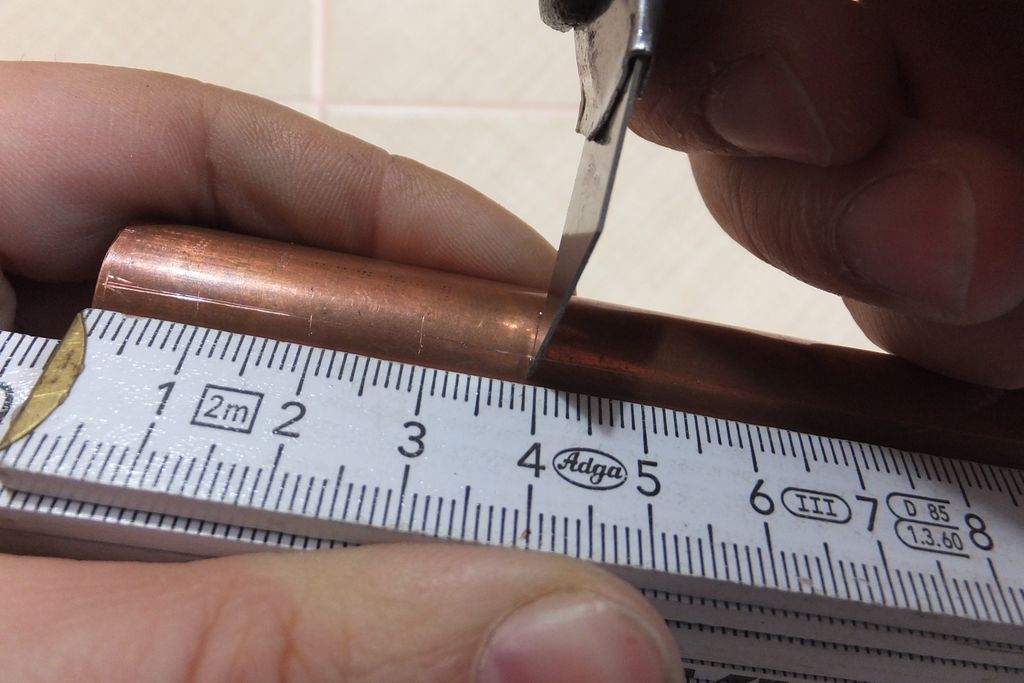
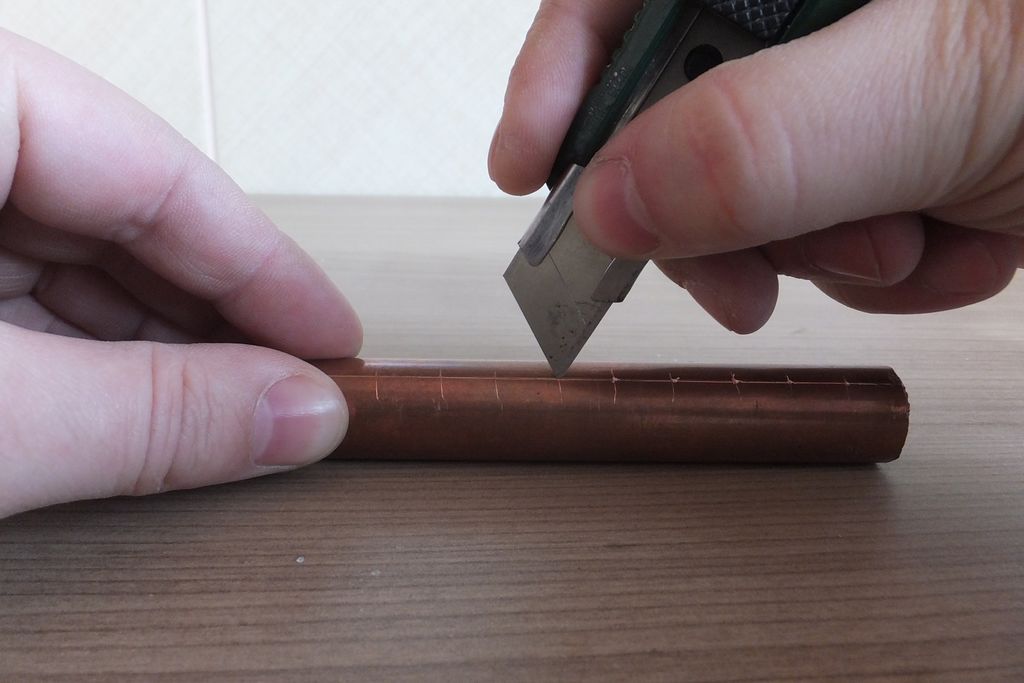
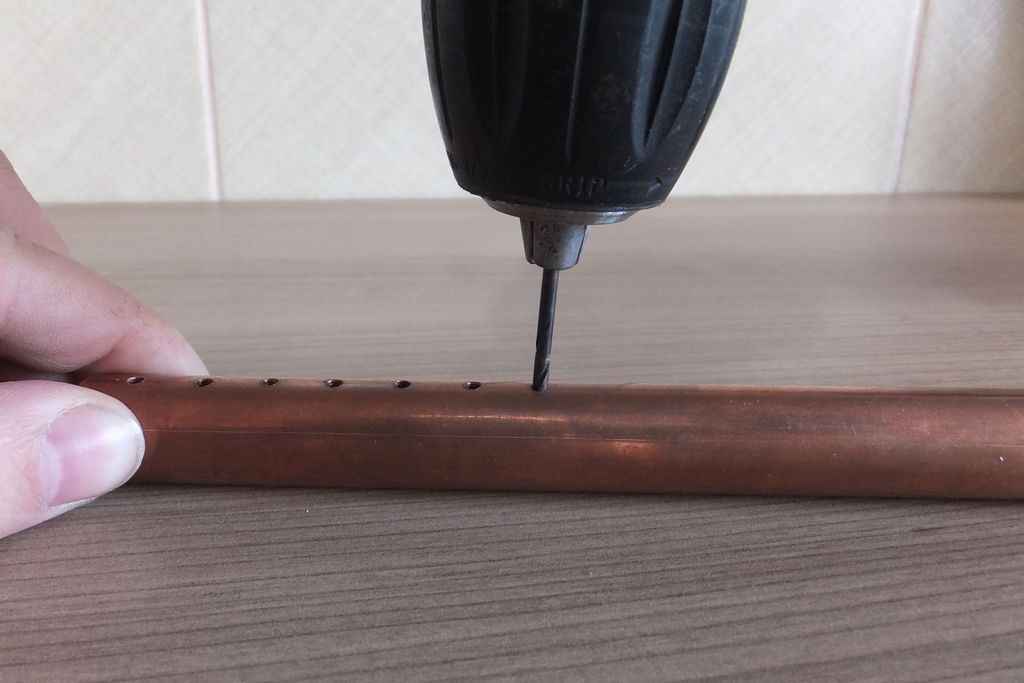
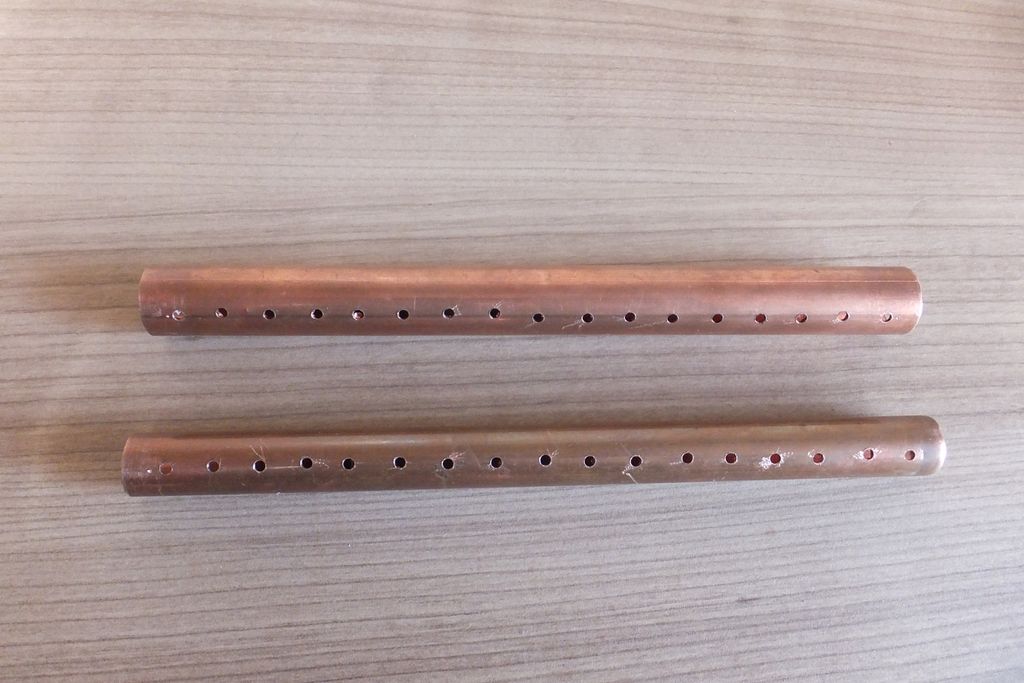
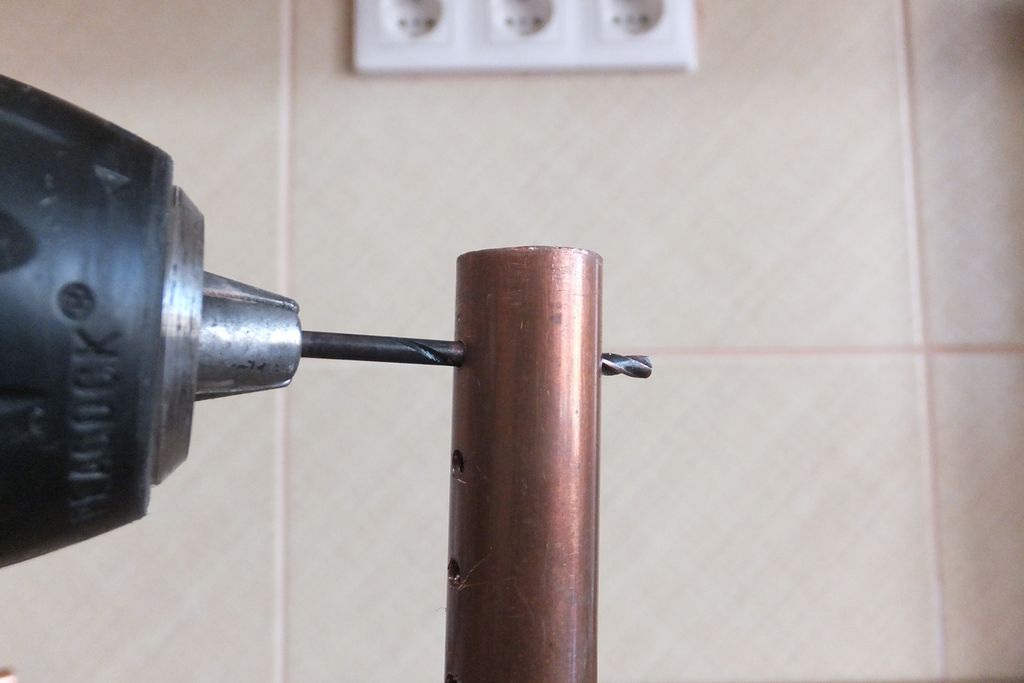
Now that you’ve got your tubes cut to length, you need to mark and drill the holes for the spokes.
Step 4: Cut spokes to length

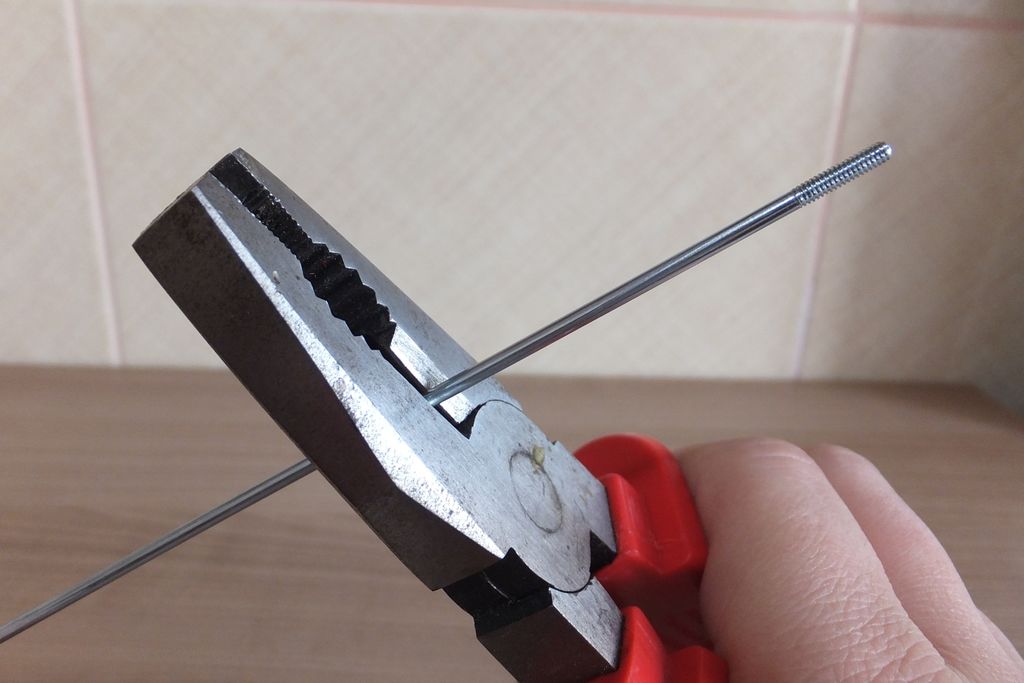
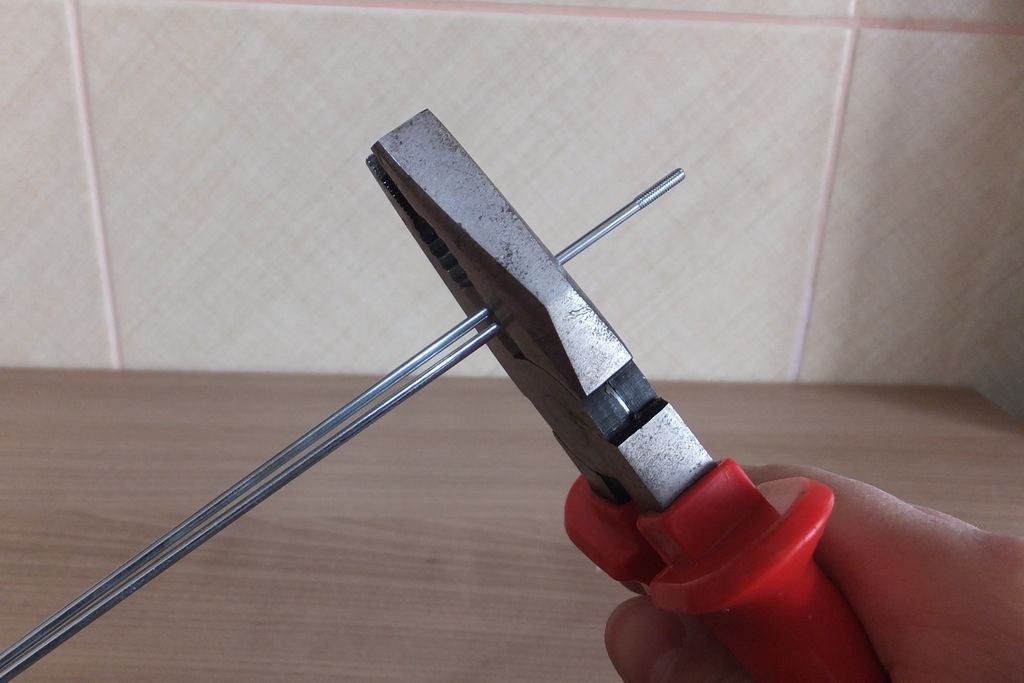
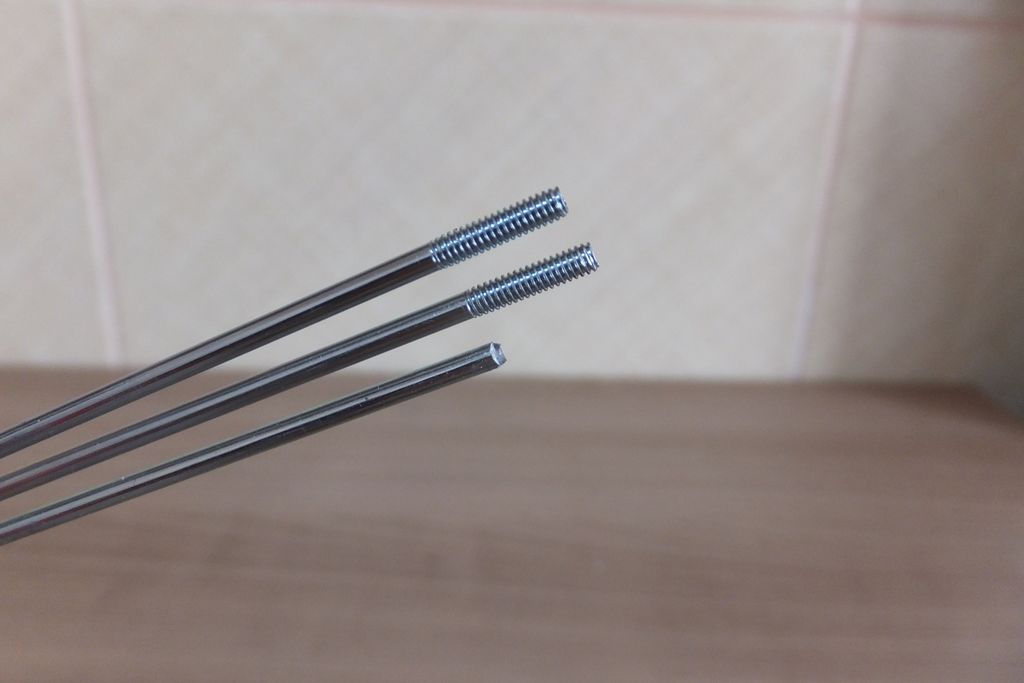
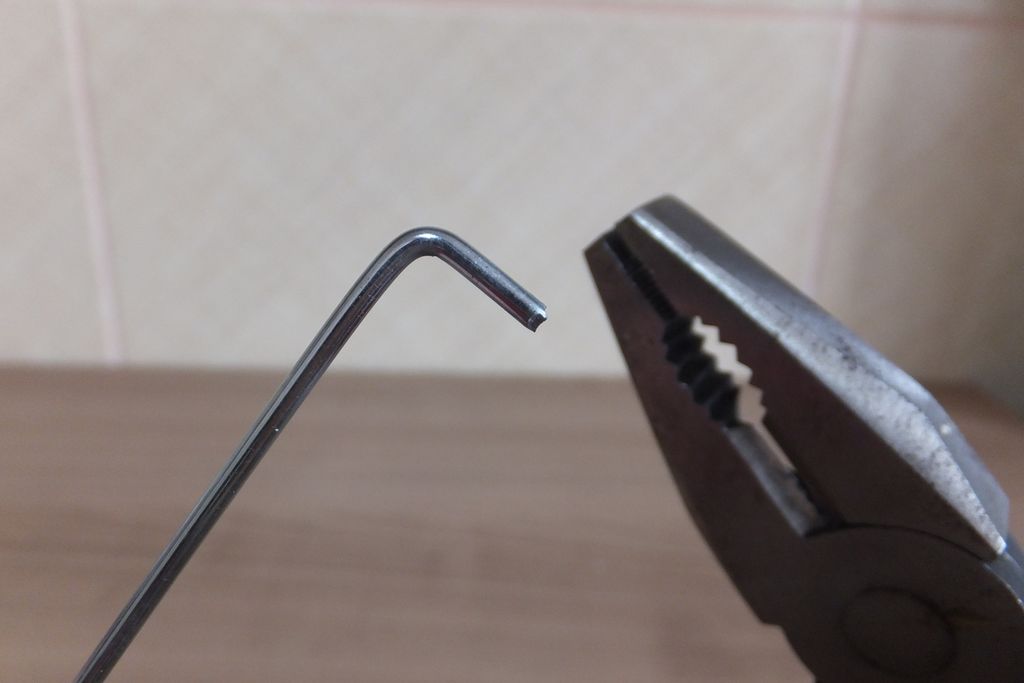
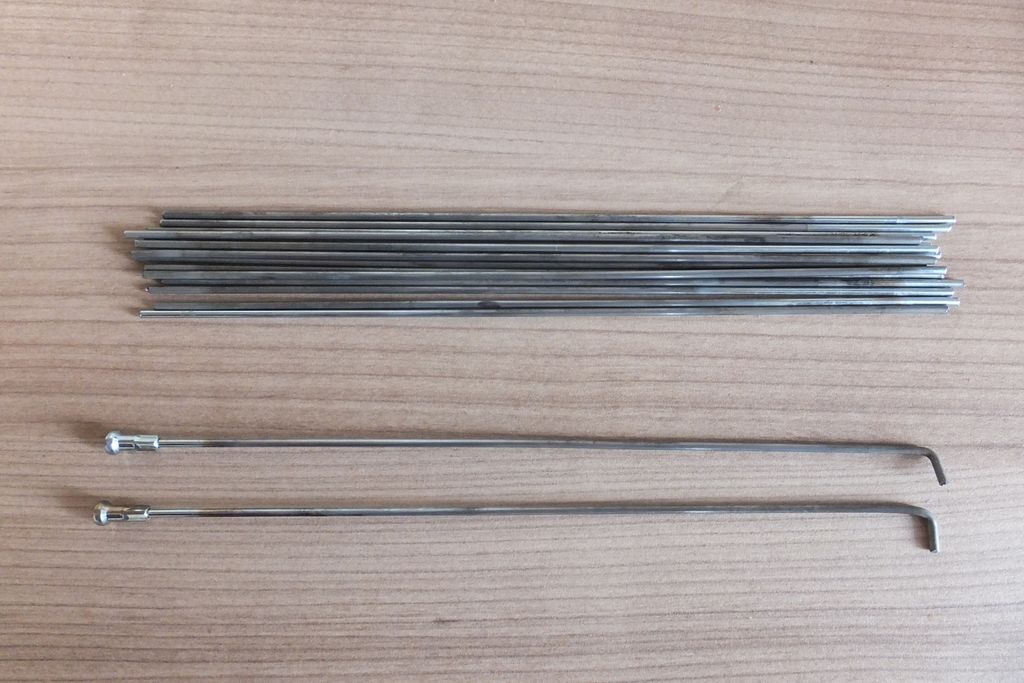
By now you have the exact number of spokes you’ll need, just count the holes. The spokes need to be the same length (or smaller) than the tubes, since they need to fit inside.
Pro Tip: You will need 2 spokes with intact threads on one end and 90° bend on the other so cut them about 5 – 10mm (1/16 – 3/8 inch) longer than the rest, please keep this in mind.
Step 5: Assemble the grill
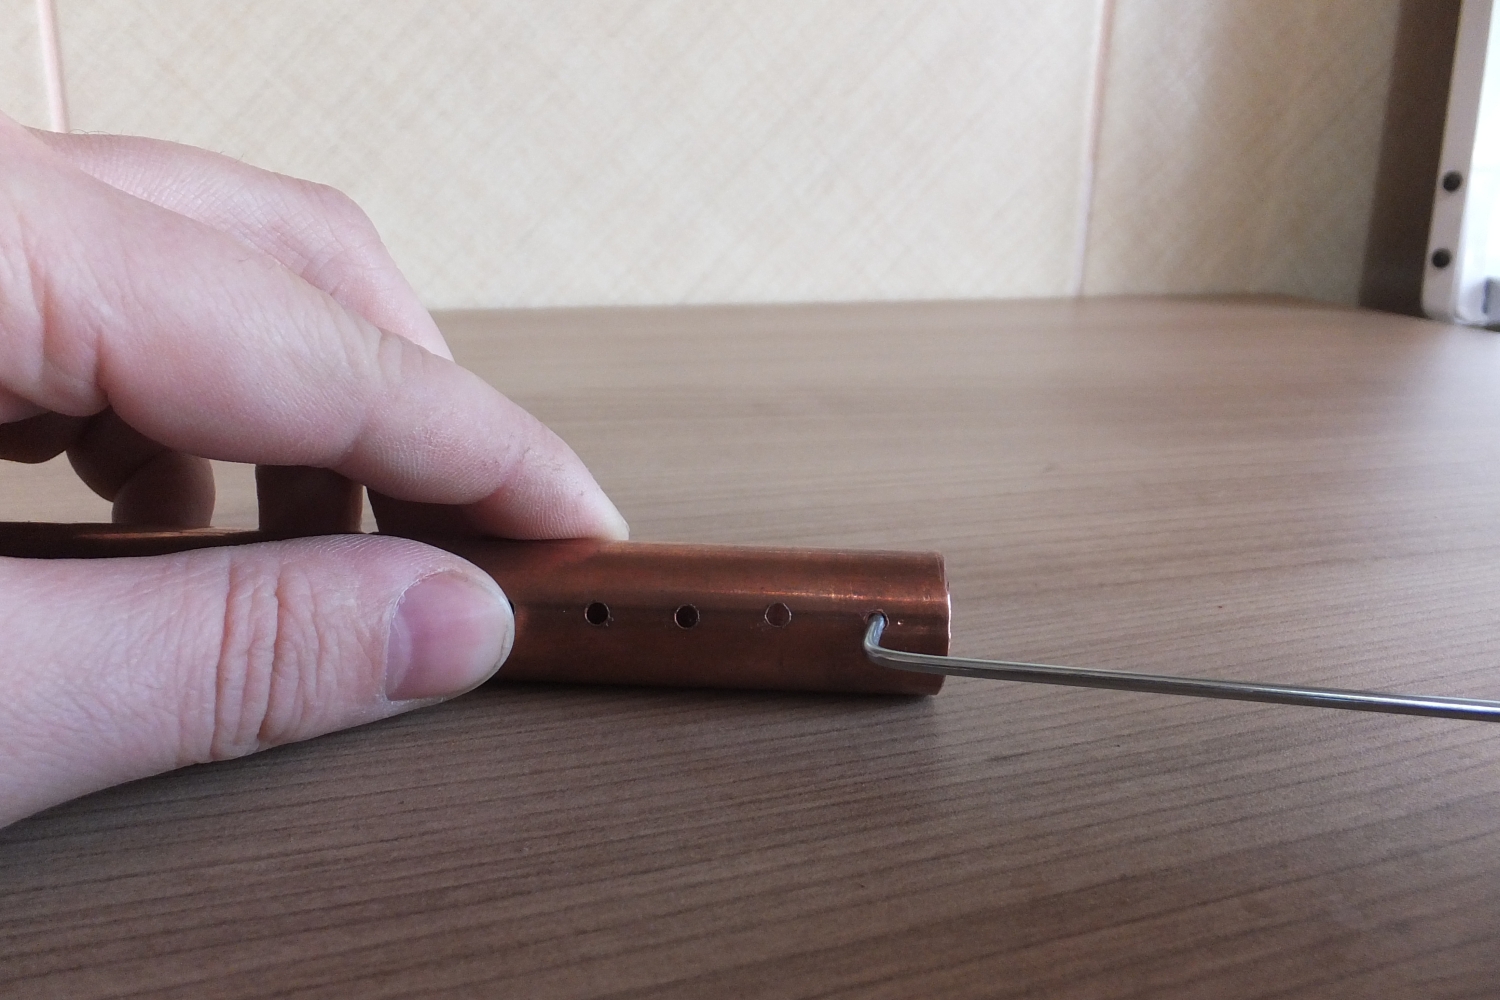
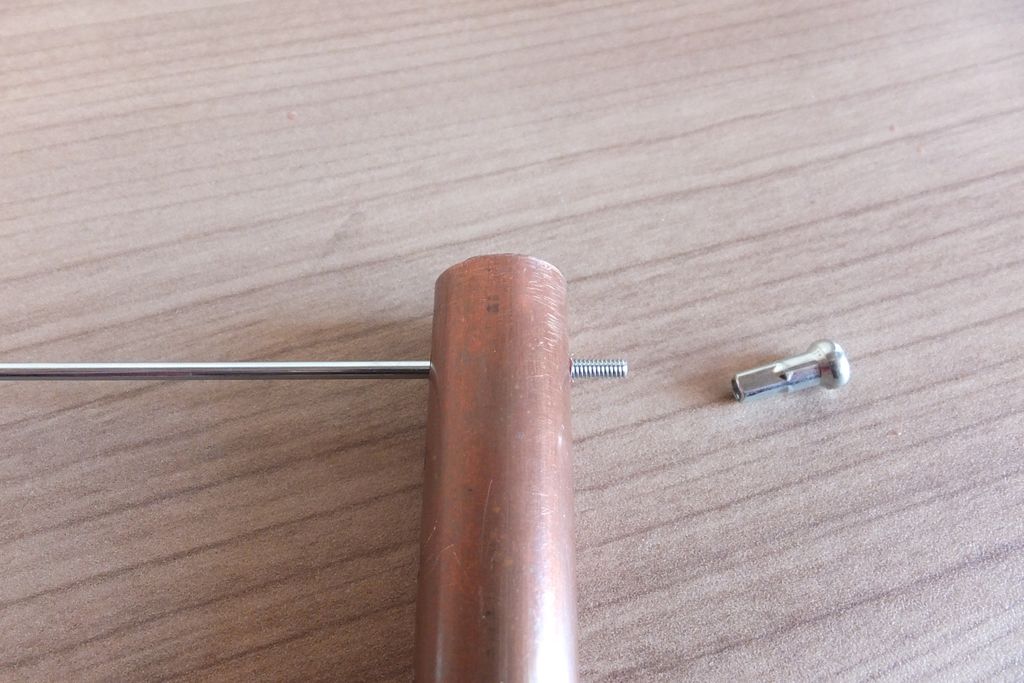
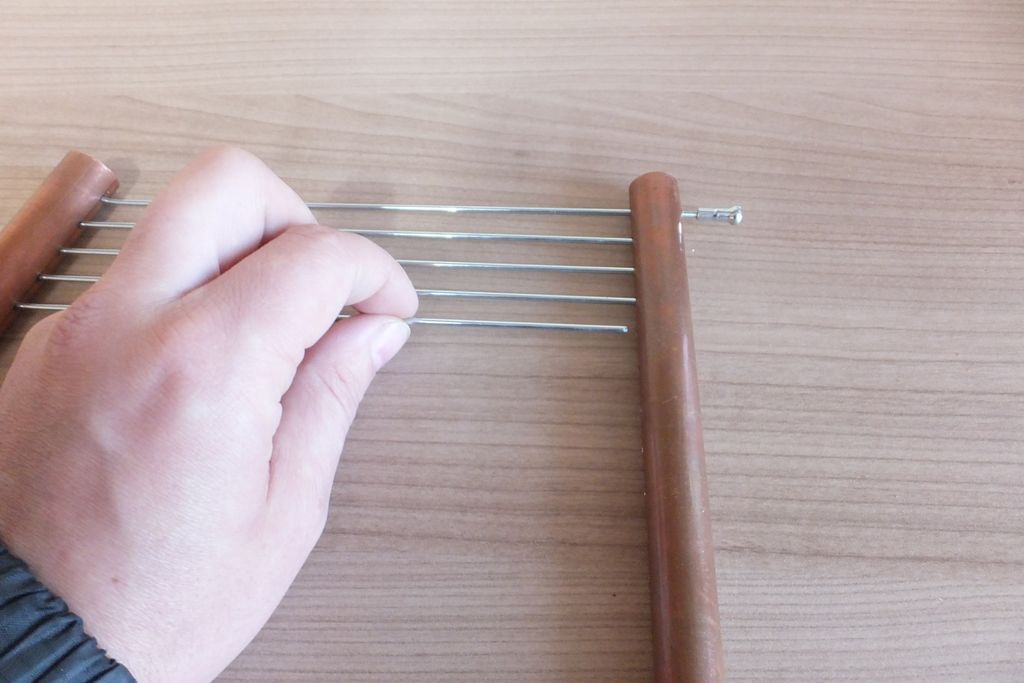
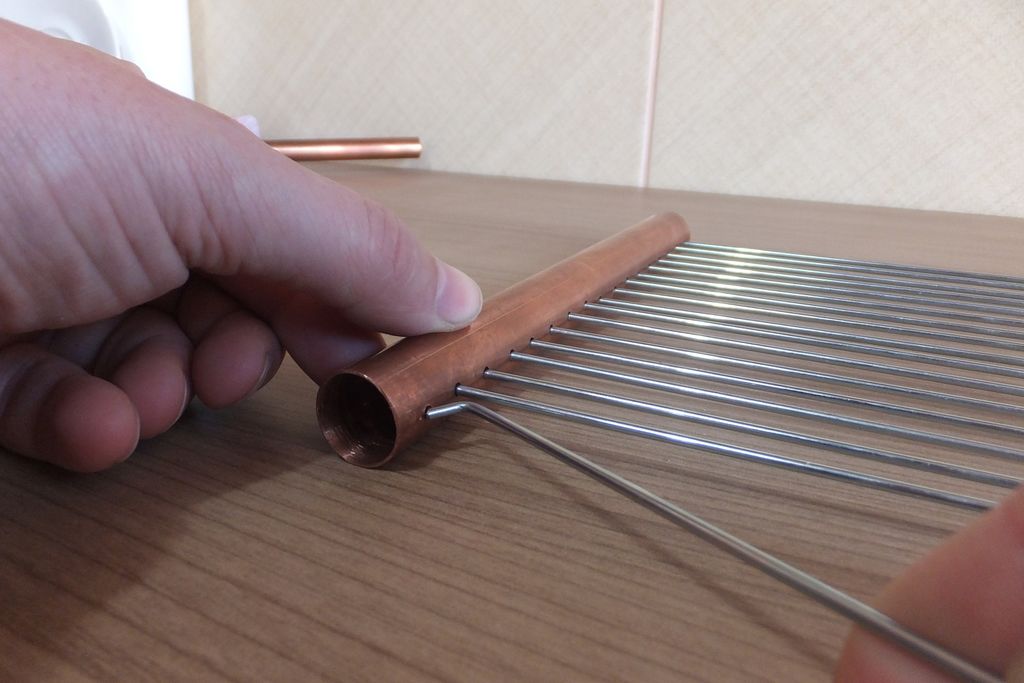
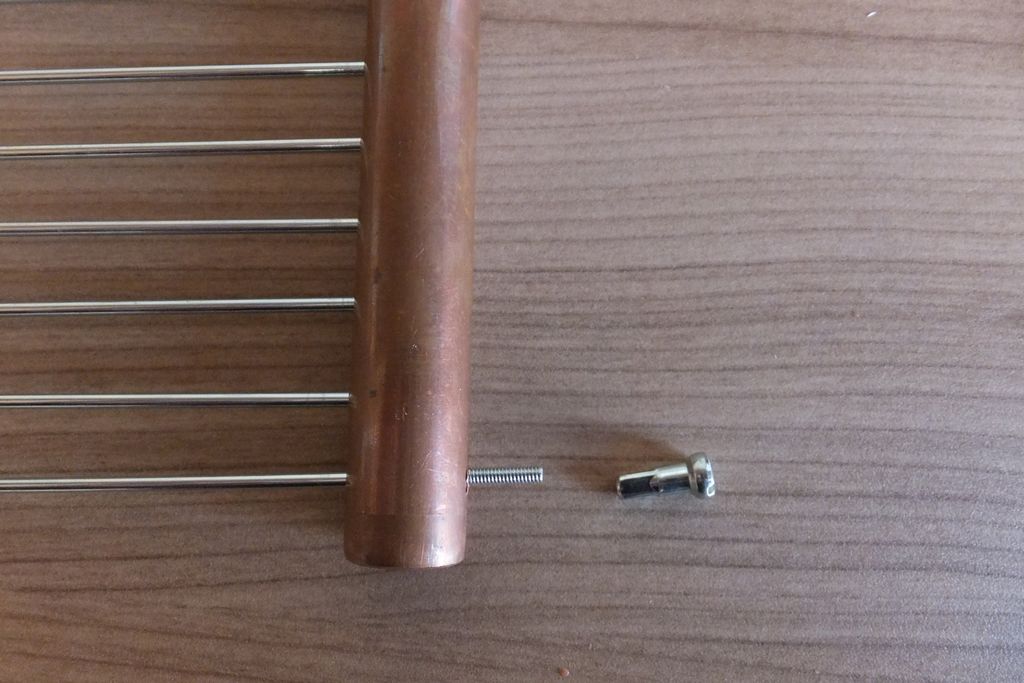
I’m not going to lie to you, this is painstaking to do until you do it a few times and get used to it.
Step 6: Disassemble and pack the grill
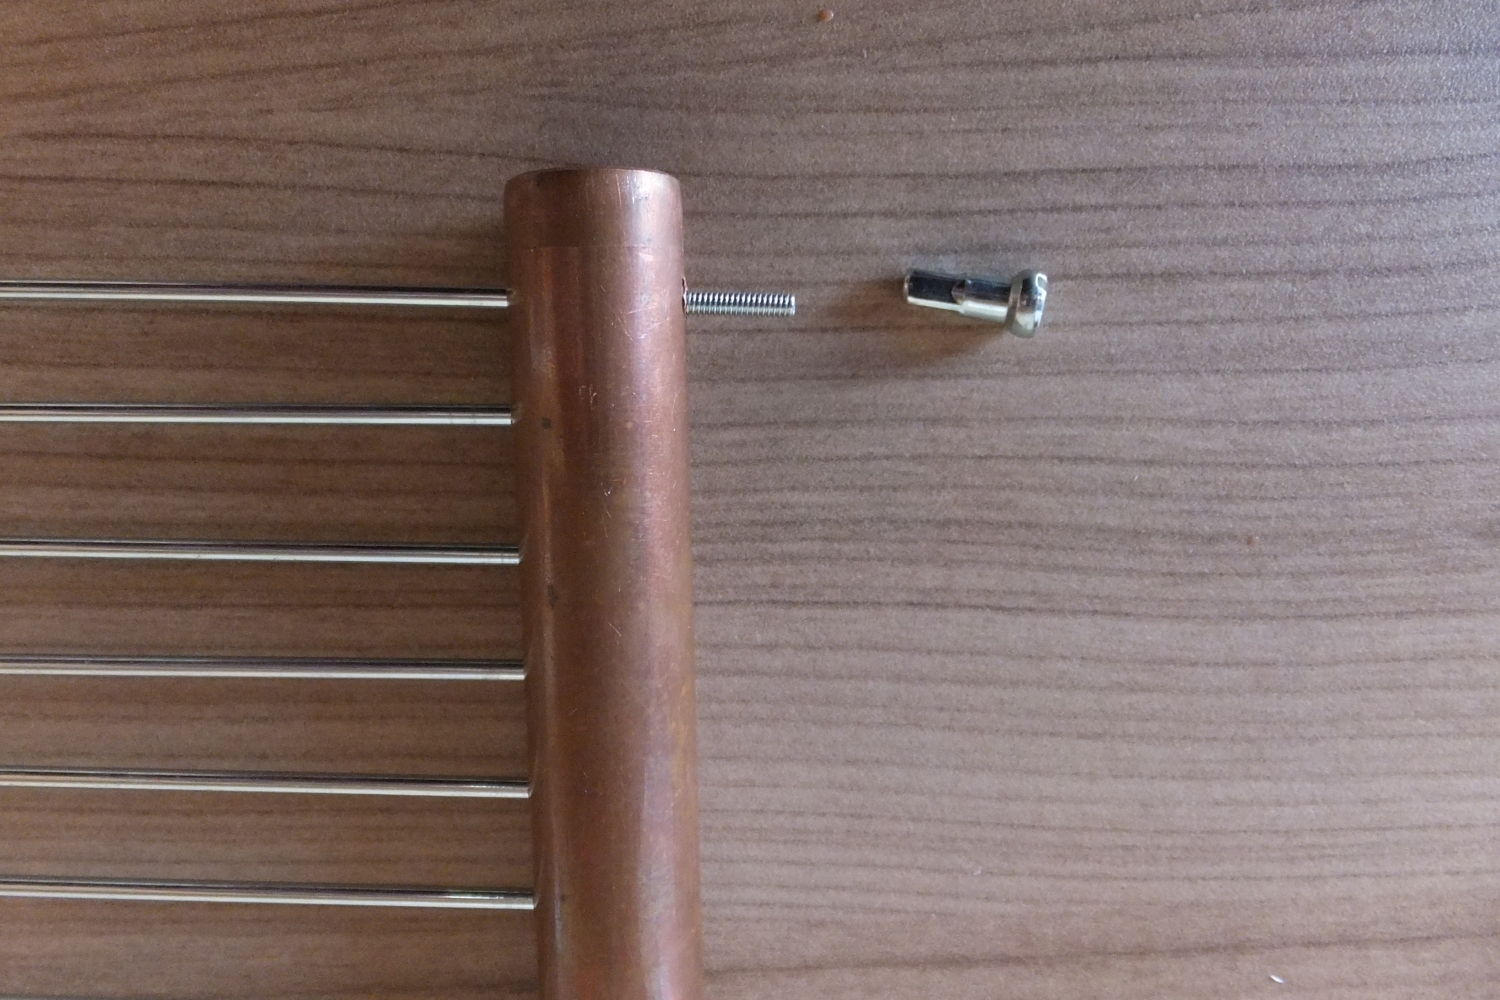
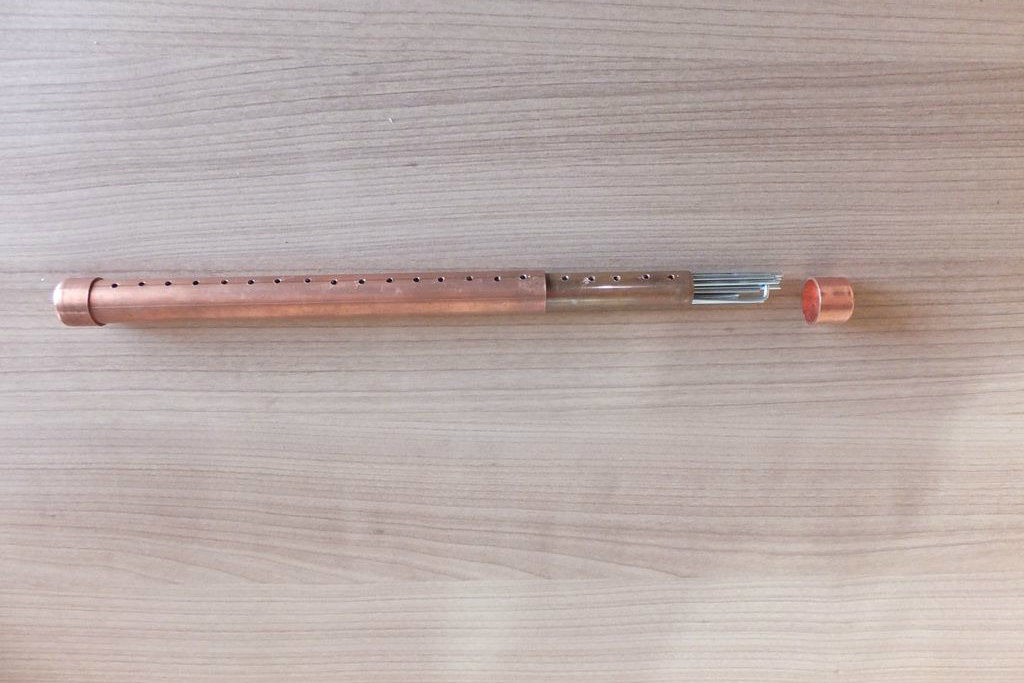
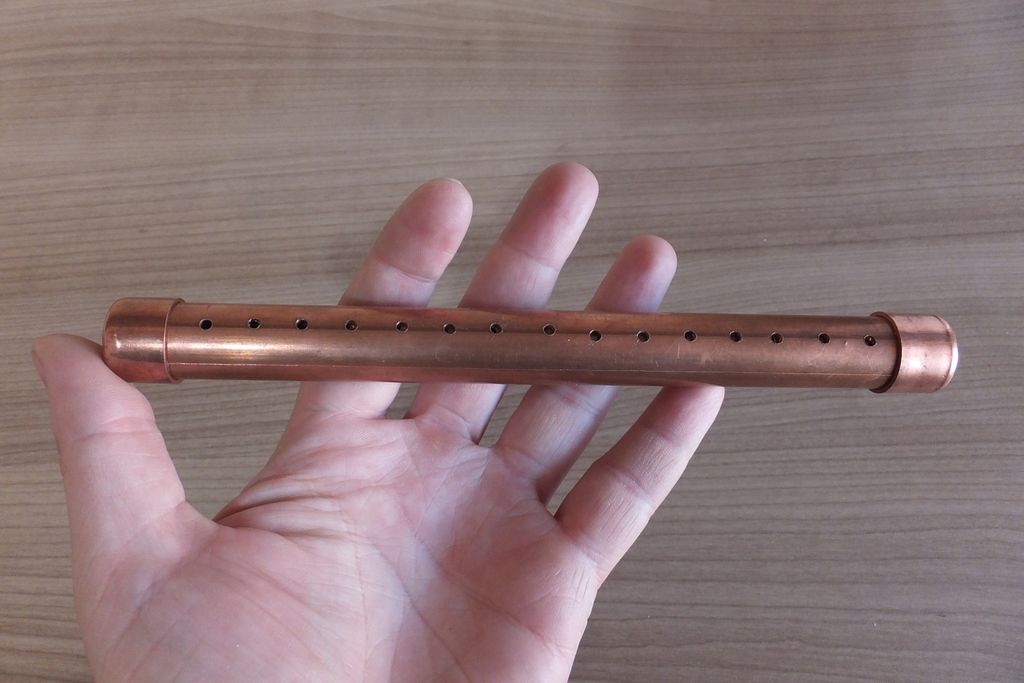
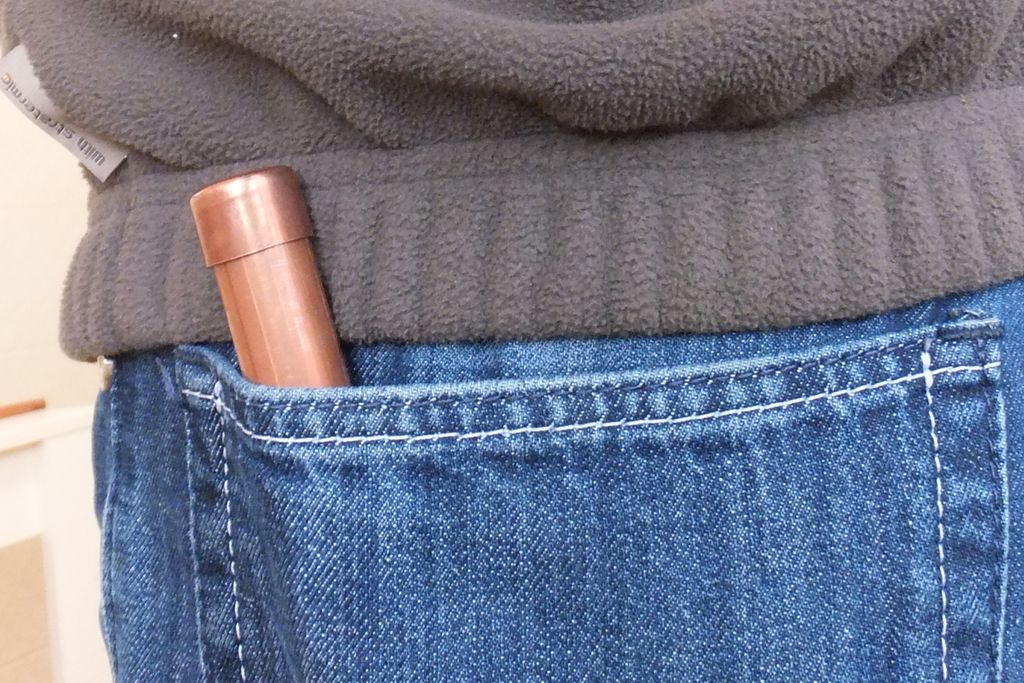
This is a “piece of cake”, just unscrew the nipples and it falls apart. Packing it up is also pretty easy.
Step 7: Final thoughts
So, that’s about it, have fun making an using it.
Thanks to Stvnishere for the article, you can see the original here on his Instructables page
If you have any comments then please drop us a message on our Outdoor Revival facebook page
We love this sort of thing on Outdoor Revival and we’ll be bringing you a lot more of it over the coming months, if you enjoy making or designing kit let us know about it on our FB page, we’re also happy for article or review submissions, we’d love to hear from you.
Outdoor Revival – Reconnecting us all to the Outdoors
