How To Build A Signal Fire
Even the greatest and most experienced explorers get into trouble in the wild, by either taking a wrong step or not accounting for the weather and the surprises it hold. In such situations, it’s not alien or unheard off to call for help, but there’s only as much as you can do to save yourself when found in sticky unplanned situations.
The first thing that probably comes to mind is dialing the good ol’ trusty 911, but in cases where you do not have reception on your mobile phone or help is just too far away, waiting could be adverse.
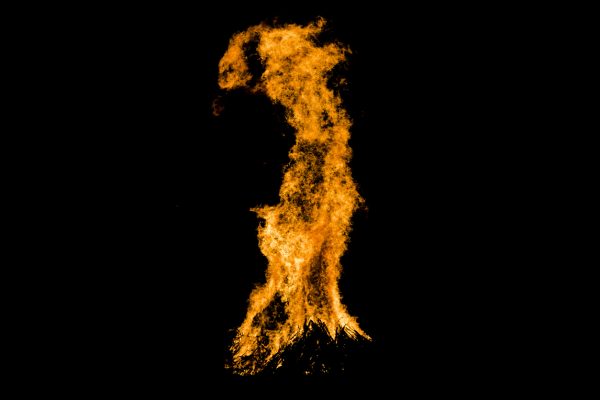
Fortunately, there are several ways to call for help, such as whistling, employing the use of a signal mirror, flares, raising flags or clothes with bright noticeable colors, and perhaps most effectively of all, building a signal fire.

Building a signal fire in the wild is not as simple as it reads, and there are multiple factors to consider, including the location, your proximity to rescue, and the materials readily available.
The Location
Seeing as the whole idea of building a raging fire is to call attention, you will want your signal fire to be on as high of an elevation as possible, such as a hilltop, mountainside, a peak or a ridge.
It is very important to clear the area around where you would be starting the fire, in order to prevent combustibles from spreading the fire beyond your control (as hopefully the very last thing you want to start in your attempt at safety is a forest fire).
The Materials
The essentials for a fire are heat, air, and combustible materials. First gather tinder (it being the easiest to ignite), old bird’s nest, wood shavings, cotton, dry grass, all serve as good tinder, next thing to do would be to gather kindling, branches and small sticks would suffice, and lastly, slow-burning fuel to keep your fire burning for as long as necessary, for this you would need to gather logs of wood and large sized branches, the bigger and drier the wood, the better it would burn.

Once you get the fire started, it would with merit if the fire burned with a distinct discernable flame, thick black or in some cases, ash-white flames, and this can be achieved by introducing into the fire, objects like rubber, oil, peat moss and even living leafy branches, make sure to gather those too.
Arranging the Materials
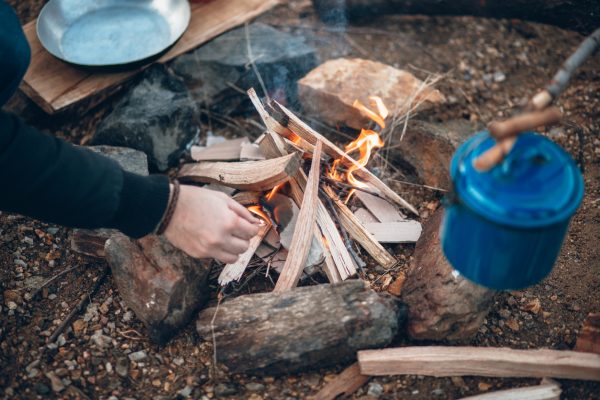
The most common use method is laying the materials in a pyramidal or triangular shape. With three long slender sticks, construct the tripod frame, first to go underneath would be the tinder.
Followed by the kindling and topmost would be the fuel, next step would be to cover the frame with leaves, do this until you cover the entire structure, at the same time, make sure you leave an opening somewhere, through which you would be able to light the fire.
Starting the Fire
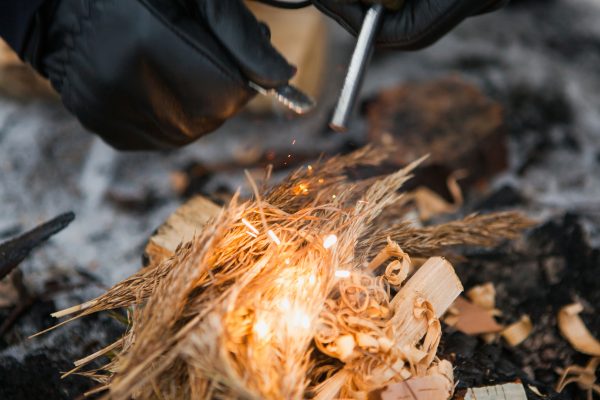
The materials are all set, now to start the fire. All it takes is a spark as the tinder is very combustible, you can generate a spark using any of the following;
- Matches
- Flares
- Flint and Steel
- Magnifying/Prescription Glass
- Fire Starter Tools
If you are without any of the above listed items, you can still hopefully generate a spark by forcefully and consistently scraping a rock against a blade. Be sure to protect the tinder from the wind and then tend to the fire until it grows and the fuels are ignited.

After the fire serves is built (and hopefully after you are found thanks to the fire), don’t forget to extinguish the fire. You can do this by drowning it in water, and then you can proceed to carefully mix up the embers and ashes.
The next thing to do would be to scrape off the burning parts on the sticks and logs. You can use more water to cool off any embers that might have come off the burning wood. Put the palm of your hand over the logs and coal.
If you don’t feel any heat radiating off of, them, you can feel them and any hot or warm pieces left must be doused with more water.
If there is no water, sand will come in handy. As the fire dies down, stir the ash and the embers with a stick or shovel, then stir dirt or sand into the embers. Don’t do too much, as the fire would just keep burning under the surface, but just enough to starve it of oxygen. Constantly check to see if the coal has cooled off. If not, repeat the process until the ashes are completely cooled.
It is very important to make sure that your signal fire is put out properly. If done hastily, your call for help might be putting someone else in danger, as one errant coal or burning ember could potentially cause an entire forest fire.


