At last, a step by step guide of how to shave with an axe – Mike shows us how to do it
We have all seen the old black and white images of men shaving with axes. We have seen, outdoors-men, lumberjacks and WWII GI Joes shaving with them, but many have thought it was a stunt – and so did we until now.
Then we met Mike from San Francisco who has written and performed a step by step guide on SHAVING WITH AN AXE. You can follow Mike on Instructables.com and on his site too www.michaelsaurus.com So over to you Mike…
Few things are manlier than shaving with a straight razor, except maybe shaving with an axe.
Having never shaved with a straight razor before I decided if I was going to learn to shave with a single blade I was going to start in the deep end and learn with an axe. Go big, or go home. So, I sharpened a small felling axe to a razor’s edge and then used to shave my face.
Tapping into my Canadian roots, I donned my toque and headed out to the woods to start shaving. Follow along and I’ll show you how I perfected the axe blade, and the techniques I used to achieve a perfect shave in the manliest way possible.
Step 1: Angle of axe blade
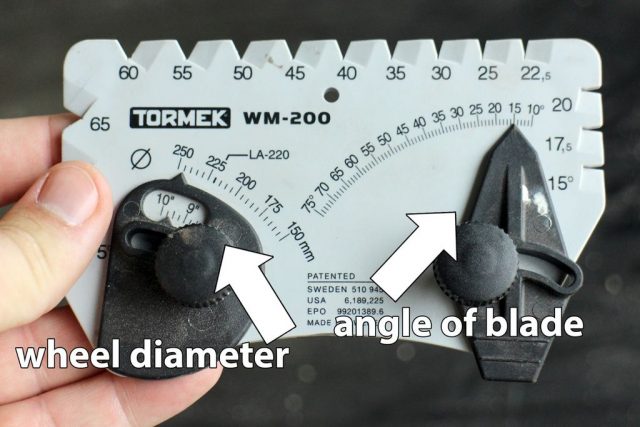
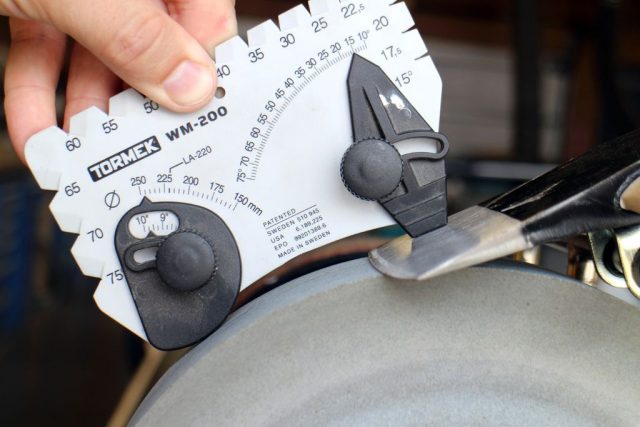
Face razors need to be incredibly sharp in order to cut hair, but also to make a smooth glide over your sensitive skin. Axe blades, though sharp, have a much shallower angle as they are designed to split then wedge apart wood. Because of this you’ll need to grind the axe blade from a shallow edge to a sharp edge, this translates to grinding a blade angle from 30-40 degrees to a razor sharp one of 10-15 degrees.
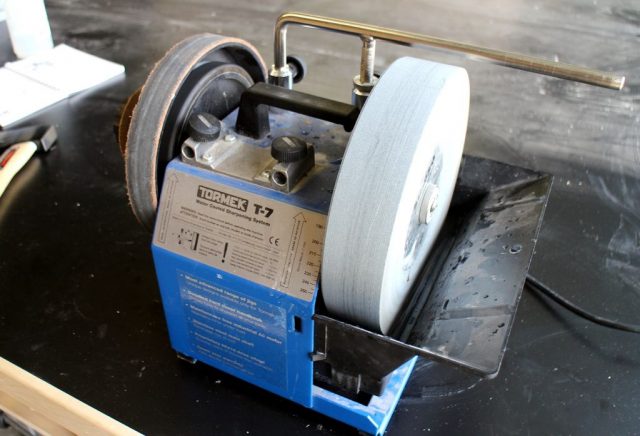
You can buy blade angles for kitchen knives that attach to the spline of the blade, but they don’t make them for axes. Luckily we have a large sharpening stone at work with an axe jig and a blade angle.
After setting the desired angle and dialing in the sharpening stone diameter the axe is fitted into the sharpening jig and the jig is moved up or down to meet the desired angle.
Step 2: Sharpen axe blade
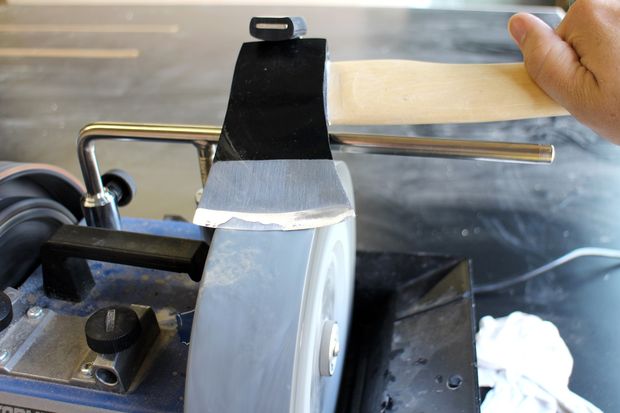
Most blades are sharpened wet and with the blade edge towards the direction you are sharpening. Though I am using a wheel with a water reservoir, sharpening on a whetstone is the same. With the jig set at a very low 15 degree angle I gently rocked the blade on the jig across the sharpening stone. Since the axe head is curved I needed to maneuver the axe handle up and down slightly at the ends of the blade to keep good contact with the sharpening stone.
By sharpening the blade angle from 30 degrees to 15 degrees I am creating a longer bevel on the blade, which means removing material on the axe blade. Removing tool steel by sharpening is a slow process that takes time. Put on some tunes or listen to an audiobook and be zen-like while sharpening. Go slow and check your work often to avoid mistakes.
Sharpening this axe from the wedge shaped blade to one I felt comfortable shaving with took about 3 hours.
Step 3: Honing the edge
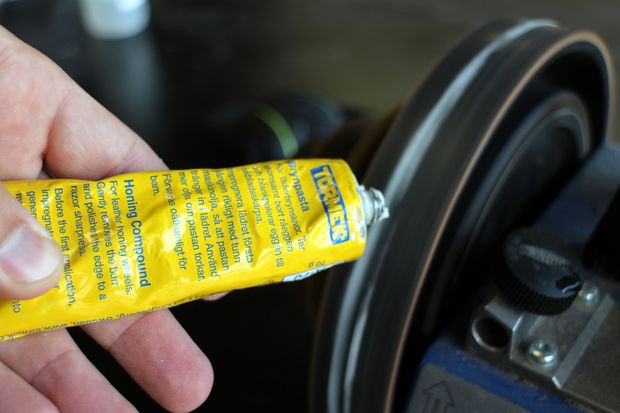
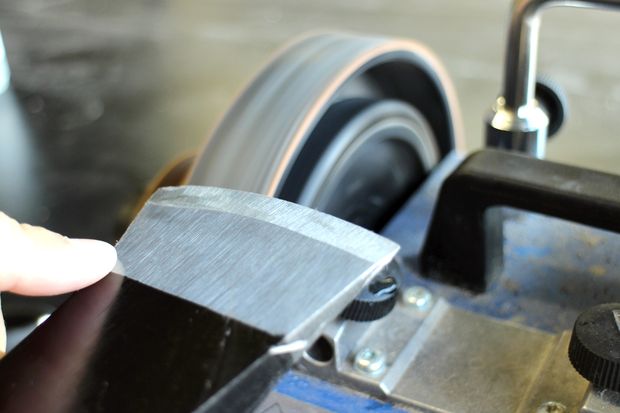
Sharpening a blade gets us most of the way there, but to really bring out the edge of your blade you need to hone it.
Honing a blade remove any burrs from sharpening and fixes deformations along the edge. Leather strops are a traditional tool used to hone blades. A leather strop can be any long piece of leather, like a leather belt. The large sharpening stone I used also has a leather wheel for honing.
Unlike sharpening, honing draws the blade away from the edge. Gently draw the blade along the leather a few times to hone the edge. Honing is a great way to put an edge back on your blade when you start cutting, keeping it nice and sharp while you are shaving.
Step 4: Supplies
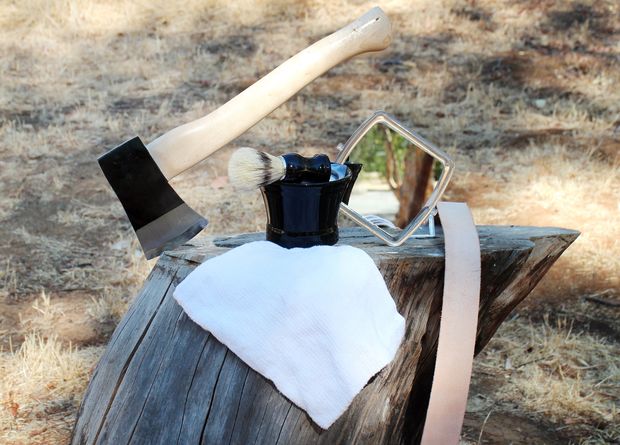
Axe shaving is a lot like regular shaving, except much more manly. In order to shave like a lumberjack in the wilderness you’ll need:
small axe (I chose a felling axe as they are easier to handle)
shaving mug, hair brush, and soap
leather belt for a strop to hone the blade edge
small mirror
clean cloth
You’ll also need a manly beard that’s in need of shaving.
Step 5: Lather your face
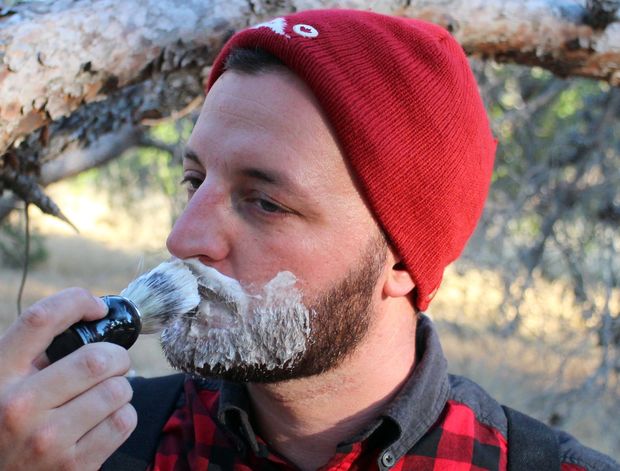
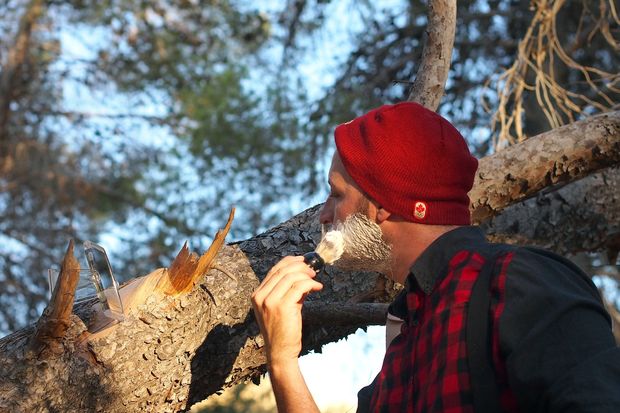
Start by putting your clean cloth in the shaving mug and then filling the mug with hot water. Remove the cloth and wring out the water, then apply the hot cloth to your face. The hot cloth will soften the hair in preparation for shaving.
Dunk the shaving brush into the mug and then work a lather with the damp brush in the shaving soap, apply this lather to your hairy face in small circular motions until covered. Take your time to ensure good, even coverage.
Step 6: Shaving – cheeks
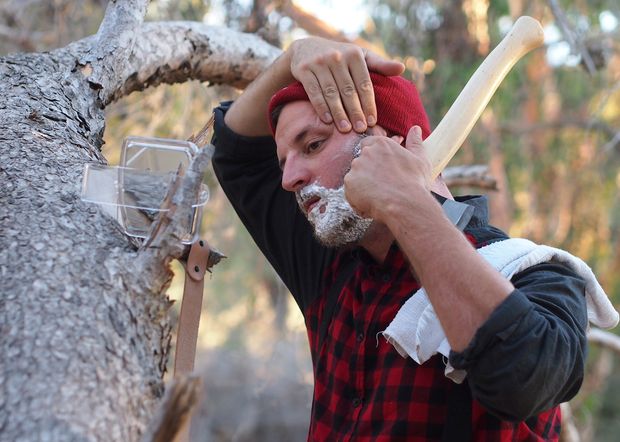
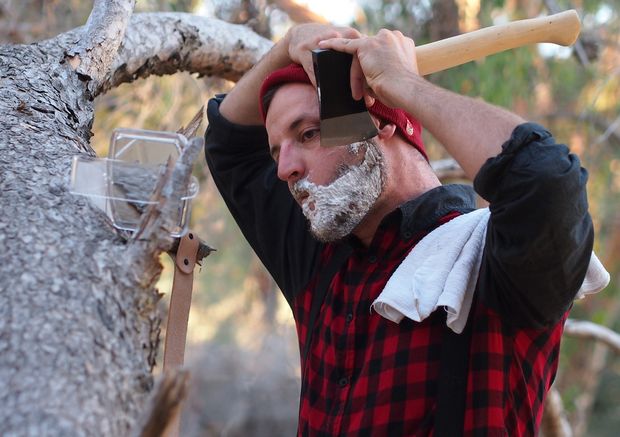
Like shaving with a straight razor, it’s best to shave in quadrants starting with the cheeks.
Before putting the blade to your face try holding the axe in a few positions to get a firm and controlled grip.
Starting with the cheeks, pull the skin as tight as you can. Tight skin will ensure a smooth and even shave. Hold the blade downward above the beard hairline and connect the blade edge to the tight skin of your face. With a gentle motion bring the blade down your face, you should start to feel the blade connect and cut the hair. Work in small strokes down the cheek to the jawline.
After each pass clean the blade and inspect the pass to see how your shave is going. Shaving with a single blade takes time and some refinements may be needed to ensure a good shave. After several passes you should have a good measure on what angle and pressure to apply to your face to achieve a good shave.
Step 7: Shaving – honing edge
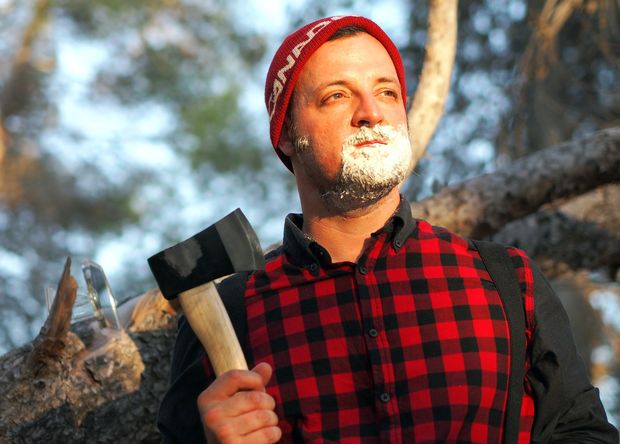
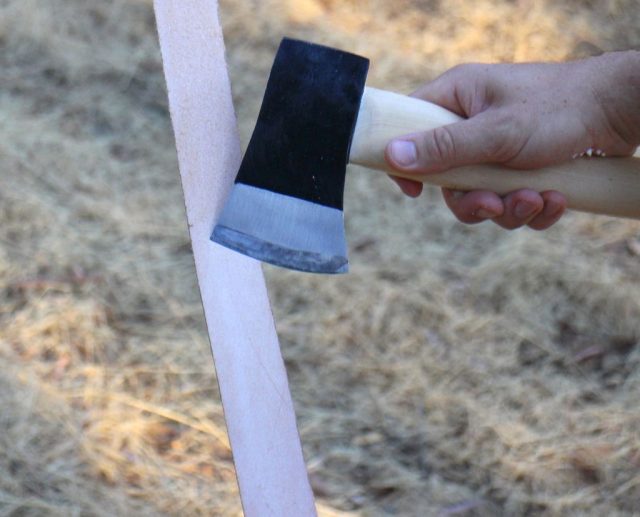
Stop after completing both cheeks and wipe the blade clean to inspect. To keep from cutting your face to ribbons you’ll need to maintain a sharp edge on your blade, this is where honing comes in.
Honing a blade is not sharpening, honing brings back the edge of the blade and fixes any deformations from shaving. Rub the blade away from you along the leather strop a few times to hone the axe blade and bring back the sharpness. I recommend doing this after shaving each quadrant.
Step 8: Shaving – jaw
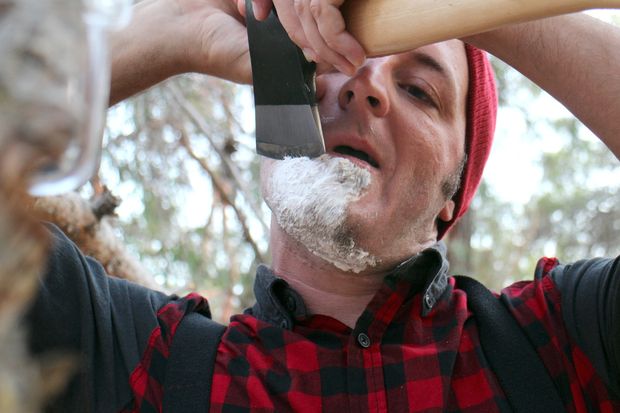
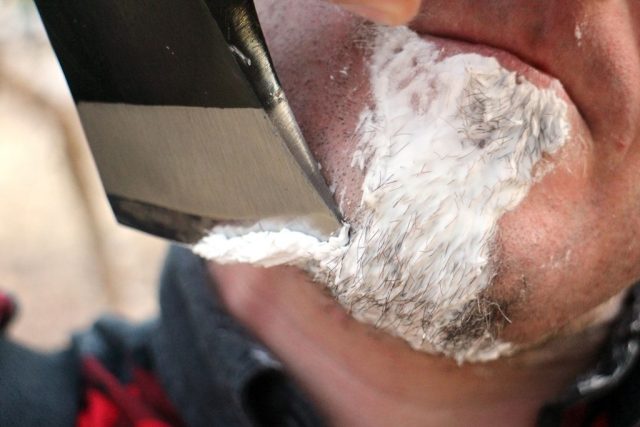
Keeping the skin tight, work the blade downwards along the jawline. You’re going to need a mirror to shave, but be mindful on how close your axe handle gets to the mirror and any other obstacles; a small bump on the handle while the blade is touching your face can spell BIG trouble.
Step 9: Shaving – neck and chin
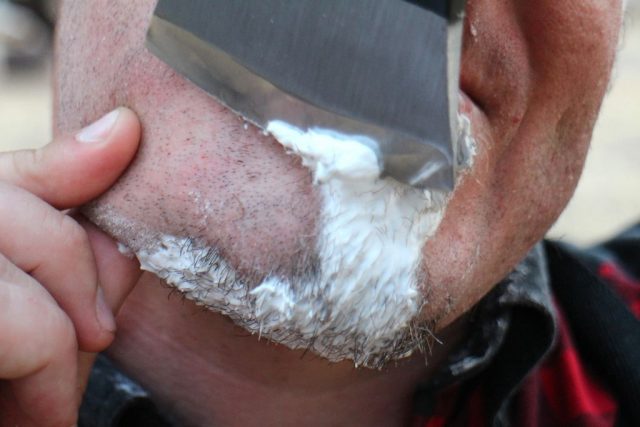
`
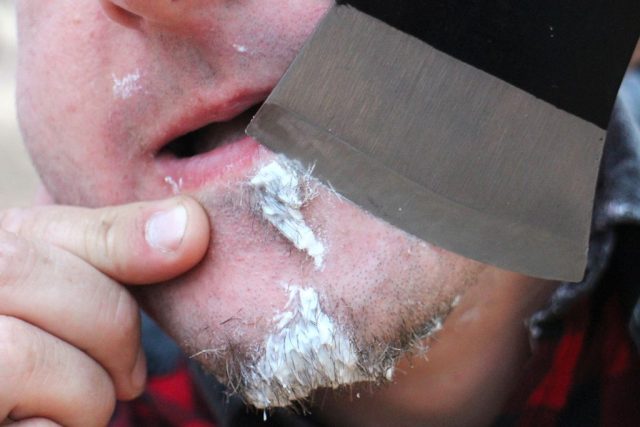
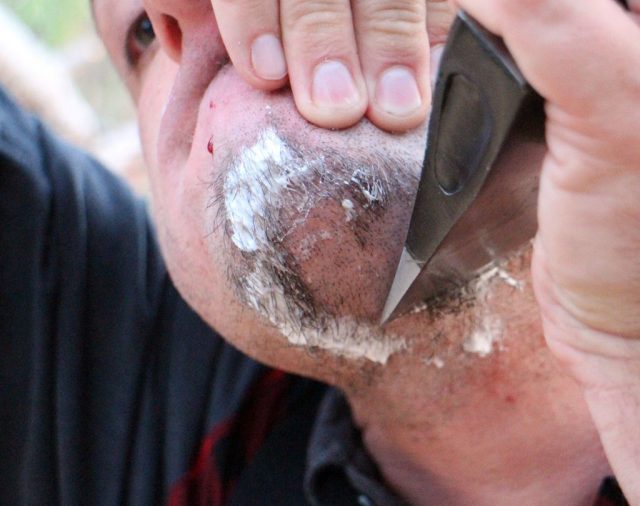
The neck and chin are the most delicate and where most med have the highest density of hair growth.
As before, make sure your blade has been honed and keep the skin very tight while shaving. Go slow, and work carefully around your mouth.
As you can see in the picture here, I didn’t pull the skin tight enough and gave myself a small cut.
Step 10: Cleanup
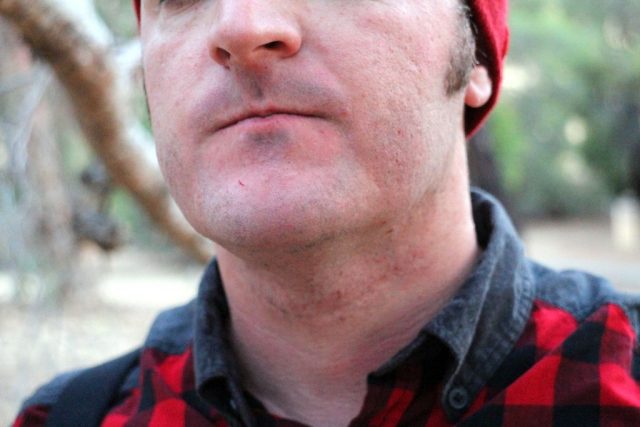
Clean your face with a fresh damp cloth, removing any leftover shaving soap and blood if you cut yourself.
After, touch your face and feel for any spots you may have missed. Touch up with a spot of shaving soap and more axe time. Shaving a second time should be much easier as there’s less hair resistance. Remember to stretch your skin tight as you shave!
Apply lotion to your face after shaving, it helps reduce redness and can cool your face.
Step 11: Final thoughts

All done, you sexy lumberjack. Now, get out into the woods to wrestle bears and drink whiskey.
Final thoughts:
This was my first time shaving with a single blade. Though it’s a little nerve-racking wielding a sharp edge around your face, there’s a zone you get into mentally that is actually quite relaxing.
Shaving with my conventional razor (a standard 3 blade razor with disposable heads) normally takes less than 5 minutes, whereas axe shaving took an 1 hour and 20 minutes.
You can follow Mike on Instructables.com and on his site too www.michaelsaurus.com
Extra care needs to be made with such a large blade, as I cut myself on my jawline and on the chin. Both cuts were small but could have been avoided by taking a little extra time, and by ensuring the skin was stretched very tight.
I’m glad to have experienced the rugged technique of shaving with an axe, but don’t think it’s a method I’d try again anytime soon.
